About this lesson
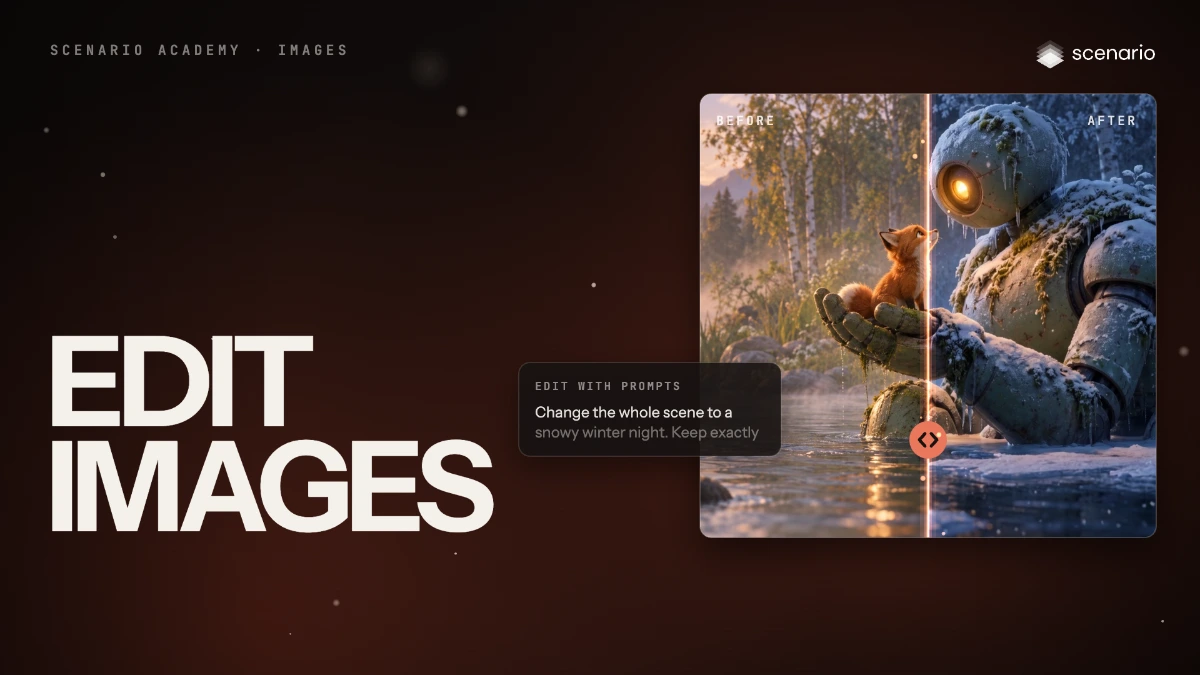
When most of an image is right, edit it instead of starting over. This lesson takes one image, a moss-covered robot holding a fox cub in a misty river, and edits it three ways: Edit with Prompts with Nano Banana 2.1 to change one element or the whole scene, Retouch to repaint one small area under a mask, and Expand with Photoroom Expand to grow it into a wide banner. Each edit makes a new image, so the original stays safe. The models and prices in this lesson are as of November 2026.
See moreSee less
- Edit instead of regenerating when most of the image is already right: the rest of the image stays as it is.
- Describe the change in a sentence, paint a mask over the area, or extend the frame: pick the tool that fits the change.
- Every edit makes a new asset, so the original stays safe in your library.
Step by step with an agent, through the Scenario MCP (6 steps)Hide the steps
Connect the Scenario MCP
Connect your agent and sign in once at mcp.scenario.com. Then tell it which Scenario team and project to use, so every file lands there.
Give the agent the files
The image to edit, here the moss-covered robot holding a fox cub at 2048 x 1152. Upload it with upload_asset or give its asset ID. Every edit makes a new asset, so the original stays safe.
Brief the agent: two prompt edits
PromptUse Nano Banana 2.1 (model_google-gemini-nano-banana-2-1) for two separate edits of the robot image. Pass it as referenceImages, an array holding its asset ID, in each run. Read model_schema_get first and keep the original aspect ratio. Quote the cost with a dry run first and wait for my go. Edit 1, prompt word for word: Change only the fox cub into a small fluffy white snowy owl chick with big round amber eyes, sitting in the same place on the robot's palm and looking up at the robot. Keep everything else exactly the same: the robot, its moss and flowers, its glowing eye, its hand, the river, the stones, the trees, the mist, the sunrise light and the framing. Edit 2, prompt word for word: Change the whole scene to a snowy winter night: a half-frozen river with thin ice, snow on the stones, the banks and the birch trees, falling snowflakes and a deep blue moonlit sky. The robot's eye glows warm amber on the snow. Keep the same robot, its pose, the fox cub on its palm, the camera angle and the framing. Launch both with wait: false and collect them with one jobs_wait, then show each result next to the original.Expand to a banner
PromptExpand the original robot image with Photoroom Expand (model_photoroom-expand) to 2688 wide and 1152 high, keeping the original pixels. Read model_schema_get for the exact names of its output width and height parameters. Quote the cost with a dry run first and wait for my go.Check and redo
Accept when only what you named changed, the robot and fox (or owl) are the same characters, the pose, framing and light held, and the Expand seam carries the water and mist across with no line. Reject a changed color, face or background, or a reframe. Retouch with a painted mask stays in the web app (Step 5).
PromptFor each edit, tell me if anything I didn't name changed: the robot's moss, its eye, the river, the light or the framing. Redo only a failed edit with the same prompt, adding the part that moved to the keep list, or try GPT Image 2.5 Sunburst (model_openai-gpt-image-2-5-sunburst) instead. For the banner, check the seam where the new pixels start.File the results and report
PromptCreate a collection called "Robot edits" with the original, the kept edits and the banner. Report each asset ID with its model and the total cost spent.
Step by step in the web app (7 steps)Hide the steps
Open Edit with Prompts
Open the image, click the three dots in the bar above it and choose Edit with Prompts. Your image loads under Reference images and the panel picks Nano Banana 2.1.
Choose an editing model
To change it, click the model name › View model library › Capabilities › Edit with Prompts. This lesson keeps Nano Banana 2.1; if one model changes too much, try the same prompt on another.
Write the one change, then what must stay
Two separate runs, each with one change and a keep list by name: the first turns the fox into an owl chick, the second turns the whole scene into a winter night. Click Generate for each.
PromptChange only the fox cub into a small fluffy white snowy owl chick with big round amber eyes, sitting in the same place on the robot's palm and looking up at the robot. Keep everything else exactly the same: the robot, its moss and flowers, its glowing eye, its hand, the river, the stones, the trees, the mist, the sunrise light and the framing. Change the whole scene to a snowy winter night: a half-frozen river with thin ice, snow on the stones, the banks and the birch trees, falling snowflakes and a deep blue moonlit sky. The robot's eye glows warm amber on the snow. Keep the same robot, its pose, the fox cub on its palm, the camera angle and the framing.Check that nothing else moved
Compare each edit with the original at full size. Only what you named may change; the Info panel keeps the prompt, the model and the reference.
Retouch one small area
Three dots › Retouch, then draw a lasso mask a little larger than the robot's eye; the model switches to Scenario Inpaint (Feather Pixels 32, Padding Ratio 0.1). Describe only the masked area, click Generate, then Select.
PromptThe robot's round eye glows a soft bright blue instead of amber, same round shape, same metal rim.Expand to a wider format
Click Use as Reference, then the model › View model library › Capabilities › Show all › Expand, and pick Photoroom Expand. Set Output Width 2688 and Output Height 1152 and click Generate.
Check the expanded image
The original pixels stay and the river and forest continue in the same light. Check the seam where the new part starts for a line or a change of color.