

Bring your 3D model into Blender, Unity and Unreal
Import a rigged GLB and its FBX version into Blender, Unity and Unreal Engine, and fix what breaks: textures, pivots, axes, clip names, root motion and bone names.
- Guide
- Step 1 Learn
On this page5 sections
This lesson takes a rigged, animated character from Scenario into Blender, Unity and Unreal Engine.
GLB or FBX
Lessons 4 and 5 left the character rigged and animated, with 52 bones and five clips.
Scenario gives you a GLB, and can also convert it to FBX. A GLB keeps the mesh, textures, skeleton and clips in one file. Blender and Unreal read it directly. Unity needs the free glTFast package.
Blender
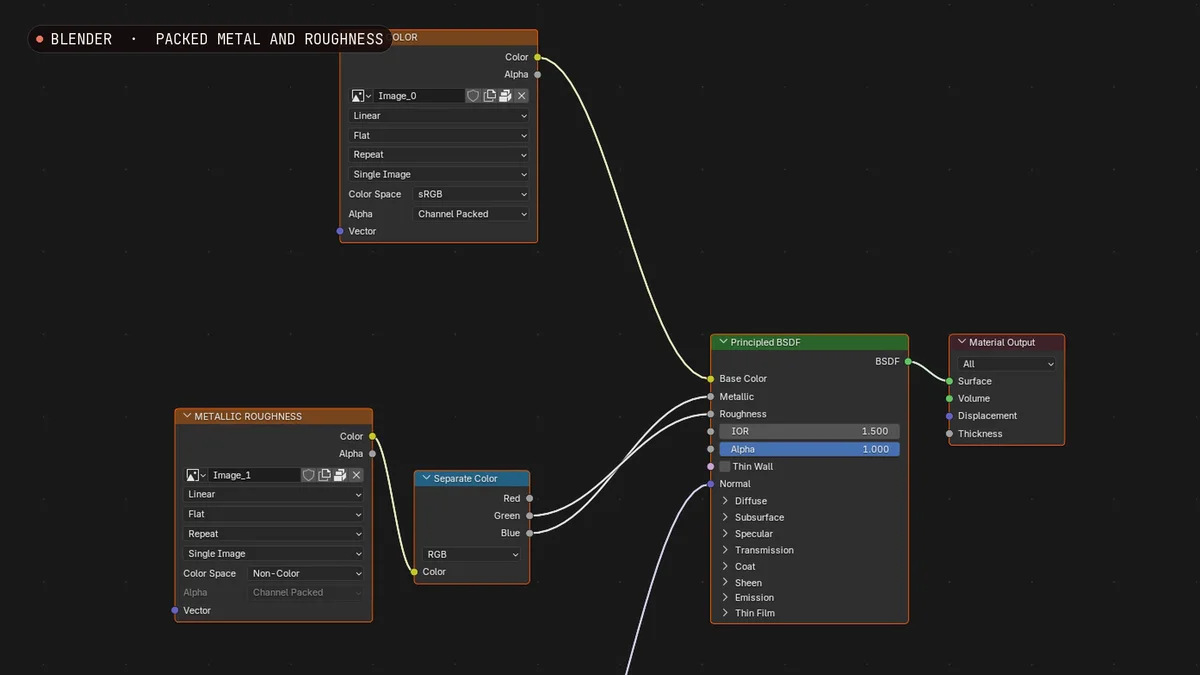
In Blender, choose File > Import > glTF, with the defaults.
- The character comes in about two meters tall, centered on the origin, with Z up, and the five clips arrive as separate tracks.
- The Scenario plugin lives in the same sidebar, so you can generate more assets without leaving Blender.
- Material: a GLB packs roughness and metalness into one texture, in the green and blue channels. In the FBX version, that texture was dropped.
- In the run clip, the hips travel three meters forward. There is no root bone, so the motion lives on the hips.
Unity
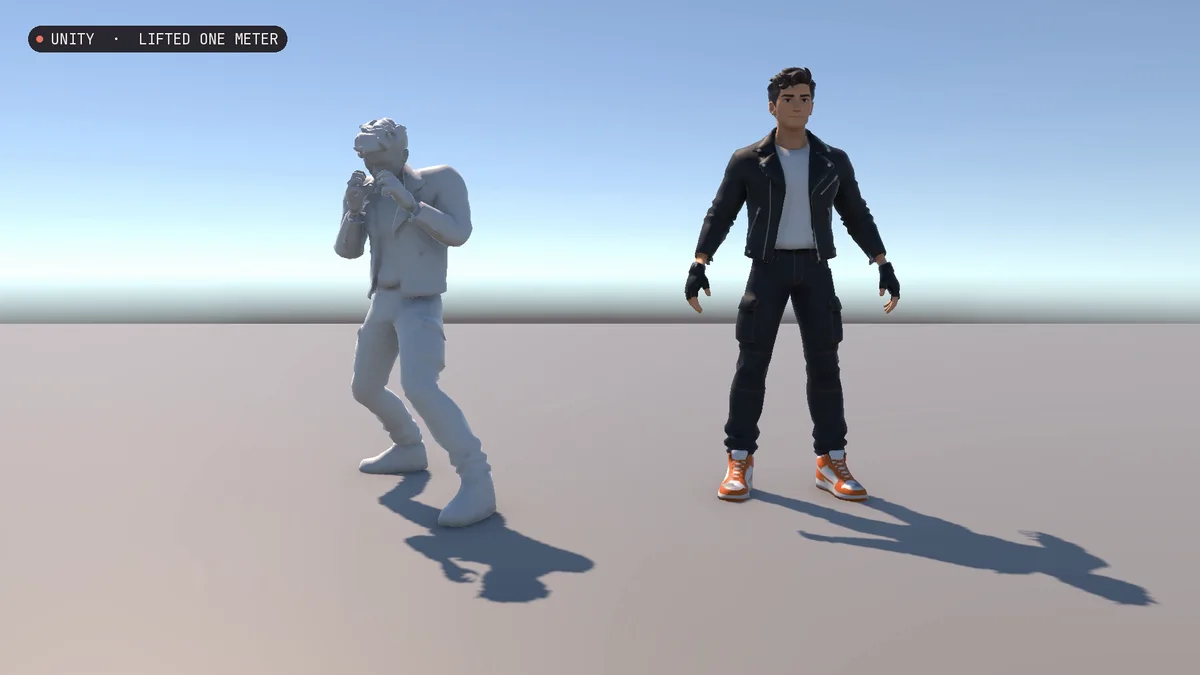
Add glTFast, then import both files.
- The GLB arrives with all its textures. The FBX arrives with no textures, stuck in its first pose, and its parts rotated 270 degrees on X from the axis conversion.
- Both stand half in the floor, because the pivot sits at the center of the body. Lift the character one meter, or place it under a parent at floor level.
- In the FBX, every clip name starts with Armature. Rename the clips, and use Bake Into Pose for clips that should stay in place.
Unreal Engine
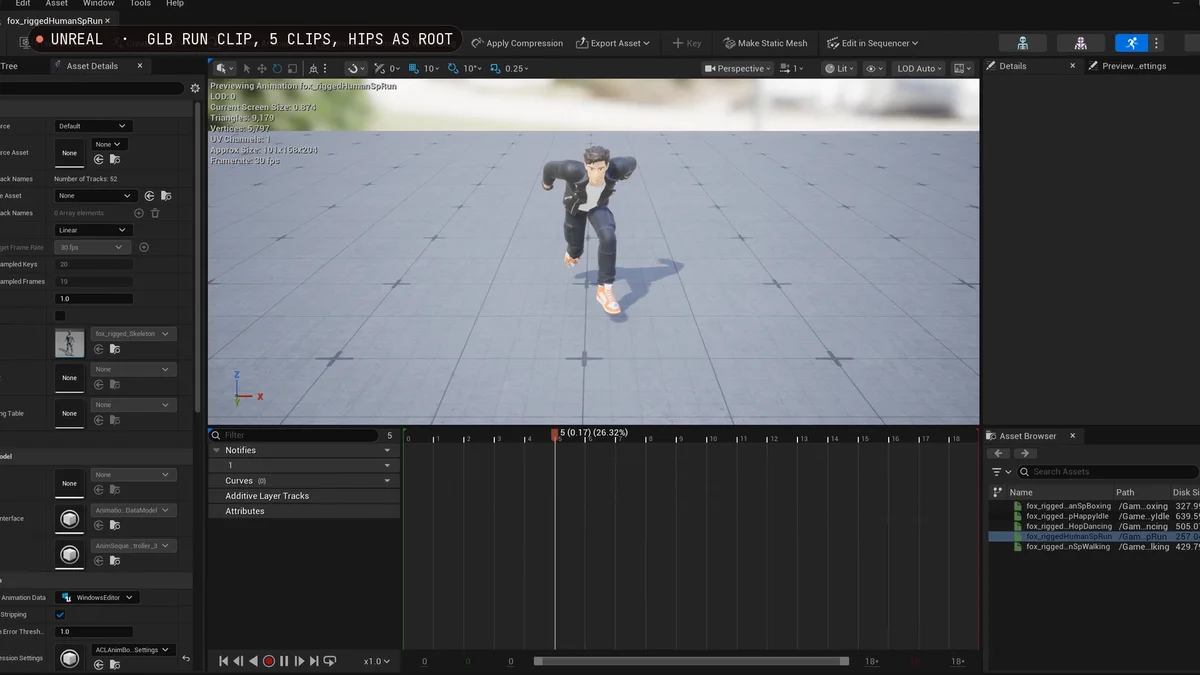
Drag the GLB into the Content Browser. Interchange shows its settings; keep the defaults.
- The character sinks to the waist and faces the side, because Unreal uses X as forward. Raise it 100 centimeters and turn it 90 degrees, or use Offset Translation and Offset Rotation on import.
- The GLB brought all five clips, with the hips as the root bone. The FBX brought none: Unreal rejected every clip because its length did not land on a whole frame. Turn on Snap to Closest Frame Boundary, or stay with the GLB.
- Bone names: the rig calls the thumb bones Thumb 1 to 3, and the Cartwheel clip calls them Thumb, Thumb 1 and Thumb 2. Match by name, and every finger shifts one joint. Retarget instead.
Before you import
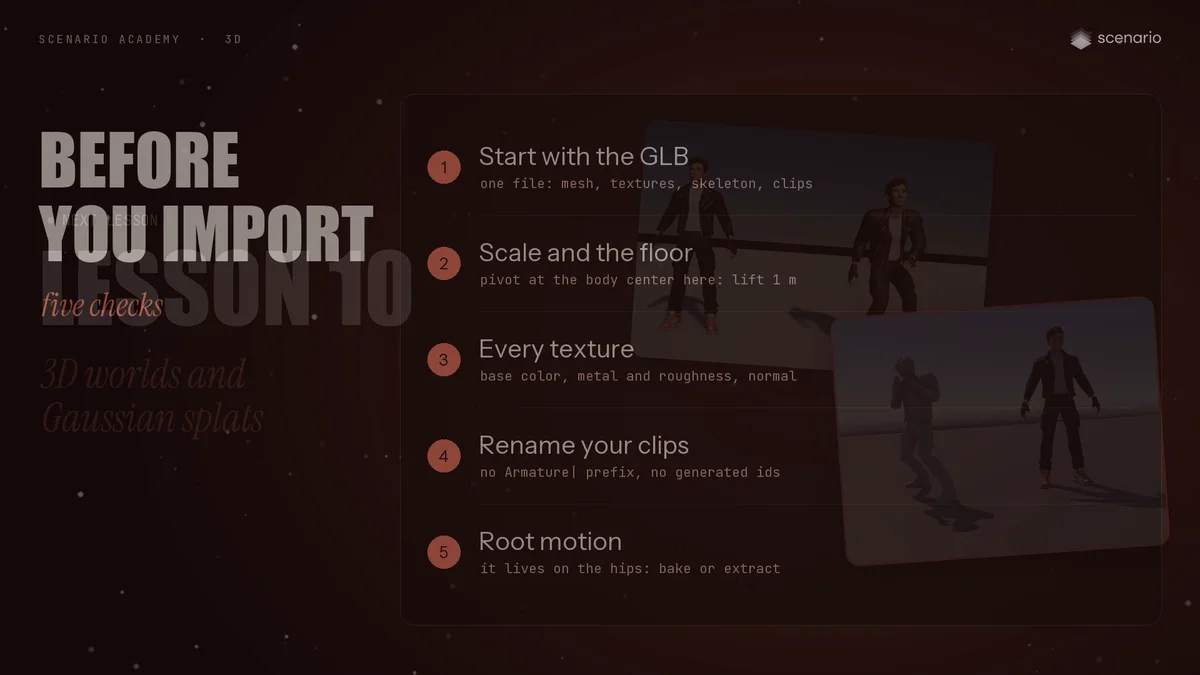
- Start with the GLB.
- Check the scale and the floor.
- Check every texture.
- Rename your clips.
- Decide on root motion.