About this lesson
An App is a workflow with a simple form in front of it. People fill in the fields you choose and click Generate; the prompts, models and layout stay fixed inside. In this lesson you publish Anatomy reference sheets as an App with one input (a character image) and one output (the reference sheet), lock the workflow, and run the App as a teammate would, on a character it has never seen. The models and settings in this lesson are as of November 2026.
See moreSee less
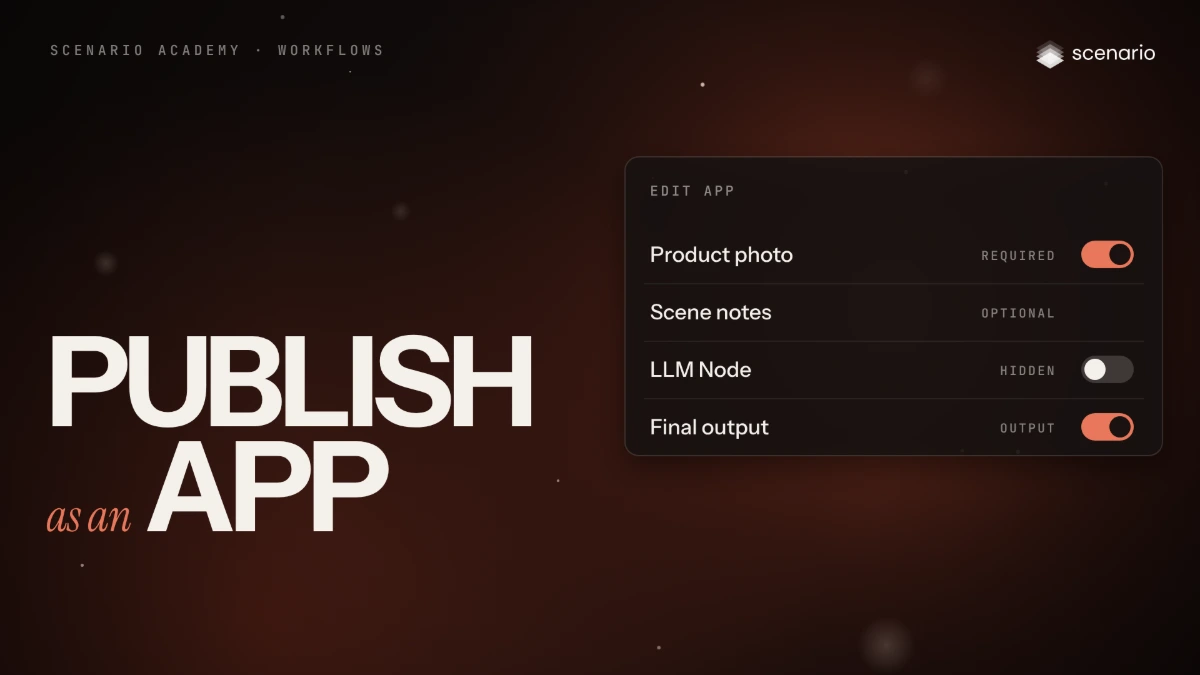
- Turn a working workflow into an App: pinned nodes become a form, everything else stays fixed behind it.
- Expose as little as possible, and run the workflow on three different inputs before you publish.
- Start from Edit App at the top right of the editor; an Output Example image is required.
Step by step with an agent, through the Scenario MCP (6 steps)Hide the steps
Publish the App in the web app
Pinning the input and output, the description, the examples, Publish App and Lock Workflow are done in the workflow editor, as in the web app steps. Once the App is published, an agent can run it like any workflow.
Connect the Scenario MCP
Connect your agent and sign in once at mcp.scenario.com. Then tell it which Scenario team and project to use, so every file lands there.
Give the agent the files
A character the workflow has never seen, here Queen Pip. Give the agent her asset ID, or upload the image with upload_asset; file inputs take asset IDs.
Brief the agent
PromptFind the "Anatomy reference sheets" App in this project with workflows_list. Read its inputs with workflow_get and tell me their names and which are required. Run it with workflow_run, with Queen Pip's image as the character input and nothing else. Quote the cost with a dry run first and wait for my go. When it finishes, show me the reference sheet with asset_display.Check and redo
Accept when the sheet holds four views of the new character side by side (anatomy sketch, pencil sketch, gray sculpt, textured sculpt) in the same pose, with nothing cropped. Fix what breaks inside the workflow in the web app, not in the request.
PromptCheck the sheet: four views, in reading order, edge to edge, the same pose and every piece of gear in each, and her own colors on the textured sculpt. Tell me which view fails and why. Don't rerun until I say so.File the results and report
PromptAdd the reference sheet to a collection called "Anatomy reference sheets" (create it if it doesn't exist). Report the App's workflow ID, the input names you used, the result's asset ID and the total cost spent.
Step by step in the web app (9 steps)Hide the steps
Turn on App mode
Open Anatomy reference sheets from the Project tab, click Switch to Edit Mode, then Edit App at the top right. Every node gets a pin.
Pin the input
Click the pin on 1. Character Illustration and keep its star filled, so the field is required. The top bar reads 1 Input.
Pin the output
Pin Image Studio 1, the node that makes the reference sheet. Everything else stays hidden inside the App.
Describe it
Click Edit App again. Keep the Name, write a one-line Short Description and a 20 to 30 word Description of what to upload and what comes out.
Add examples
Add the character as the Input Example and her reference sheet as the Output Example, which is required to publish.
Publish
Click Publish App. Edit App shows a green dot, and the ... menu gains Open App and Delete App.
Lock the workflow
Open the ... menu at the top right and choose Lock Workflow, so members can run it but not change it.
Open the App as the team will
Open Workflows › Apps, Project tab, and click the App's card: one field, 1. Character Illustration, and the examples on the right.
Run it on a new character
Pick a character the workflow hasn't seen, here Queen Pip, with Select from Library, check the estimate on Generate and click it.