

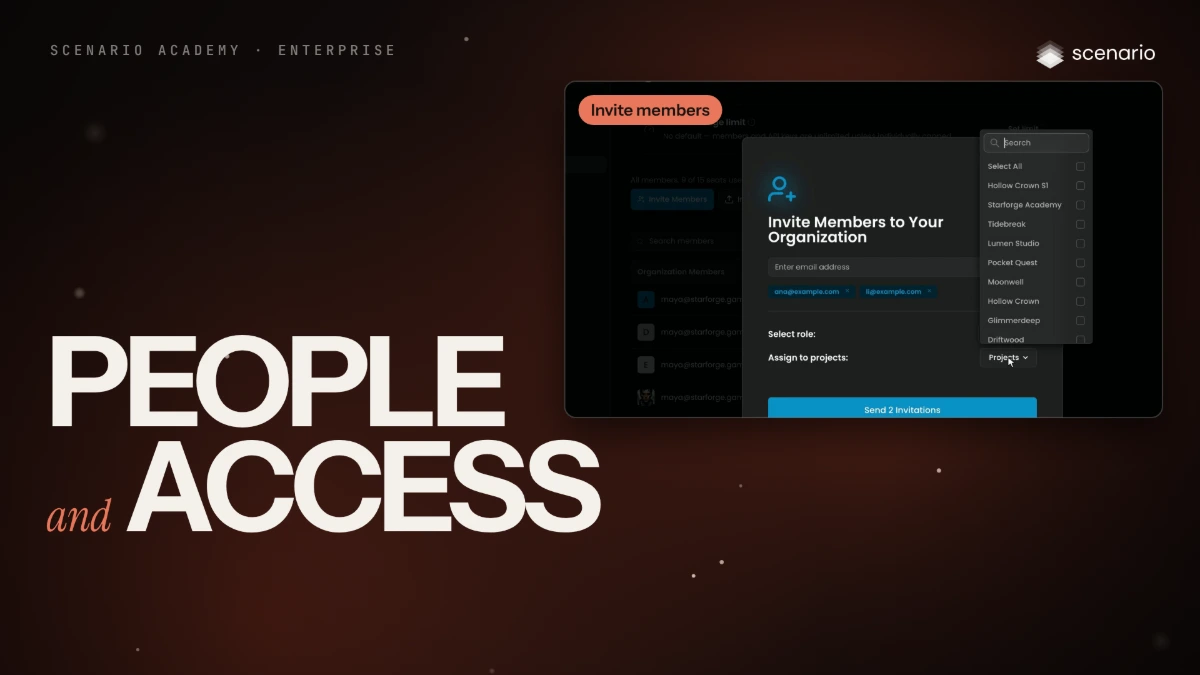
About this lesson
Bring people in from Members: invite several at once with a role and their projects, change roles in the organization or one project, and remove people and their API keys. Then single sign-on, which Scenario turns on for you, and partners in a project of their own. The models and settings in this lesson are as of November 2026.
See moreSee less
- Invite people with their organization role and projects in one step, and change or remove access later.
- Know how single sign-on works with your identity provider, and what stays in Scenario.
- Give an agency or freelancer one project, with its own limits, models and visibility.
Step by step with an agent, through the Scenario MCP (5 steps)Hide the steps
Connect the Scenario MCP as an admin
Connect your agent with OAuth (not an API key, which can't do team admin actions) and sign in as an organization Admin at mcp.scenario.com. Single sign-on, seats, a partner project's usage limit, models and Solo visibility stay in the web app.
Brief the agent: invite people
PromptUsing the Scenario MCP, in the team [team]: find the members tools with scenario_tools_search. Invite these people as Members: [emails]. Add them to the project [project] as Contributors. Show me the full list of changes first and wait for my go. Then list the organization and project members and report each person's roles and whether their invitation is pending.Change roles
PromptIn the project [project], make [email] a Viewer, and make [email] an organization Admin. Show me each change first and wait for my go; then list the members with their roles again.Remove someone who leaves
PromptRemove [email] from the organization. Then find the API key tools with scenario_tools_search, list every project's API keys with their creator and last use, and show me the ones [email] created. Don't delete any key until I confirm each one: deleting a key can't be undone.Check and report
Accept when each person has exactly the roles and projects you asked for and a leaver has no access and no live key. Reject a partner added to your main project, or an Admin role nobody asked for.
Step by step in the web app (9 steps)Hide the steps
Open Members and click Invite Members
Pill › the gear next to the organization › Members › Invite Members, then type the emails separated by commas. For a long list, use Import CSV with the addresses on one line separated by semicolons.
Choose their organization role
Open Select role and choose Admin or Member. Most people are Members; keep Admin for the few who run billing, members, settings and models.
Pick their projects and send
Open Assign to projects and tick the projects they'll join, with Search or Select All. Click Send 2 Invitations (the number follows the addresses you added).
Change a role in one project
Project › Members: add someone already in the organization with Invite a user to this project (it starts on Contributor) and Add. Change anyone's role for this project only in the Role column.
Make someone an admin
Change their role in the Role column of Organization › Members. To hand over, promote the new admin first, then change your own role.
Remove someone who leaves
In Organization › Members, the row's ... menu › Remove from organization. Then in Organization › API Keys, find their keys by Created by and delete or rotate them: keys keep working until you do.
Turn on single sign-on
On Enterprise, contact your account manager: Scenario turns SAML 2.0 SSO on for you. Set up Scenario in your identity provider with the default project ID, test with one admin and one member, then tell the team the date.
Give a partner a project of their own
Create a project with the + in the Projects column, invite them as a Member with only that project, and make them Contributor or Viewer. Set a cap under Project › Usage limit, the agreed models under Project › Models and, if it fits, Project › Visibility › Solo.
Close the job
Remove their people and their keys, then open Organization › Activity Trail and filter by date range and Projects to check what they made and deleted.