About this lesson
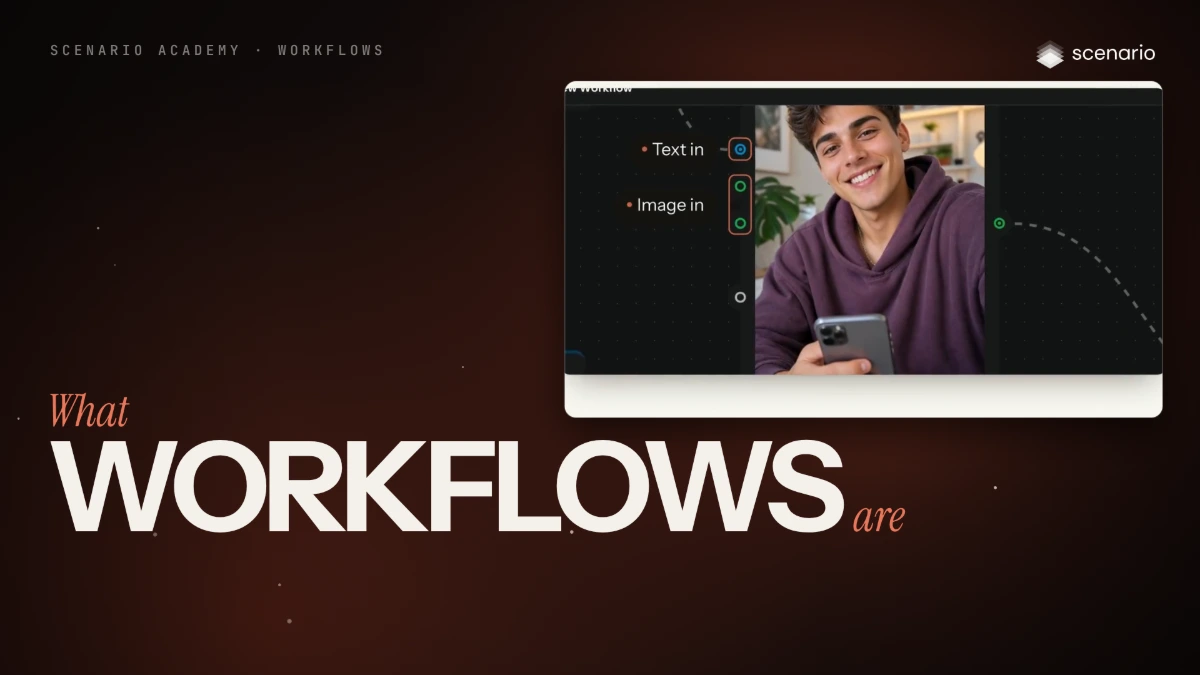
A workflow is a chain of steps that Scenario runs for you, the same way every time. You build it once, and anyone on your team can run it again. This lesson shows where workflows live, opens the finished workflow the course rebuilds, and starts your own copy with its first node: an Image input holding one character. The models and settings in this lesson are as of November 2026.
See moreSee less
- A workflow is a node graph that runs the same steps, models and settings every time you click Run.
- Build one when a job has several steps, repeats, or must be run by someone else.
- A run costs what its nodes cost, and the editor shows the estimate next to the graph title.
Step by step in the web app (10 steps)Hide the steps
Open Workflows
In the top bar, open Workflows › Workflows. Platform holds Scenario's workflows, Project your team's own in the current project.
Look at the finished version
On the Platform tab, open Image to anatomy reference, the workflow this course rebuilds. It opens in Run-only Mode; read its START HERE note.
Create a workflow
Go back to Workflows, switch to the Project tab and click Create. Import, next to it, loads a workflow from a JSON file.
Name it
Click the title at the top left and type
Anatomy reference sheets. The workflow saves itself as you build.Clear the canvas
Click each of the two sample nodes, the Text node and the Image Generator, and press Delete.
Open the node list
Click + in the right toolbar for the node list: Input, Generators, Composers and Utilities, with Search nodes... on top. Right-clicking the canvas opens it too.
Add an Image input
Under Input, choose Image (Shift + I) and drag the node to the left of the canvas, where the graph starts.
Rename the node
Double-click the node's title and name it
1. Character Illustration. The number keeps the nodes in reading order.Pick the character
On the node, click Select from Library and choose a full or half-body character, here the ranger. Drag & drop or paste and Upload work too.
Read the output port
The green dot on the node's right edge, labeled IMAGE, is its output port. Green carries an image and only connects to green inputs, such as Reference Images.