

Turn several views into a 3D model
Make four matching views with an image editor or a turnaround workflow, add them to a multi view model, generate, and compare the back with a single image result.
- Guide
- Step 1 Learn
Run it in ScenarioTripo P2 Multi View
On this page5 sections
This lesson turns several views of one character into a 3D model.
Why several views
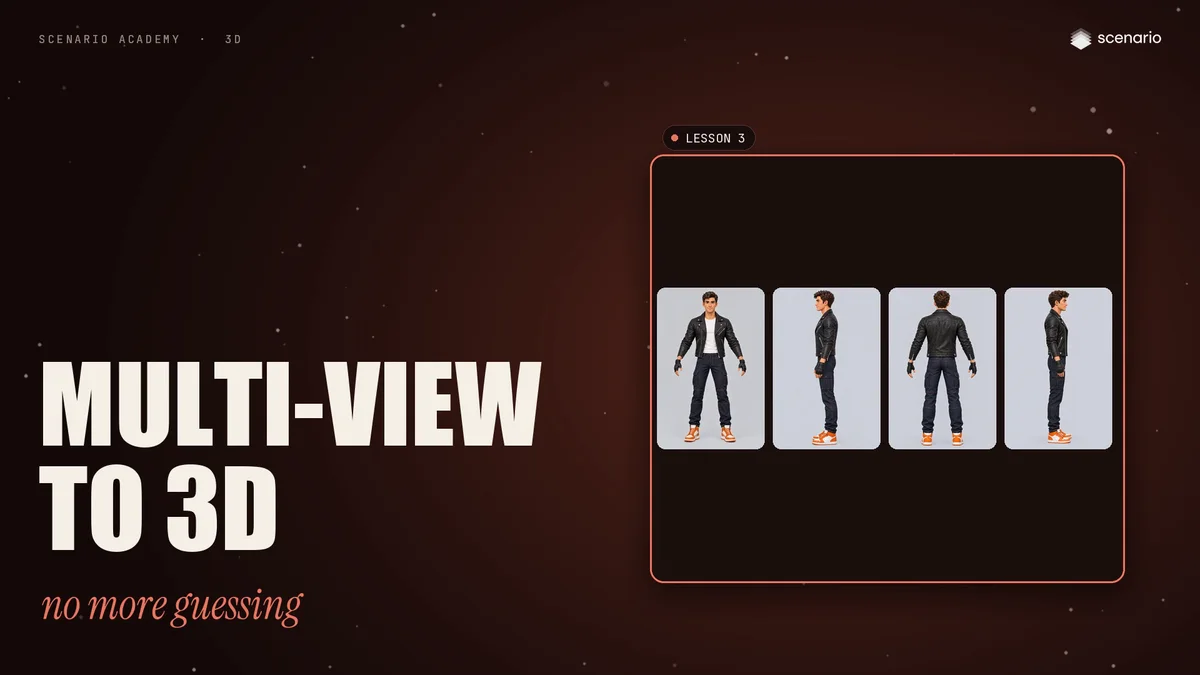
A single image makes the model guess what it cannot see. Give it more views, and it stops guessing.
Make the views
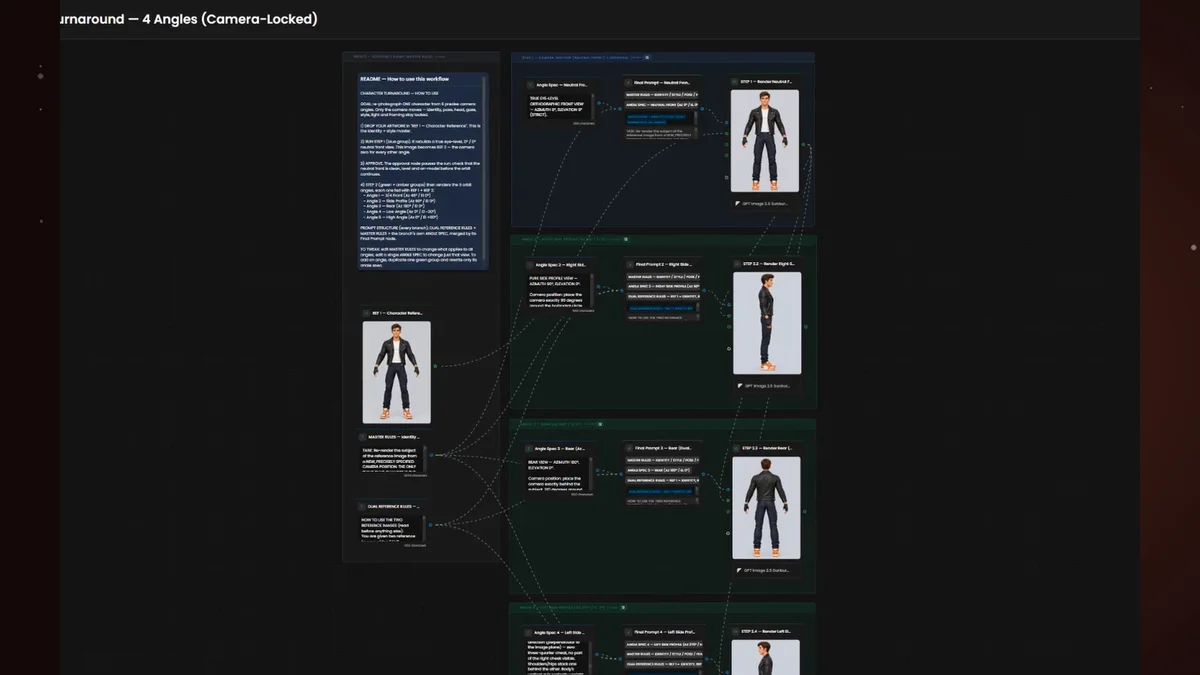
To make the views, use an image editor or a workflow. The example uses a public turnaround workflow, adapted from six angles to four: front, left, back and right.
Whatever you use, keep the same proportions, angles, light, background and pose in every view.
Add the views
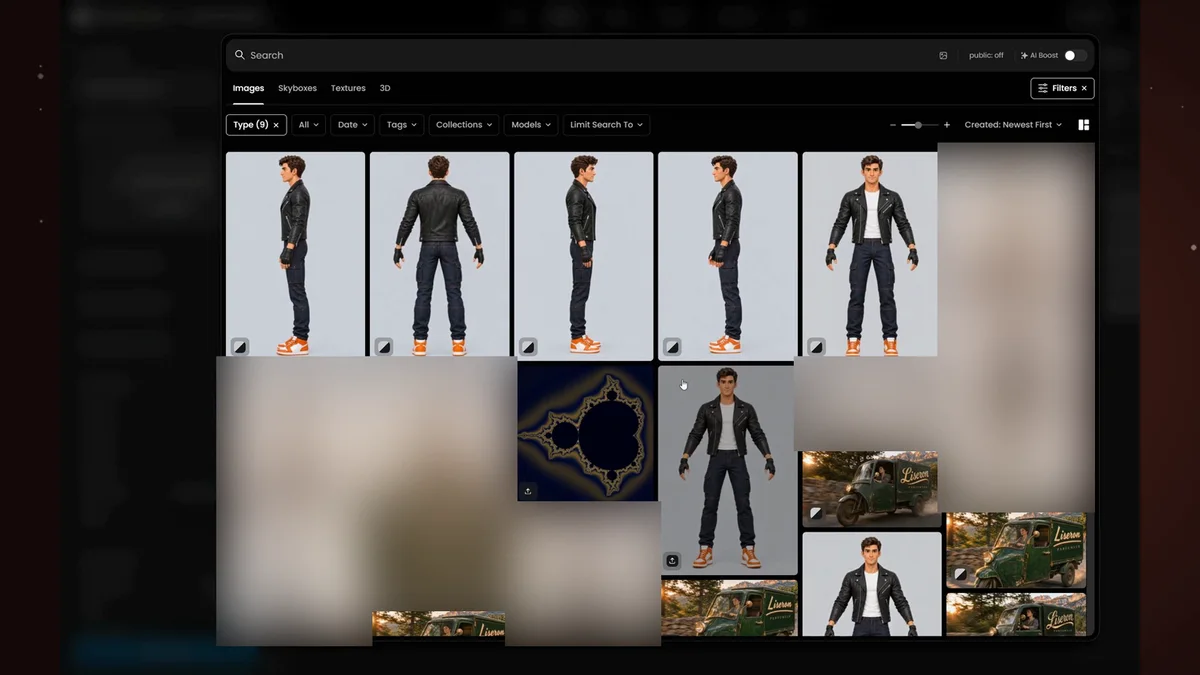
Open Create, then 3D, and pick a multi view model from the model bar: here, Tripo P2 Multi View.
Each slot takes one view. Add the front, then the left, then the back, and the right view if you have it.
Settings and generate
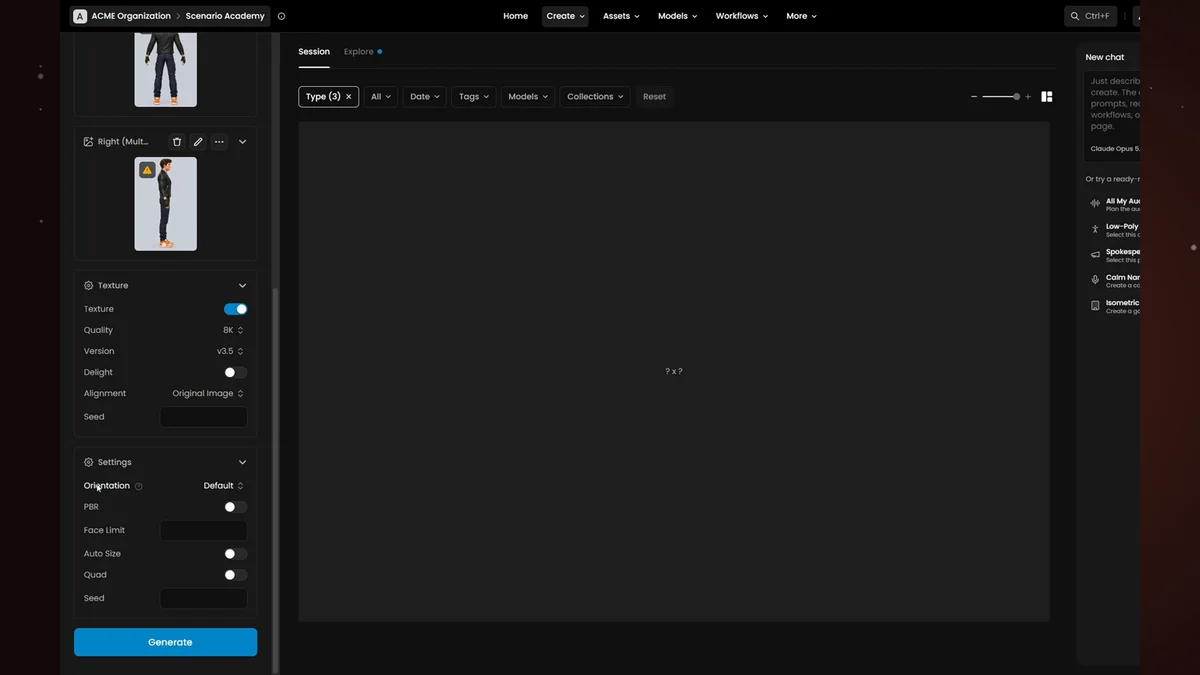
The settings work like in image to 3D. Check them, then click Generate.
Inspect and compare
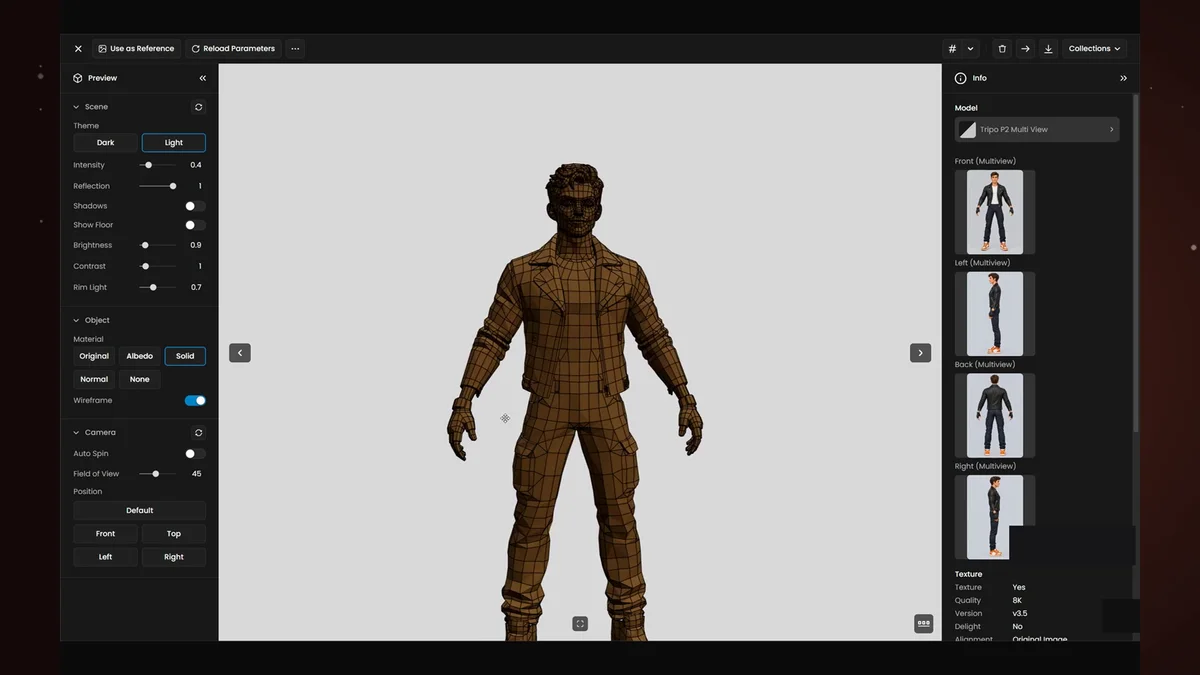
Orbit around the result and check the back. This time, the back comes from your own view, so nothing is guessed.
Turn on the Wireframe to check the topology. The panel on the right lists the four views you used. Next to the single image result, seen from behind, the difference is clear.