

Prompts that repeat
Read how the anatomy-sketch prompt is written, share one framing rule through Prompt Builders, and add the prompts for the pencil, gray sculpt and textured sculpt sheets.
- Guide
- Step 2 Repeat
On this page16 sections
- Before you start
- Step 1: Open the workflow
- Step 2: Read the style prompt
- Step 3: Find the shared rule
- Step 4: Label the switch
- Step 5: Line up the first look
- Step 6: Add Style B, the pencil sketch
- Step 7: Add Final Prompt B
- Step 8: Add Style A, the gray sculpt
- Step 9: Add Final Prompt A
- Step 10: Add Style D, the textured sculpt
- Step 11: Add Final Prompt D
- Step 12: Check the four rows
- Write prompts that repeat
- Common problems
- What's next
A prompt that works once can fail on the next character. This lesson shows how the anatomy-sketch prompt from the last lesson is written so it works every time, on any character, then adds the prompts for the other three sheets of Anatomy reference sheets: a plain pencil sketch, a gray sculpt and a textured sculpt. Every look gets its own style prompt and Prompt Builder, and all four share one framing rule.
Quick version
- Open Anatomy reference sheets and click Switch to Edit Mode.
- Read 2. Style C - Anatomy: what to make, what to keep, the hard rules, then the style.
- Rename the framing node
1. Full Body + 9:16 (empty = keep framing). - For each new look, add a Text node with its style prompt and a Prompt Builder wired to that style and to the framing rule.
- Build each template: style chip, blank line, framing chip. The workflow saves as you work.
Before you start
- What you need: the Anatomy reference sheets workflow from Build your first workflow, with its character, framing rule, 2. Style C - Anatomy, 3. Final Prompt C and 4. Output C - Anatomy.
- Nothing runs in this lesson. You only write and wire prompts. The generators for the three new looks come in the next lesson.
- Two kinds of text: a style prompt changes per look; a shared rule is the same for every look. Write the rule once, in its own node, and let each Prompt Builder add it.
What you add
| Row | Style node | Prompt Builder | The sheet it makes |
|---|---|---|---|
| 1 | 2. Style C - Anatomy (from the last lesson) | 3. Final Prompt C | Pencil sketch with the anatomy in blue |
| 2 | 2. Style B - Pencil | 3. Final Prompt B | Plain pencil sketch |
| 3 | 2. Style A - Gray Sculpt | 3. Final Prompt A | Matte gray clay sculpture |
| 4 | 2. Style D - Textured | 3. Final Prompt D | The sculpture in her real colors and materials |
Step 1: Open the workflow
Open Workflows › Workflows, and on the Project tab, open Anatomy reference sheets. Then click Switch to Edit Mode.
Step 2: Read the style prompt
Click inside the 2. Style C - Anatomy node and scroll to the top. It's written in four parts, and all four prompts in this workflow follow the same order: make, keep, rules, style.
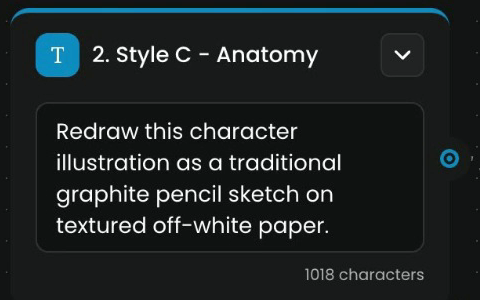
Redraw this character illustration as a traditional graphite pencil sketch on textured off-white paper.

Keep the exact same pose, proportions, silhouette, outfit, camera angle and framing as the source.

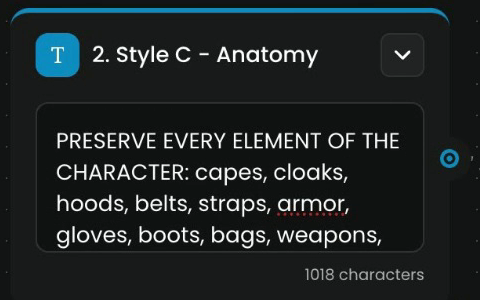
PRESERVE EVERY ELEMENT OF THE CHARACTER: capes, cloaks, hoods, belts, straps, armor, gloves, boots, bags, weapons, wings, tails, jewelry and hair must all be drawn, with the same shape, length and placement as in the reference. Do not remove or simplify any part of the design.

Hand-drawn look: confident construction lines, light underdrawing still visible, expressive contour linework, no cross-hatching. Monochrome graphite only — no color, no digital gradients, no background scenery, just clean paper.

Overlay a drawing of the body anatomy drawn in basic geometry (spheres and cylinders etc.) in clean blue pencil line, revealing the body shape hidden by clothes and equipment.

Style: professional character design study sketch from an artist's sketchbook, figure drawing reference, no text, no watermark.
Part 1, what to make: redraw this character as a pencil sketch, on off-white paper. Start with the job, in one sentence.
Part 2, what to keep: the exact same pose, proportions, outfit and camera angle. Say what must not change, because an image model changes what you don't protect.
Part 3, the hard rules, in capitals, with a list. Models like to tidy a design by dropping a strap or a cape. Naming every kind of part (capes, belts, straps, armor, weapons, wings, tails) stops that, on any character, without naming this character's gear.
Part 4, the style, and what to leave out: "professional character design study sketch", then no text, no watermark. Ending on exclusions keeps labels and signatures off the sheet.
The four parts, as a template
| Part | Answers | In Style C |
|---|---|---|
| 1. Make | What is the output? | A graphite pencil sketch on off-white paper |
| 2. Keep | What must stay the same? | Pose, proportions, silhouette, outfit, camera angle, framing |
| 3. Rules | What must the model never do? | Remove or simplify any part of the design |
| 4. Style | How does it look, and what's left out? | Sketchbook study; no text, no watermark |
The look-specific line sits between the rules and the style. In Style C it's the overlay: the body drawn in basic geometry, spheres and cylinders, in clean blue pencil line.
Step 3: Find the shared rule
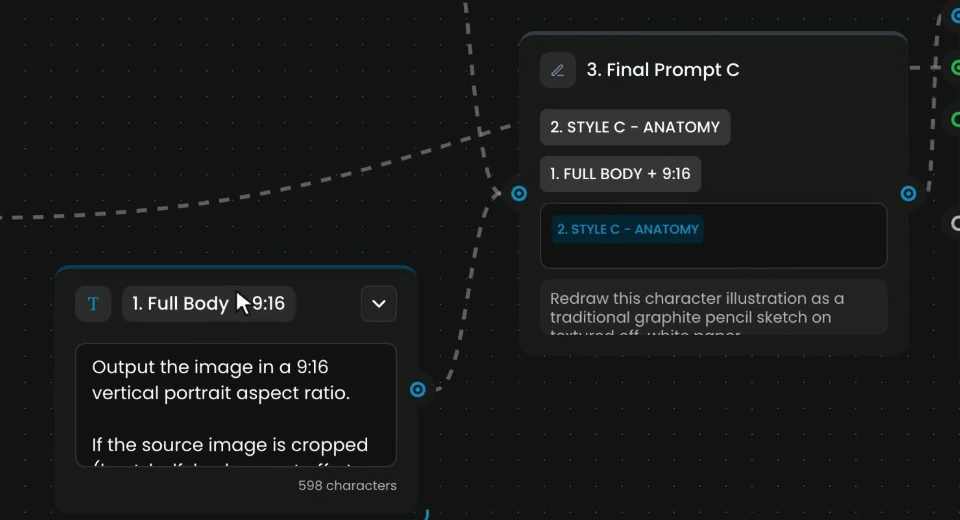
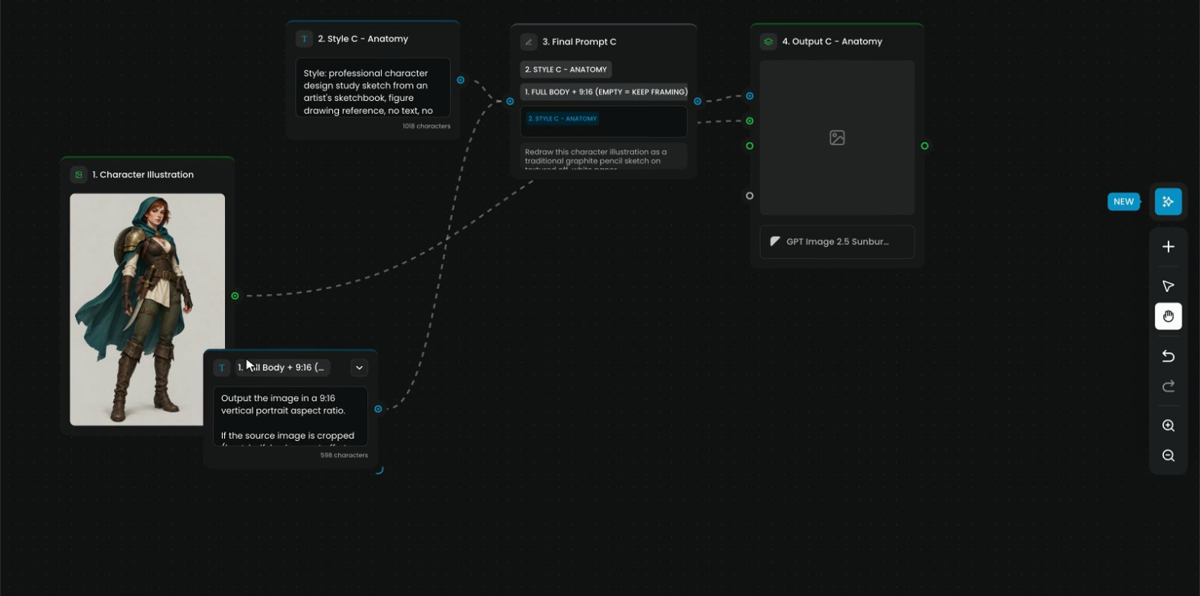
The framing rule isn't written into any style prompt. It lives in 1. Full Body + 9:16, and the Prompt Builder adds it at the end. So there's only one copy to keep up to date: change it once, and every look follows.
Step 4: Label the switch
The framing rule is also a switch. Leave its text empty, and every sheet keeps the image's own framing; fill it, and every sheet becomes a tall, full-body frame. Say so in its name: double-click the title and add:
(empty = keep framing)
The node is now 1. Full Body + 9:16 (empty = keep framing), and the chip in the Prompt Builder updates with it.
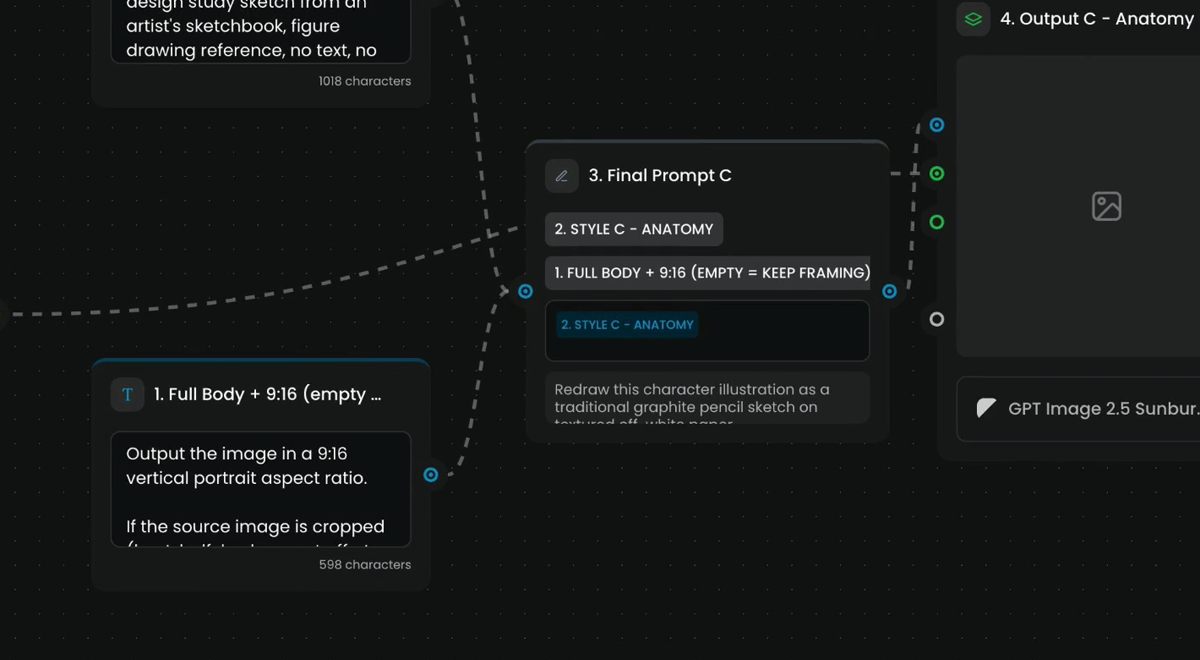
A name that says what a node does saves the next person from reading its text. It matters more once the workflow becomes an App.
Step 5: Line up the first look
Click - in the right toolbar (or press -) to zoom out and make room for three more rows. Line up the first look in a row: the style, then its Prompt Builder, then its generator. Move the framing rule under the character, where every row can reach it.
Step 6: Add Style B, the pencil sketch
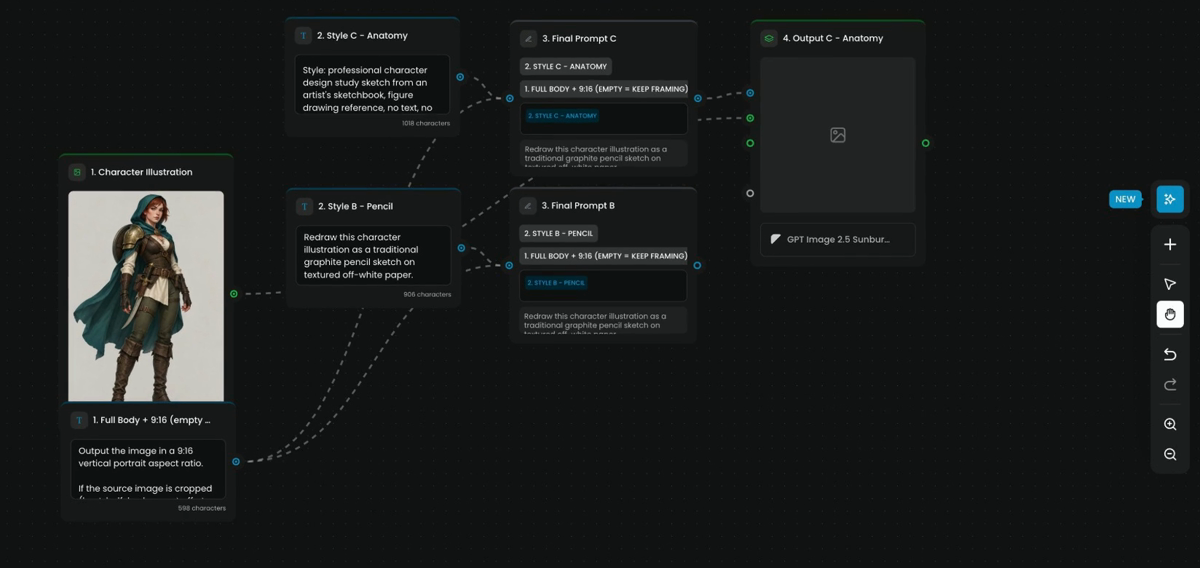
Add a Text node in the second row and name it 2. Style B - Pencil. Paste the pencil sketch prompt. It's Style C without the blue anatomy lines: the same pose and gear, in plain graphite.
Redraw this character illustration as a traditional graphite pencil sketch on textured off-white paper.

Keep the exact same pose, proportions, silhouette, outfit, camera angle and framing as the source.

PRESERVE EVERY ELEMENT OF THE CHARACTER: capes, cloaks, hoods, belts, straps, armor, gloves, boots, bags, weapons, wings, tails, jewelry and hair must all be drawn, with the same shape, length and placement as in the reference. Do not remove or simplify any part of the design.

Hand-drawn look: confident construction lines, light underdrawing still visible, expressive contour linework, no cross-hatching, a few darker accent strokes for depth, subtle eraser highlights. Monochrome graphite only — no color, no digital gradients, no background scenery, just clean paper.

Style: professional character design study sketch from an artist's sketchbook, figure drawing reference, no text, no watermark.
Compare it with Style C: the four parts are the same, and the overlay paragraph is gone. Its last hand-drawn line adds "a few darker accent strokes for depth, subtle eraser highlights".
Step 7: Add Final Prompt B
Add a Prompt Builder next to it and name it 3. Final Prompt B. Wire in the pencil prompt, then the framing rule: the same two chips appear. Click in the template, click the style chip, press Enter twice, then click the framing chip. Look B is ready for its generator.
Step 8: Add Style A, the gray sculpt
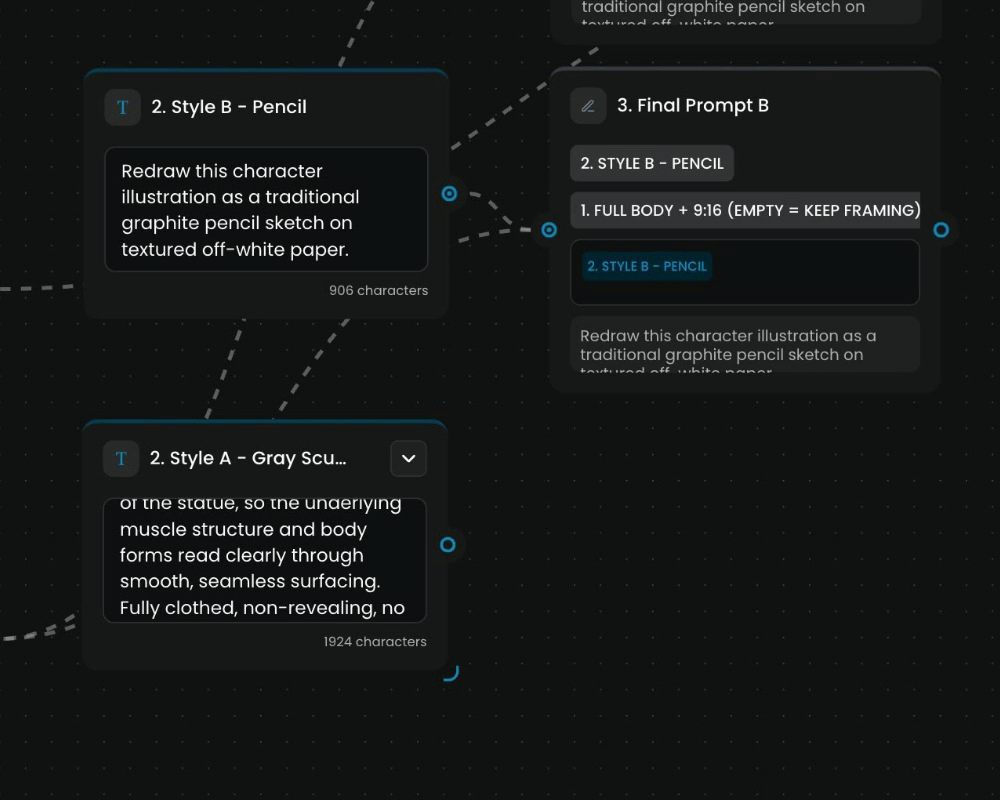
The third row is the gray sculpt. Add a Text node, name it 2. Style A - Gray Sculpt, and paste its prompt:
Convert this character illustration into a neutral gray digital sculpture — an artist's anatomy/form reference maquette, like a ZBrush sculpt rendered with a matte gray matcap material.

Keep the exact same pose, proportions, silhouette, camera angle and framing as the source.

PRESERVE EVERY ELEMENT OF THE CHARACTER. Do not delete, simplify or omit anything that exists in the source image: capes, cloaks, coats, hoods, scarves, skirts, belts, straps, harnesses, armor pieces, pauldrons, gloves, boots, bags, weapons, tools, wings, tails, horns, jewelry, hair strands and any other accessory or equipment must all be present and sculpted as part of the statue, with the same shape, size, length, flow and placement as in the reference. Sculpt hair and flowing fabric (cape, cloak, coat tails) as solid gray sculpted volumes with the same drape and direction of movement. If an element is unclear in the source, sculpt a plausible version of it rather than removing it. Nothing may be replaced by bare body.

Under the outfit, the body reads as a simple, modest, opaque full-coverage form-fitting bodysuit (long sleeves, full legs, high neckline) sculpted as part of the statue, so the underlying muscle structure and body forms read clearly through smooth, seamless surfacing. Fully clothed, non-revealing, no skin exposure beyond head and hands, no suggestive posing — a museum-style study figurine.

Neutralize only SURFACE APPEARANCE, never geometry: remove all color, hair color, fabric texture, patterns, prints, logos and background detail, and render every element — body, outfit, cape, hair, gear — in one uniform mid-gray clay material with soft studio lighting, gentle specular matcap shading and a subtle rim light, on a plain neutral dark gray backdrop.

Style: professional anatomy study reference, sculpting maquette, clean topology and clearly defined muscle groups and form volumes, no text, no watermark.
It asks for a matte gray clay sculpture. Its key line: change only the surface, never the shape ("Neutralize only SURFACE APPEARANCE, never geometry"). So every cape and strap stays, in gray. The rules part is longer here, because a sculpt tempts a model to replace clothes with bare body: the prompt says "Nothing may be replaced by bare body" and keeps the figure fully clothed.
Step 9: Add Final Prompt A
Add its Prompt Builder, name it 3. Final Prompt A, and wire in the style and the framing rule. Then build it the same way: style chip, blank line, framing chip.
Step 10: Add Style D, the textured sculpt
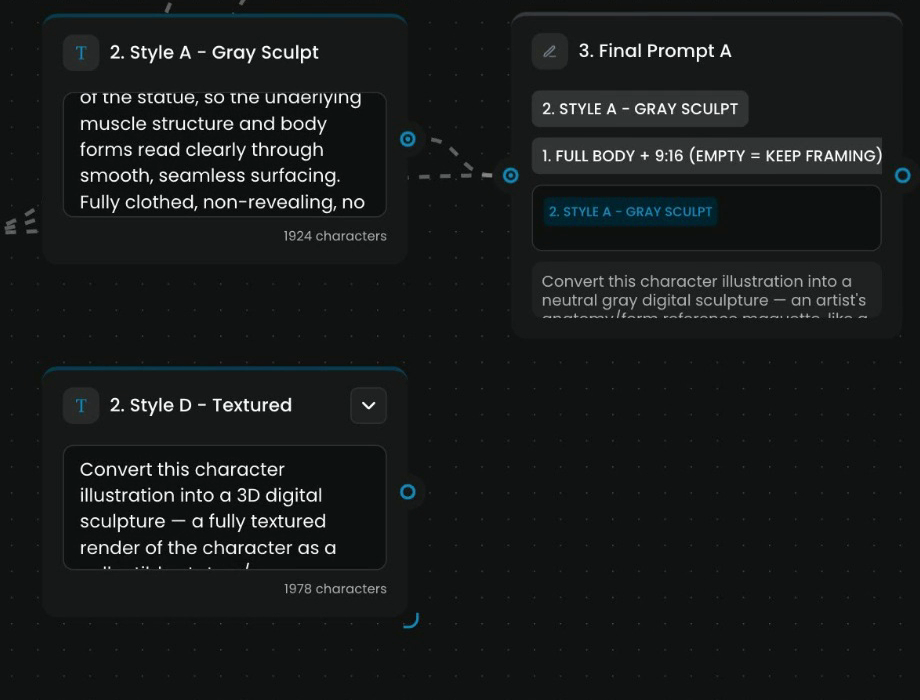
The last row is the textured sculpt. Add a Text node, name it 2. Style D - Textured, and paste its prompt:
Convert this character illustration into a 3D digital sculpture — a fully textured render of the character as a collectible statue / game-ready model, like a ZBrush sculpt with the original color textures and materials applied.

Keep the exact same pose, proportions, silhouette, camera angle and framing as the source.

KEEP THE ORIGINAL COLORS AND TEXTURES. Match the character's palette exactly as seen in the reference: skin tone, hair color, eye color, and every color of the outfit, cape, armor and accessories. Reproduce the material qualities of each part — matte or worn fabric with visible weave, brushed or scratched metal with real specular highlights, glossy leather, rough stone, translucent gems, glowing emissive parts — so each surface reads as its real material, not as clay.

PRESERVE EVERY ELEMENT OF THE CHARACTER. Do not delete, simplify or omit anything that exists in the source image: capes, cloaks, coats, hoods, scarves, skirts, belts, straps, harnesses, armor pieces, pauldrons, gloves, boots, bags, weapons, tools, wings, tails, horns, jewelry, hair strands and any other accessory or equipment must all be present and sculpted, with the same shape, size, length, flow and placement as in the reference. Sculpt hair and flowing fabric as solid volumes with the same drape and direction of movement. If an element is unclear in the source, sculpt a plausible version of it rather than removing it.

The figure is fully clothed and modest — no skin exposure beyond what the outfit already leaves visible, no suggestive posing. A display statue.

Render it as a clean 3D render: crisp sculpted geometry, high-detail surface work, soft neutral studio lighting with a subtle rim light, soft contact shadows, on a plain neutral dark gray backdrop. No painted-illustration look, no 2D shading — it must read as a physical sculpted and painted figure.

Style: professional character turnaround render, collectible figure product shot, no text, no watermark.
It's the same sculpture, but in her real colors and materials: worn fabric, glossy leather, brushed metal, the teal of her cape. Its own rule, "KEEP THE ORIGINAL COLORS AND TEXTURES", sits before the usual PRESERVE list.
Step 11: Add Final Prompt D
Add 3. Final Prompt D, wire in the style and the framing rule, and build the prompt.
Step 12: Check the four rows
Four styles, four Prompt Builders, one shared rule. The workflow saves as you work, and Cmd+S (Ctrl+S on Windows) saves right away, so you can close it with the X at the top left once the four rows check out.
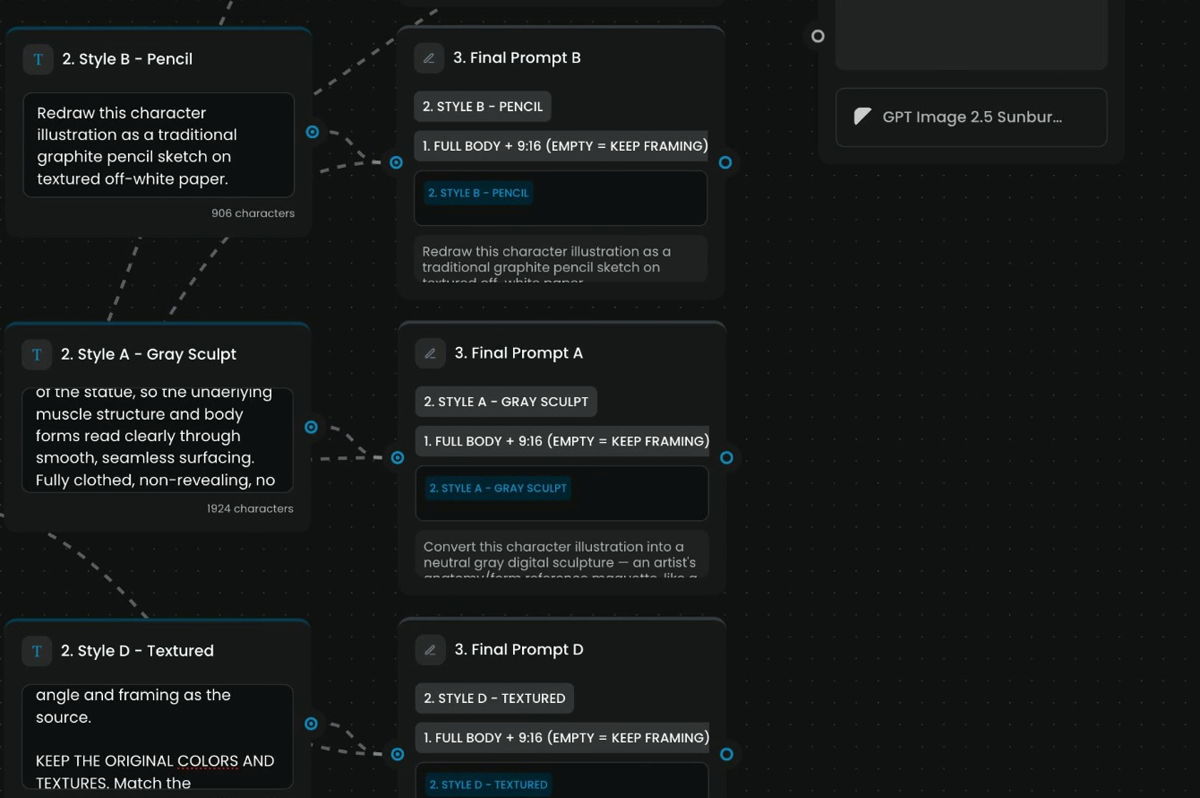
there are four style nodes and four Prompt Builders; each Prompt Builder has two chips, its own style and the framing rule; each template reads style, blank line, framing; the preview under each one starts with the right look ("Redraw..." for B and C, "Convert..." for A and D).
a Prompt Builder shows only one chip (a wire is missing); a template holds the style chip twice or the wrong style; two looks share one style node; the framing text was pasted into a style prompt instead of wired in.
Write prompts that repeat
- One job per prompt. The first sentence says what to make. Everything after it supports that sentence.
- Protect what must not change. List pose, proportions, outfit, camera angle and framing. An edit model keeps what you name and is free with the rest.
- Name kinds, not instances. "Capes, belts, straps, weapons" works on a knight, a pilot or a dragon. "Her teal cape" works on one character.
- Capitals for the rules that matter most. Use them sparingly, for the one or two rules a model tends to break.
- End with what to leave out. No text, no watermark, no background scenery.
- Keep shared text out of the styles. Put it in its own Text node and join it with a Prompt Builder. To change the house rule, change one node.
- Vary one thing at a time. Style B is Style C minus one paragraph. When you add a look, start from the closest prompt and change only what differs.
Prompt Builder limits
Each text input to a Prompt Builder holds about 1,000 to 2,000 characters, and the joined prompt about 5,000, depending on the model it goes to. The longest prompt here, Style D, is 1,978 characters, plus 598 for the framing rule.
Common problems
| What you see | What to do |
|---|---|
| A Prompt Builder shows one chip | Wire the missing text into its text port. Each wire adds a chip |
| The preview shows only the style | The framing chip isn't placed in the template. Click in the box, then click the chip |
| A sheet loses a strap, a cape or a weapon | Add that kind of part to the PRESERVE list of its style prompt |
| The sculpt shows bare skin where clothes were | Keep Style A's "Nothing may be replaced by bare body" and its fully clothed line |
| You want each sheet in the image's own framing | Empty the text of the framing node; leave the node and its wires in place |
| Two looks come out the same | Check each Prompt Builder is wired to its own style node, not to Style C twice |
What's next
The four prompts are ready. In Batches, loops and logic, you give each look a generator, chain them, and run the whole workflow. For more on writing prompts outside workflows, see Prompt images.