

Get legible text and typography in images
Prompt GPT Image 2.6 for legible text in a scene, put your own logo on an existing image with reference images, and set the type in code when the wording must be exact or change often.
- Guide
- Step 1 Learn
On this page11 sections
- Before you start
- Step 1: Pick the model and describe the scene
- Step 2: Write the text exactly
- Step 3: Generate and read every letter
- Step 4: Add your image and your logo as references
- Step 5: Ask for the logo, keep the rest
- Step 6: Check the logo letter for letter
- Which route to use
- Set the text in code
- Common problems
- What's next
The best image models now spell short text right most of the time. In this lesson, GPT Image 2.6 Sunburst paints a perfumer's name on the side of a delivery cart from the prompt alone. Then, with a logo that already exists, it paints that exact logo onto a cart with no lettering, using reference images.
Quick version
- Pick GPT Image 2.6 Sunburst and describe the scene.
- Put each piece of text in quotes after "reads exactly", typed just as it should appear. Say how it looks and where it sits.
- End with "no other text", and name the places stray text could appear. Click Generate.
- Zoom in and read every letter.
- To use your own logo, add the image and the logo under Reference Images, and ask the model to paint the logo from image 2 on image 1.
Before you start
- Approve the wording first. The model paints exactly what you type, typos included. Get the text signed off before you generate, not after.
- Keep it short. A name, a title, a short tagline. The more words, the more chances one comes out wrong. Long copy, small print and anything legal belongs in a layout tool (see Set the text in code).
- Know your two routes. If the text doesn't exist yet as artwork, write it in the prompt (Steps 1 to 3). If you already have the exact lettering, like a logo, give it to the model as a reference image (Steps 4 to 6).
- Where it lives. Both routes use the image generation panel, under Create. The cost of each run shows on the Generate button.
Step 1: Pick the model and describe the scene
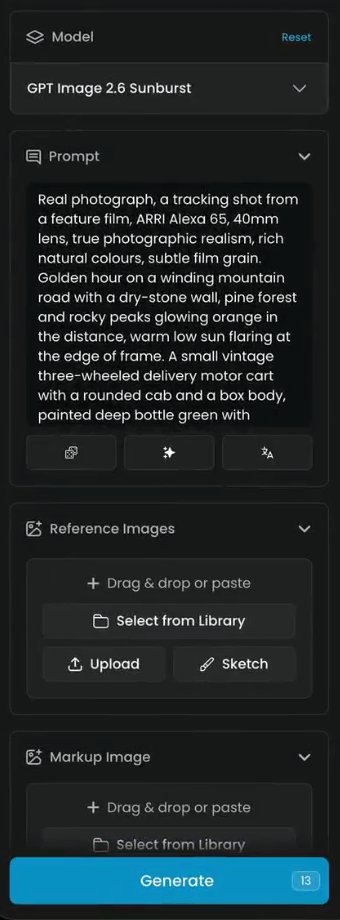
Under Model, pick GPT Image 2.6 Sunburst. In Prompt, describe the scene first: the kind of image, the setting, the light, the subject. The film's prompt starts with the camera and the place (a tracking shot on a mountain road at golden hour), then the cart and its driver.
Step 2: Write the text exactly
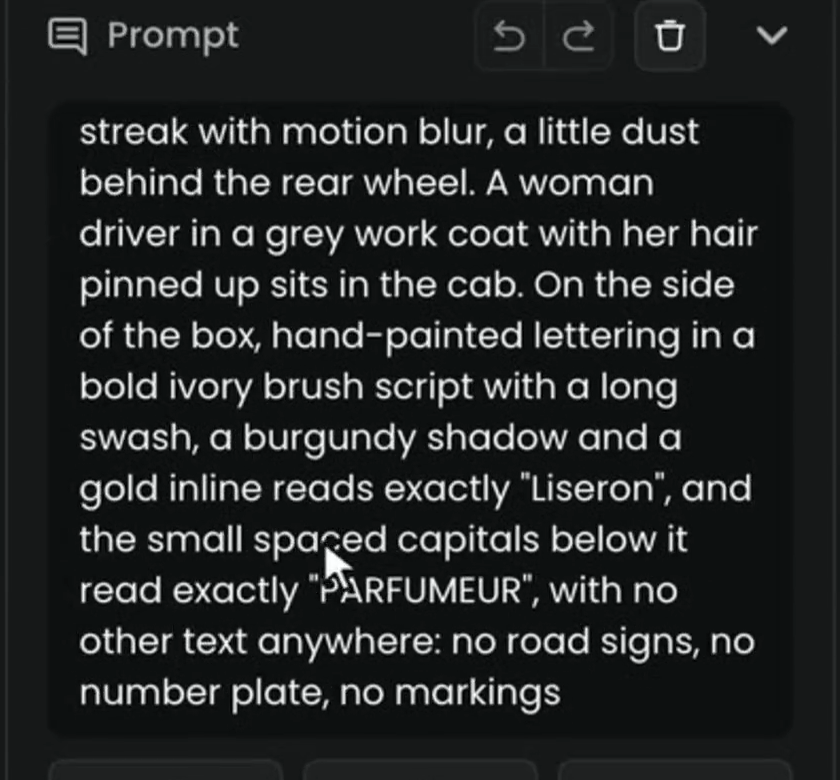
The lettering goes at the end of the prompt. This is the part of the film's prompt that sets it, word for word:
On the side of the box, hand-painted lettering in a bold ivory brush script with a long swash, a burgundy shadow and a gold inline reads exactly "Liseron", and the small spaced capitals below it read exactly "PARFUMEUR", with no other text anywhere: no road signs, no number plate, no markings
Three rules make it work:
- Put each piece of text after "reads exactly", in quotes, typed just as it should appear. The model copies what's between the quotes. Capitals, and even a full stop, show up in the picture. "Liseron" comes out in upper and lower case; "PARFUMEUR" in capitals.
- Say how it looks and where it sits. Name the surface ("on the side of the box"), the style ("a bold ivory brush script with a long swash"), the details ("a burgundy shadow and a gold inline") and how the lines relate ("the small spaced capitals below it"). Keep the words themselves short.
- End with "no other text", and name the places it could appear. Models like to add text: road signs, number plates, labels. Listing them ("no road signs, no number plate, no markings") keeps the picture clean, so the only words in it are yours.
Step 3: Generate and read every letter
Click Generate. The result opens in the viewer.
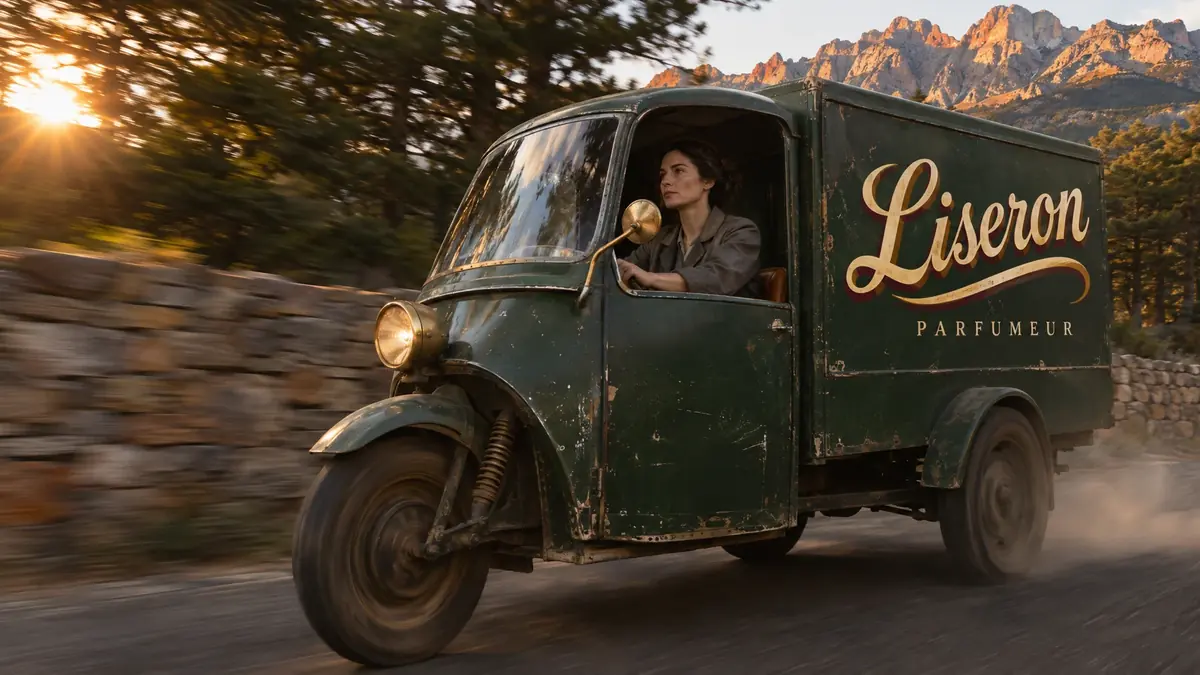
Don't judge the text at the size the viewer opens at. Zoom in and read each word, letter by letter. Here both are right.
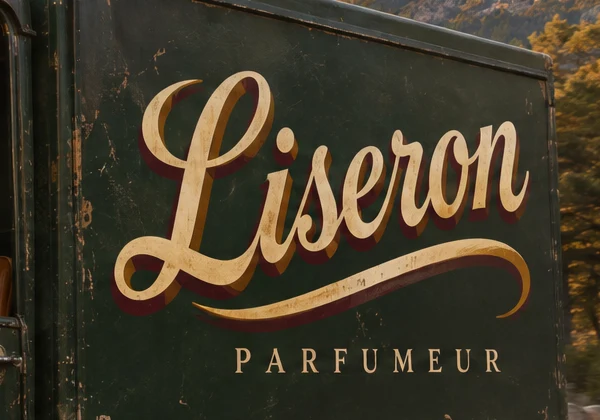
every word reads exactly as in the prompt, letter for letter, with the same capitals and punctuation; the lettering sits where you asked and follows the surface; and there is no other text anywhere in the image.
a letter is missing, doubled or swapped, the case changed, a word you didn't ask for appeared (a sign, a label, a plate), or the lettering floats instead of sitting on the surface. Generate again, or shorten the text.
Step 4: Add your image and your logo as references
If you already have the exact text, like a logo, and want it on an existing image, don't retype it: add it as a reference.
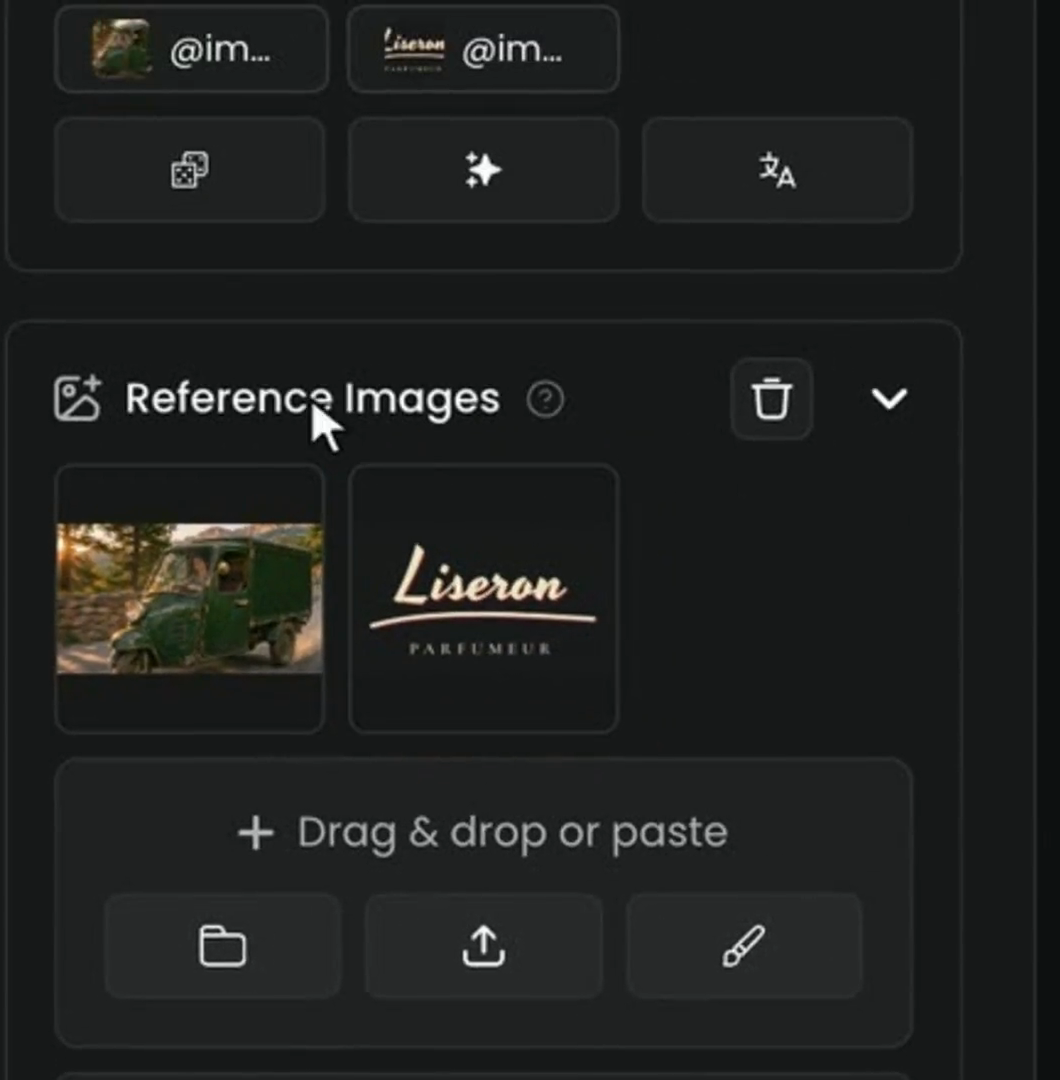
Open Reference Images and add two images, in this order:
- Image 1: the cart without lettering, the image you want to keep.
- Image 2: the logo.
You can drag and drop or paste them, choose them with Select from Library, or Upload them. Each one also appears as a chip under the prompt (@im...), so you can point to it.
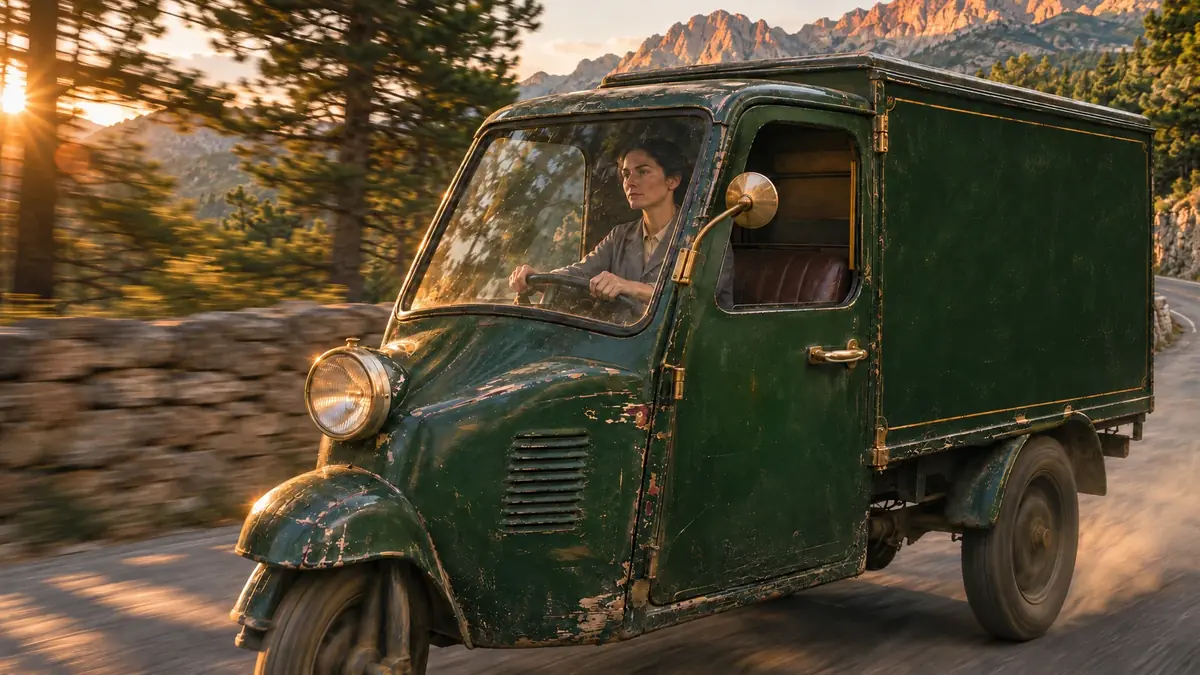
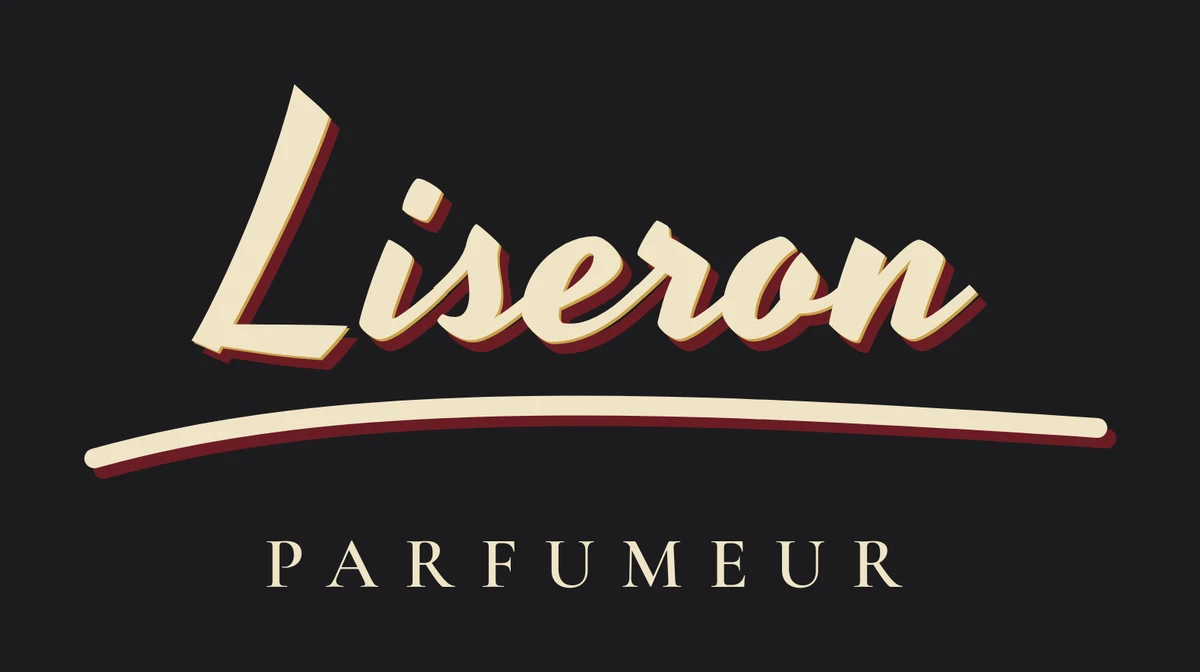
The order matters: the prompt calls them image 1 and image 2.
Step 5: Ask for the logo, keep the rest
Keep GPT Image 2.6 Sunburst. In Prompt, ask the model to paint the logo from image 2 on the cart, and to keep everything else the same. The film's prompt:
Paint the logo from image 2 on the side panel of the cart in image 1, as hand-painted sign-writing that follows the panel's angle. Keep every letter, the swash and the colours of the logo exactly as in image 2. Keep everything else in image 1 exactly the same. No other text.
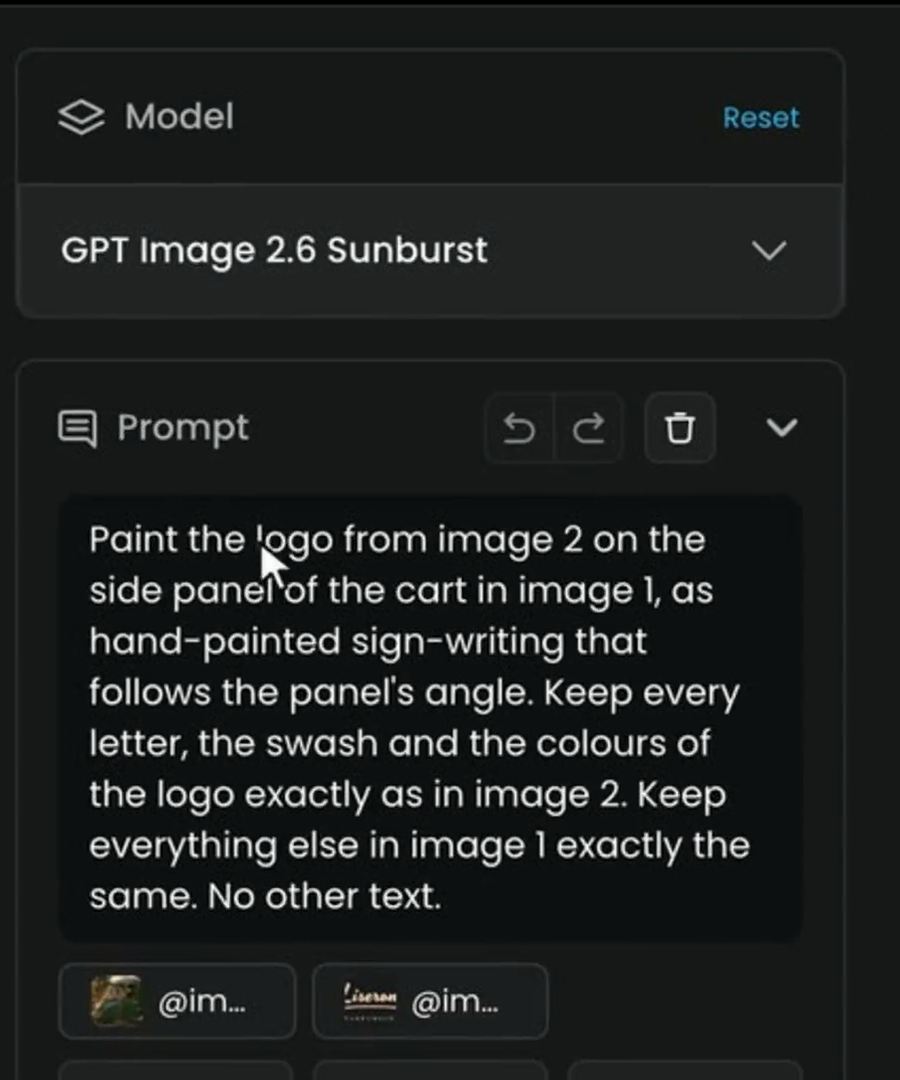
The prompt does four things: it says where the logo goes and how it's applied ("follows the panel's angle"), what must not change in the logo (every letter, the swash, the colors), what must not change in the image, and that no other text should appear.
Click Generate. In the film, this ran with Image Count 1, Width 2,048, Height 1,152, Output Format PNG and Quality High.
Step 6: Check the logo letter for letter
The logo is on the cart, letter for letter, following the panel.
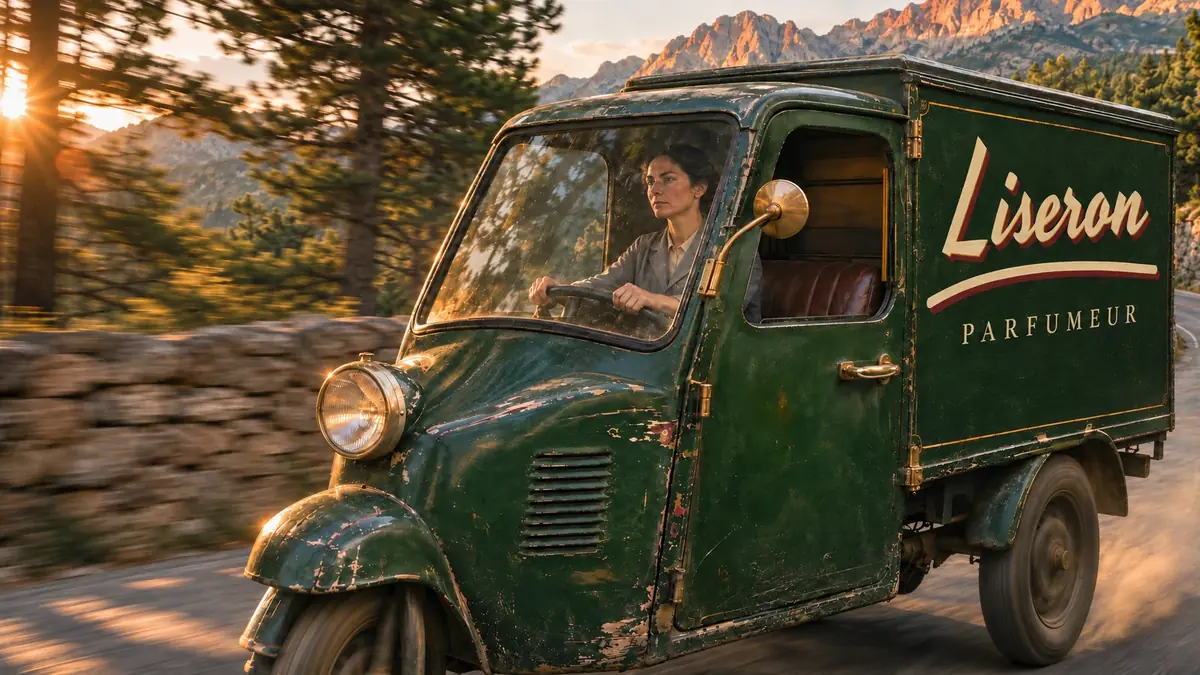
Compare it with the logo, not with your memory of it: the letter shapes, the swash, the colors, the spacing of the capitals. Then check that the rest of image 1 (the driver, the road, the light) didn't change.
Which route to use
| You have | Use | Why |
|---|---|---|
| Short new text: a name, a title, a tagline | The text in the prompt (Steps 1 to 3) | Fast, and the lettering is drawn into the scene with its light and surface |
| Exact lettering that already exists: a logo, a wordmark | The lettering as a reference image (Steps 4 to 6) | The model copies the artwork instead of redrawing it from words |
| Long copy, small print, legal lines, prices, translations, text in video | Set it in code or a layout tool | It must be exact, and it changes often |
Models for text
| Model | Good for | Notes |
|---|---|---|
| GPT Image 2.6 Sunburst | Lettering in a scene, and editing with reference images | The model used in this lesson. Use Quality High when the image has small text |
| Ideogram 4.5 | Text-first designs: posters, logos, menus, packaging, app screens, signage | Write every piece of text in quotes with where it sits and how it looks. Turn Magic Prompt off when wording and numbers must be followed word for word |
| Ideogram 4.5 Precise Edit | Changing the text on an existing image and nothing else | Write the edit first, then list everything that must stay unchanged |
Whatever the model, read every letter. A text-first model can still add lettering you didn't ask for. On this poster, Ideogram 4.5 got the title and tagline right, and filled the neon sign in the background with invented letters:
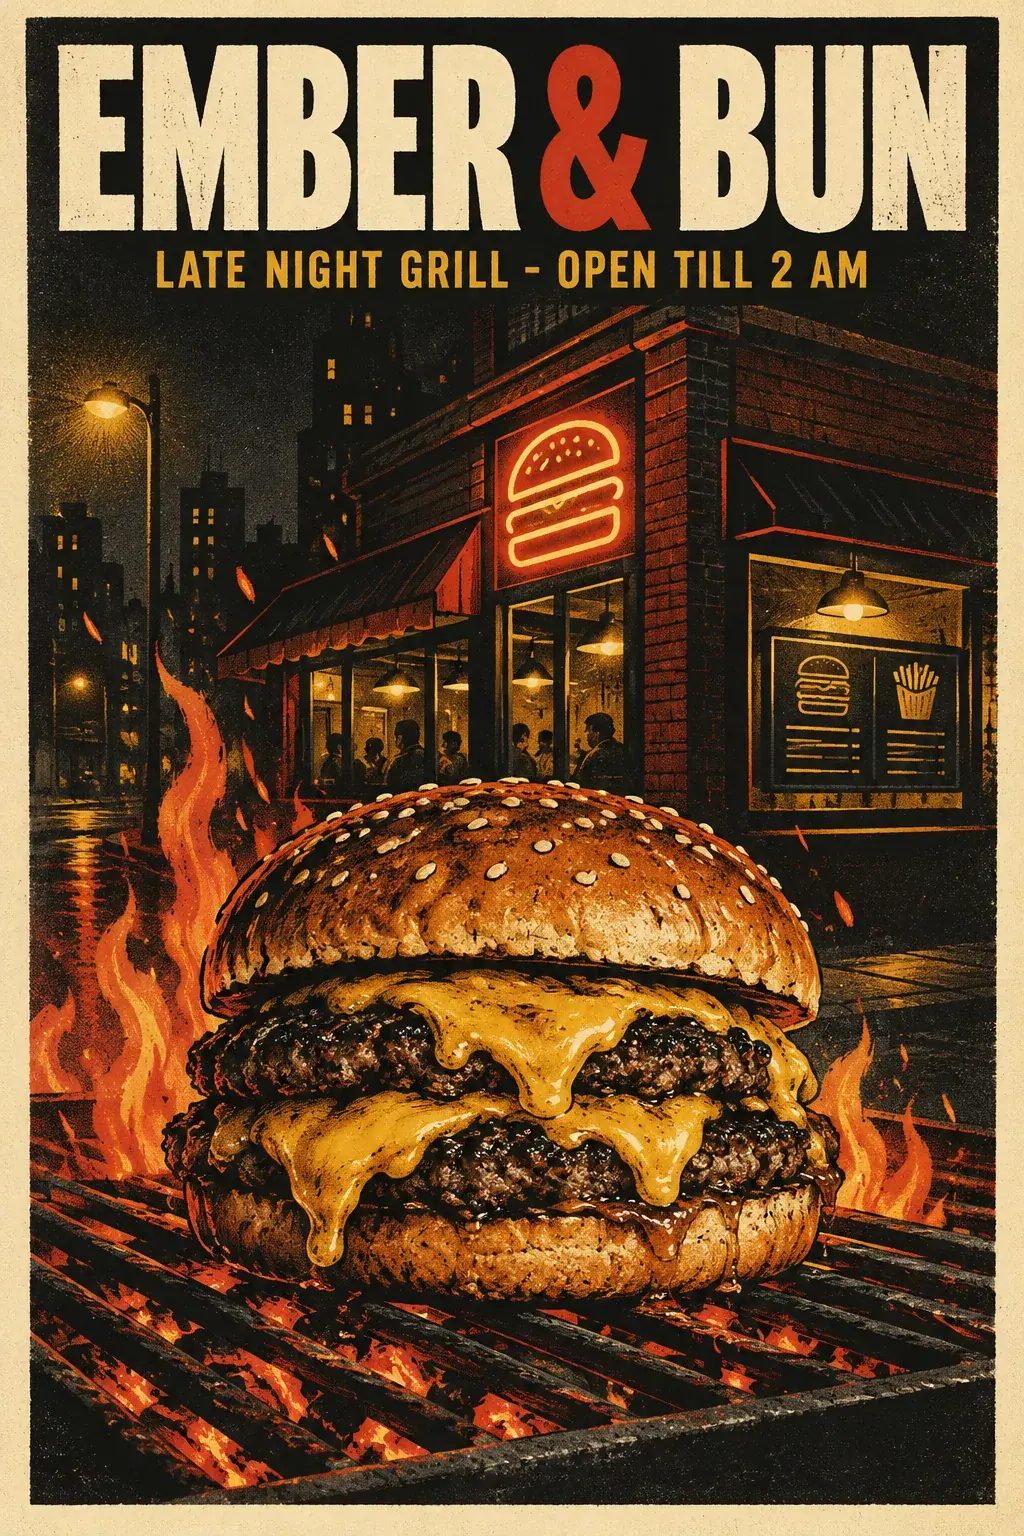
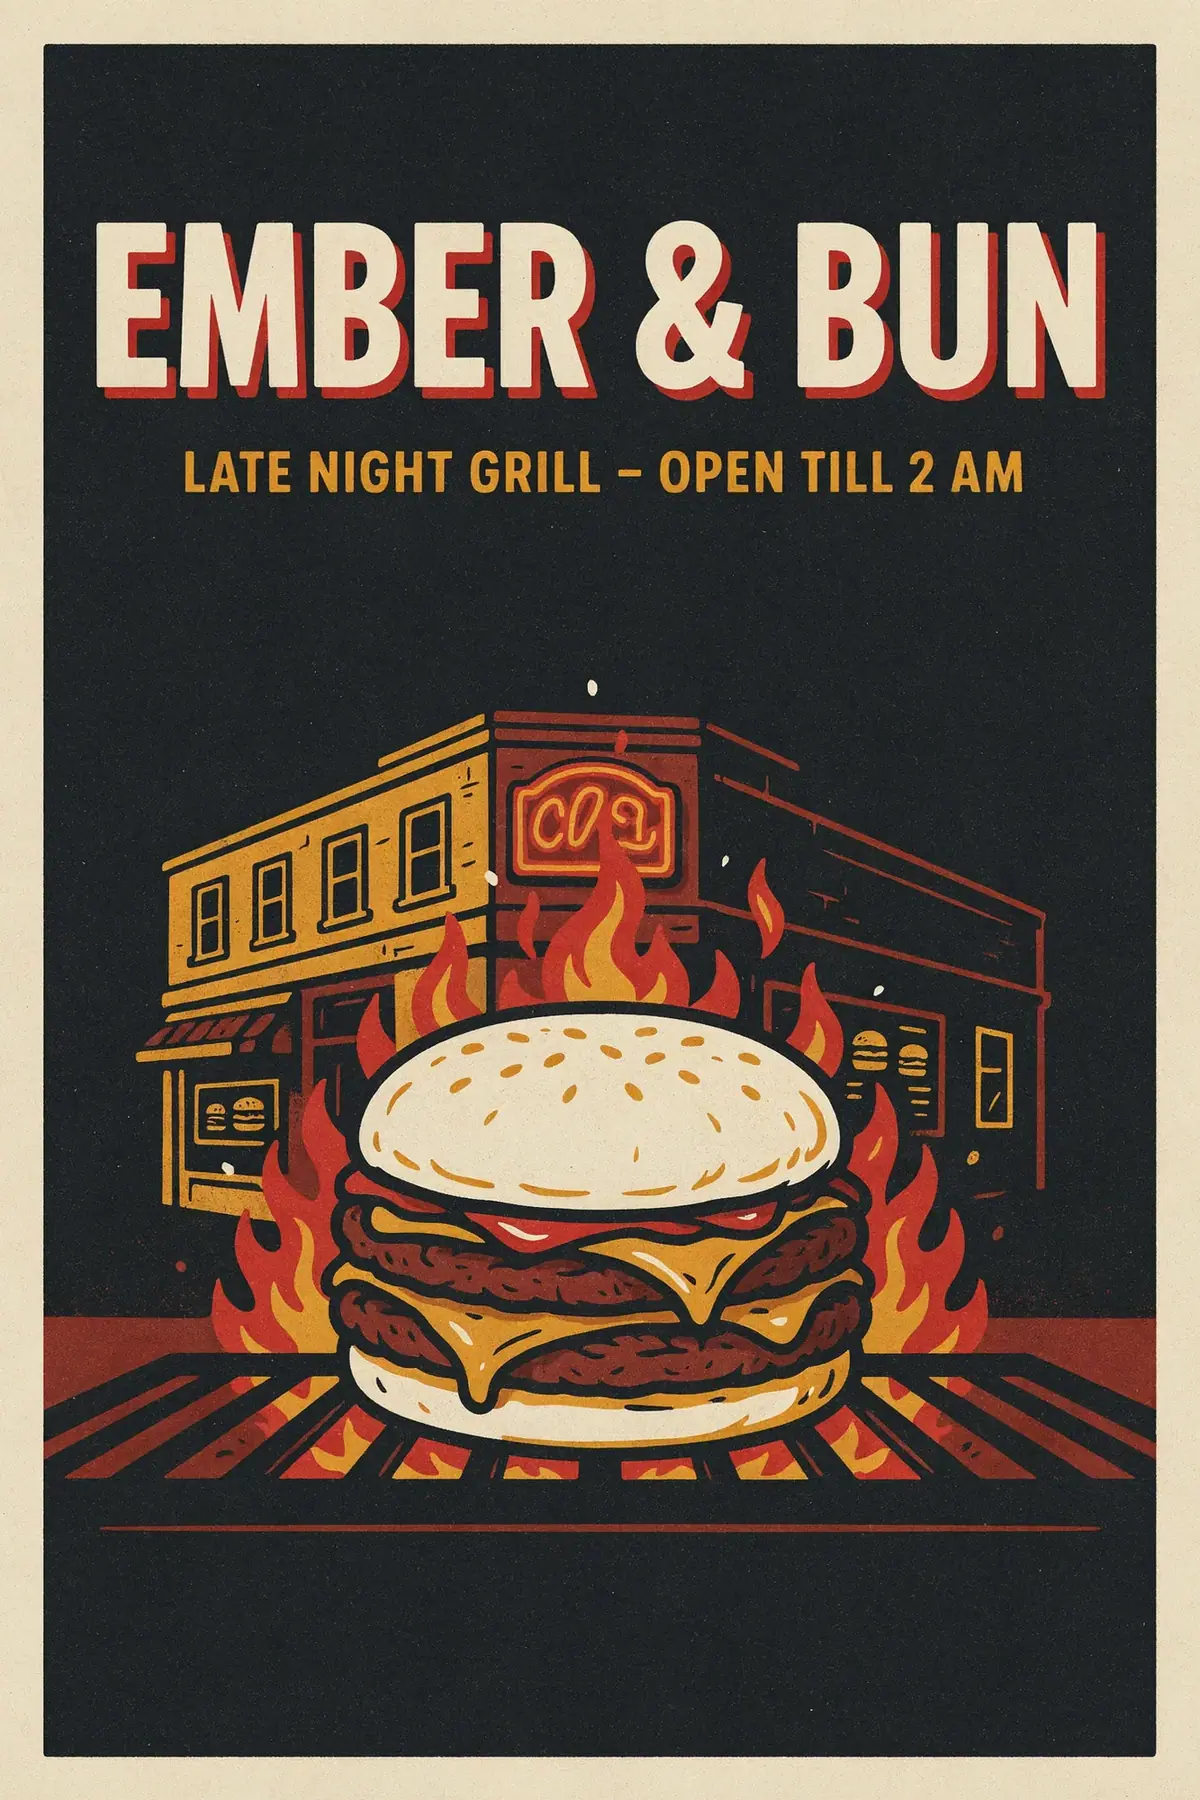
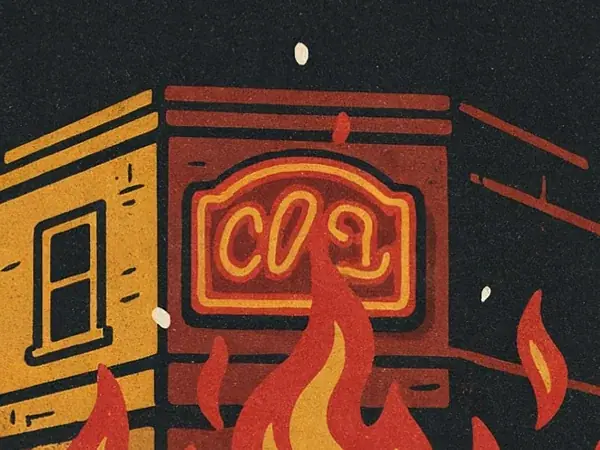
That's why the prompt in Step 2 ends with "no other text" and names the places it could appear.
Set the text in code
When the wording must be exact, is long, or changes often, don't ask the model for it. Generate the image with no text and leave room for it, then set the type on top in your layout tool or in code. This is the right route for:
- legal lines, small print and prices;
- translations, where one image needs the same layout in several languages;
- text in video, which a video model can redraw or warp from frame to frame;
- anything that changes often, like a date or an offer.
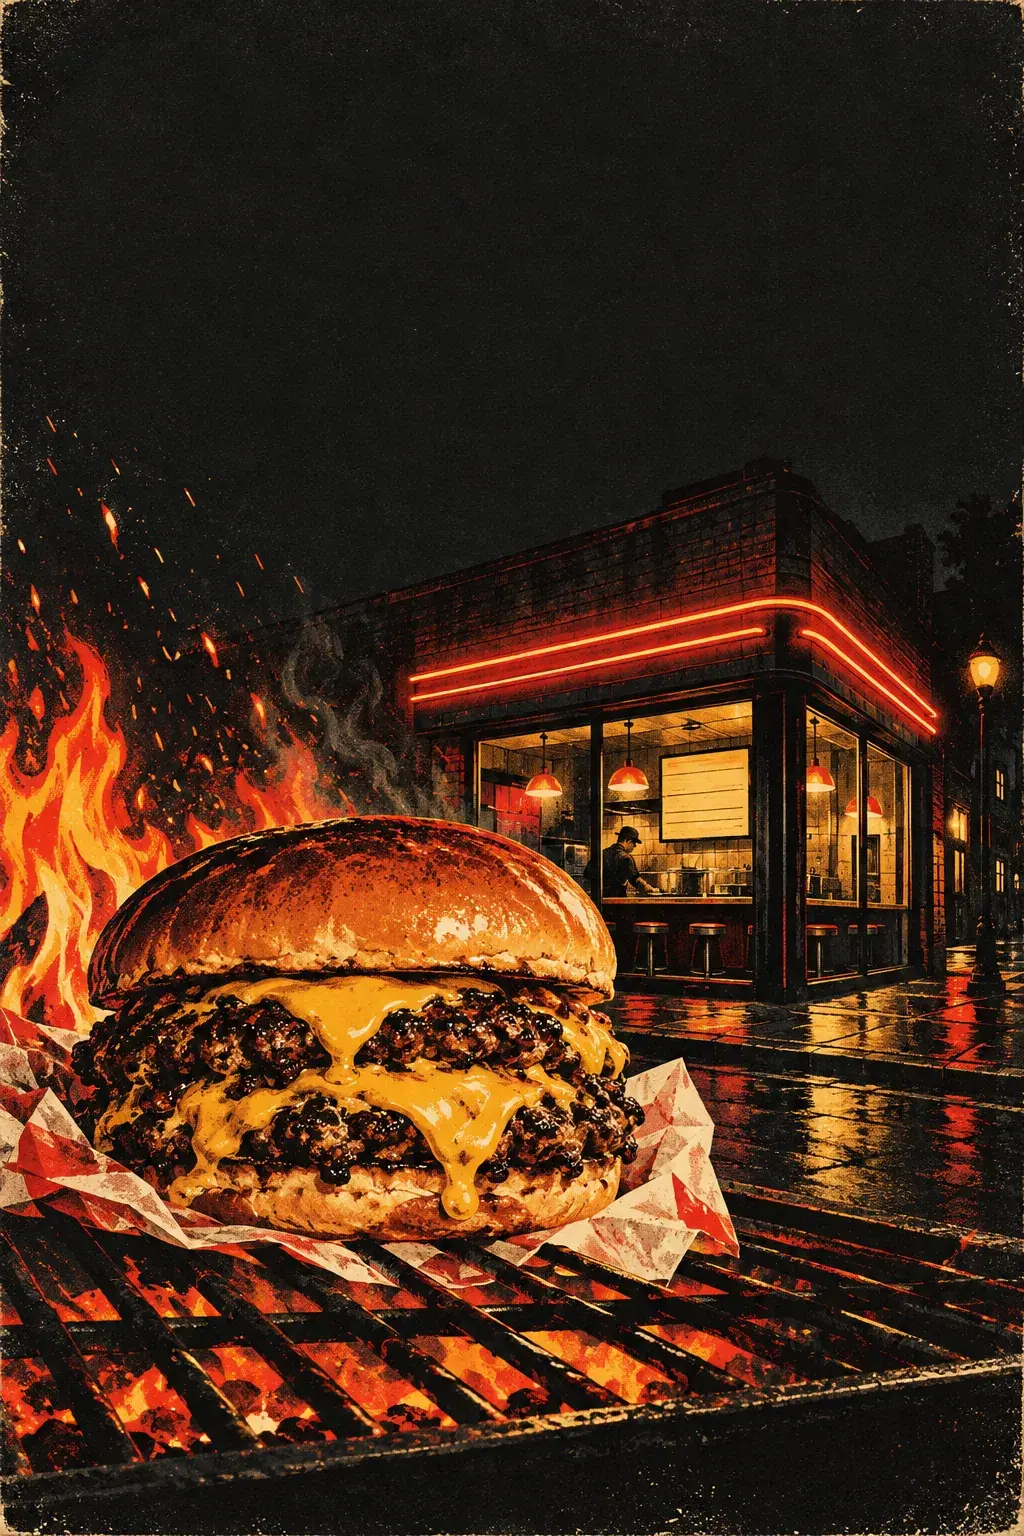
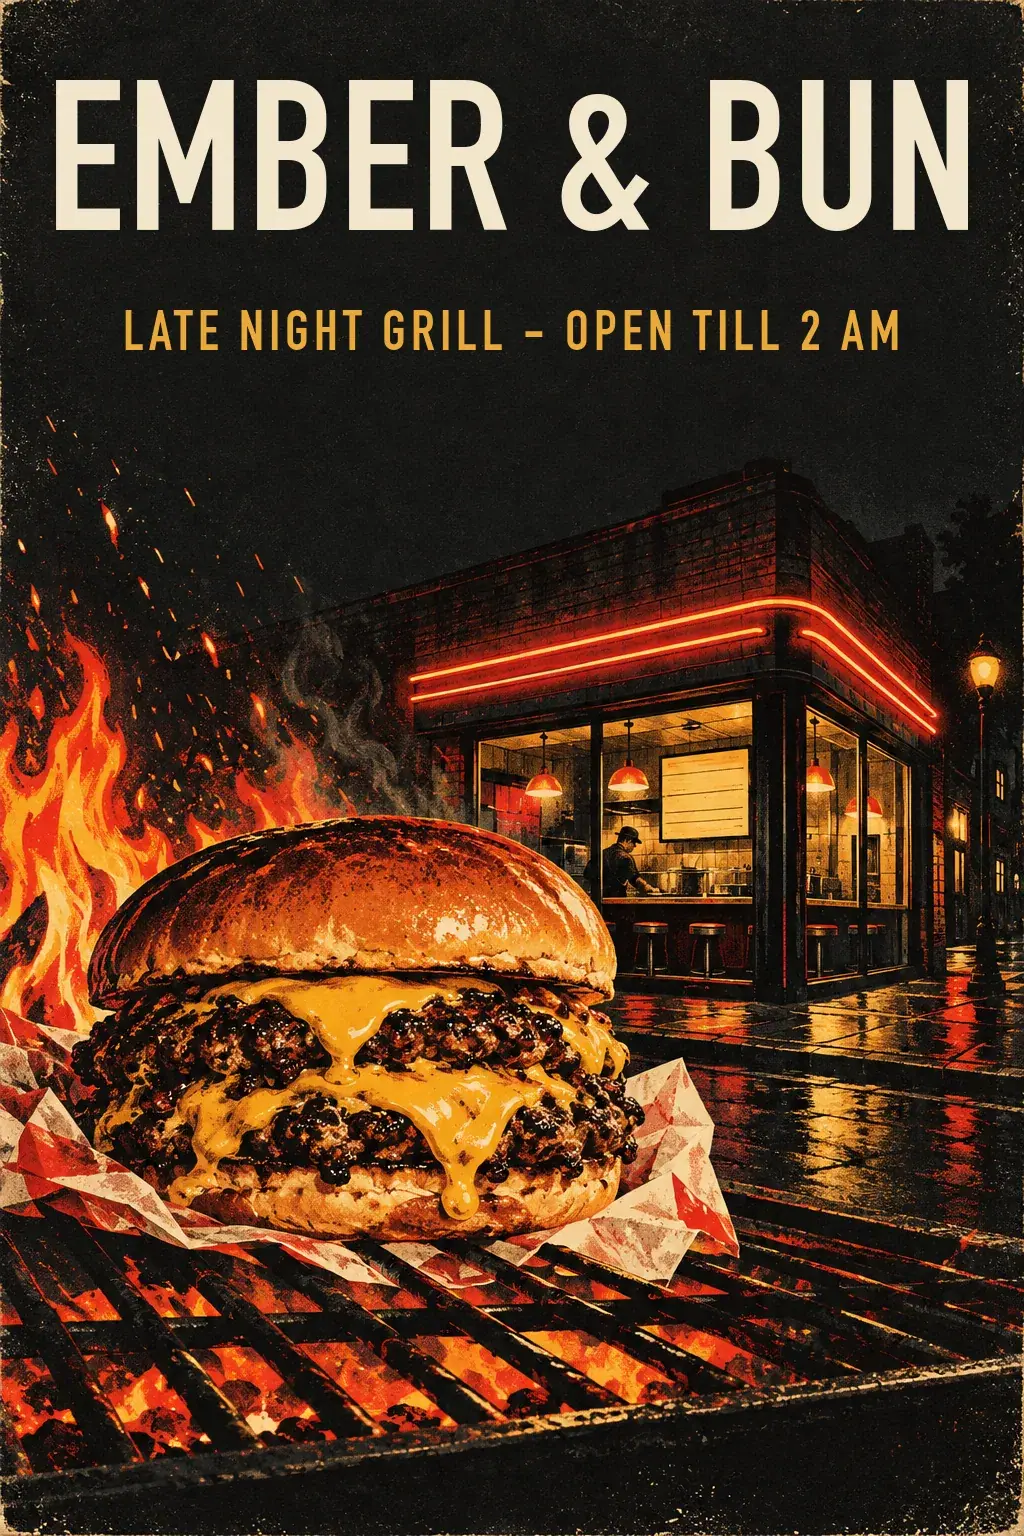
To leave room, ask for it in the prompt (for example, an empty dark area at the top) and add "no text" so the model doesn't fill it.
Common problems
| What you see | What to do |
|---|---|
| A letter is missing, doubled or swapped | Shorten the text, put it in quotes after "reads exactly", and generate again |
| The capitals came out wrong | Type the text in quotes exactly as it should appear: the model copies the case |
| Extra words appeared on signs, labels or plates | End the prompt with "no other text" and name each place it could appear |
| The lettering looks pasted on, not painted | Name the surface and the technique ("hand-painted on the side of the box") and ask it to follow the surface's angle |
| The logo changed shape or color | Use the logo as a reference image and say "keep every letter, the swash and the colors exactly as in image 2" |
| The rest of the image changed when adding the logo | Add "keep everything else in image 1 exactly the same", and check that the image to keep is image 1 |
| Small text is blurry | Use Quality High, keep the text larger in the frame, or set it in code |
| The text must be long, legal or translated | Generate with no text and set it in code |
What's next
Text is one part of a good prompt: Prompt images covers the rest, from subject to constraints. To put lettering to work in a full campaign, see Key art and store assets. Next in this course, Live generation shows how to sketch on a canvas and watch a model render it as you draw.