

Process your 3D model
Remesh, UV unwrap and texture a 3D model in one run: retopology from about 800,000 triangles to under 5,000 faces, UV unwrapping into larger islands, then retexture with the original image or a new reference.
- Guide
- Step 1 Learn
Run it in ScenarioTripo Retopology Tencent UV Unwrapping Tripo 3.0 Texturing Meshy 7 - Retexture
On this page4 sections
This lesson takes a finished 3D model and processes it, step by step, in one workflow.
The Optimize 3D Model workflow
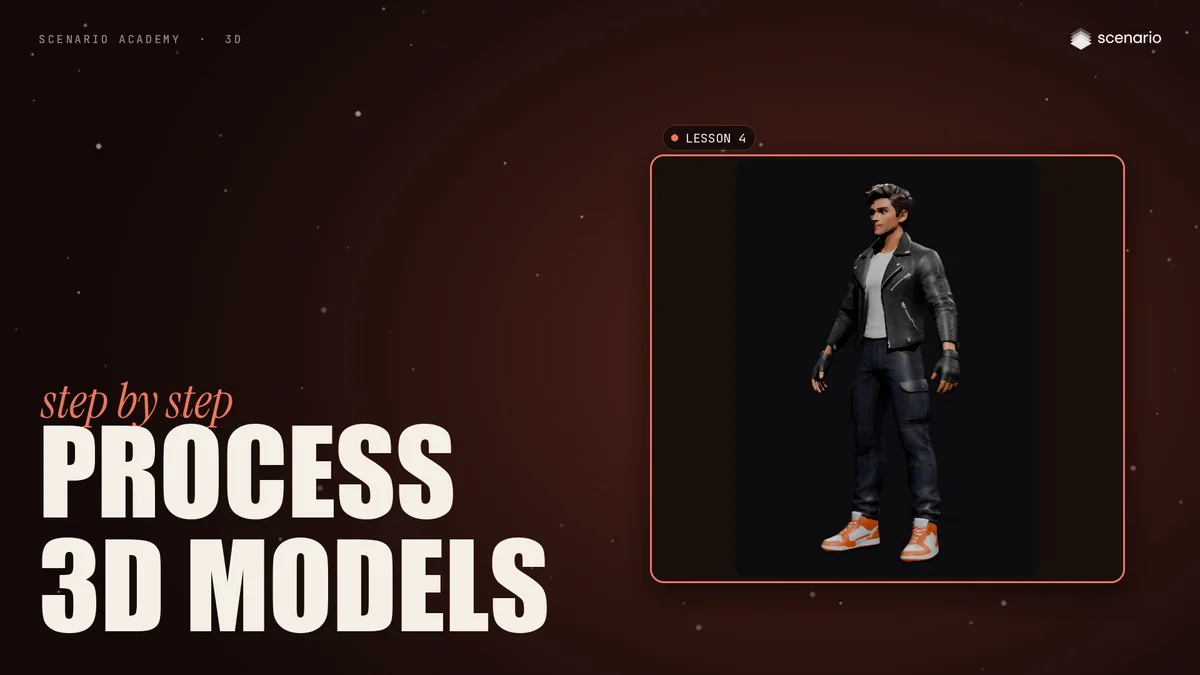
A public workflow does it all in one run. Optimize 3D Model has three steps: retopology, UV unwrapping and retexture.
It takes two inputs: your high poly model, and a texture reference image. Here, the reference is the image the character was made from.
Retopology
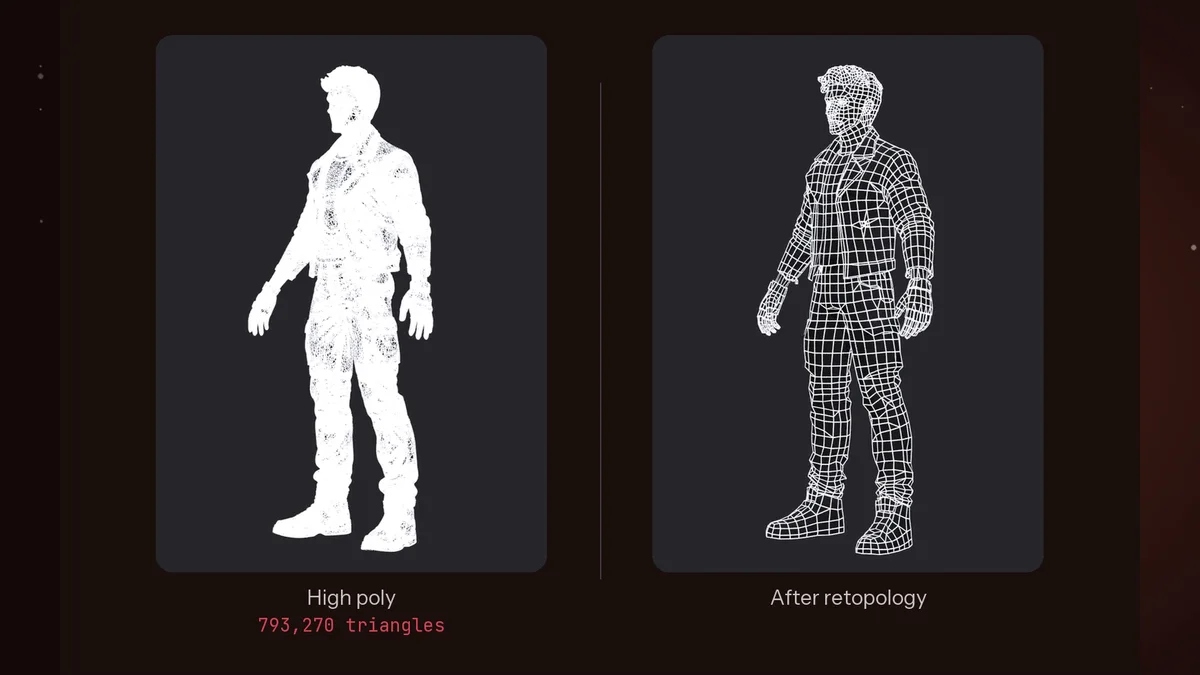
Step one rebuilds the model with a clean, light mesh, and bakes the detail of the original into the new texture.
- The high poly model has almost 800,000 triangles.
- After retopology, the same character has under 5,000 faces, mostly quads, in clean, even rows.
- It still looks like the original, because the texture was baked from the high poly model.
UV unwrapping
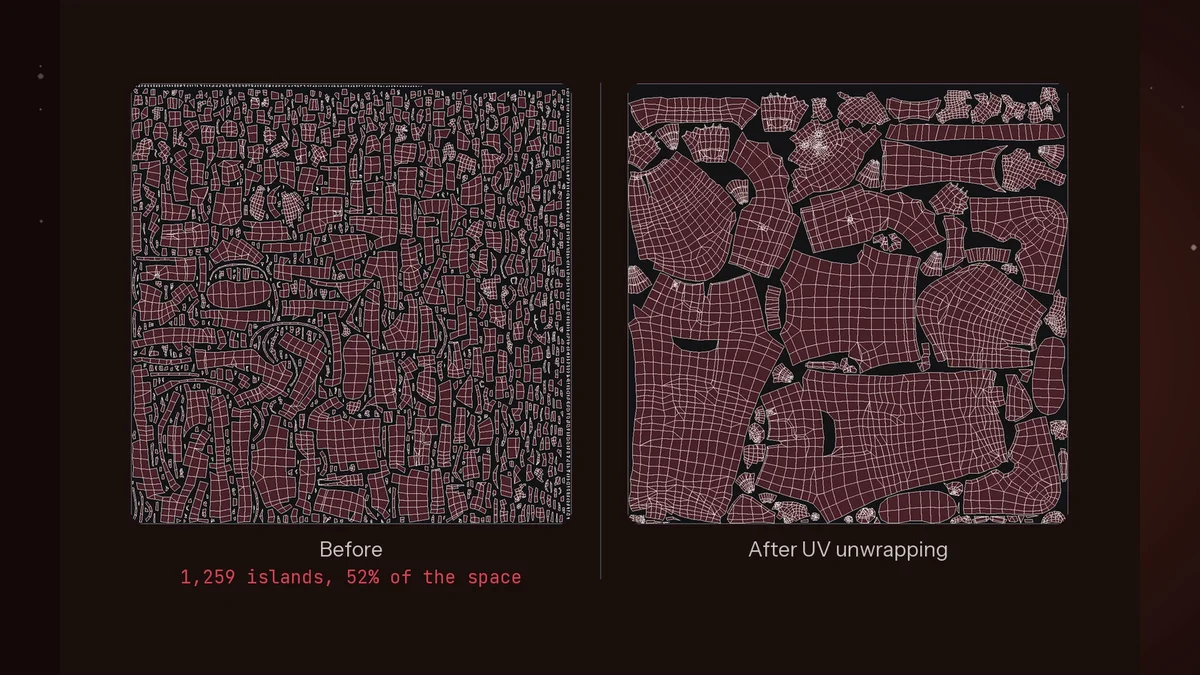
Step two flattens the surface of the model into a 2D map, so a texture sits correctly on it.
- Before: more than 1,200 small islands, covering about half of the space.
- After: about 70 larger islands, covering nearly 80 percent.
The new UVs do not carry a texture, so the model comes out plain white. That is why the last step is retexture.
Retexture
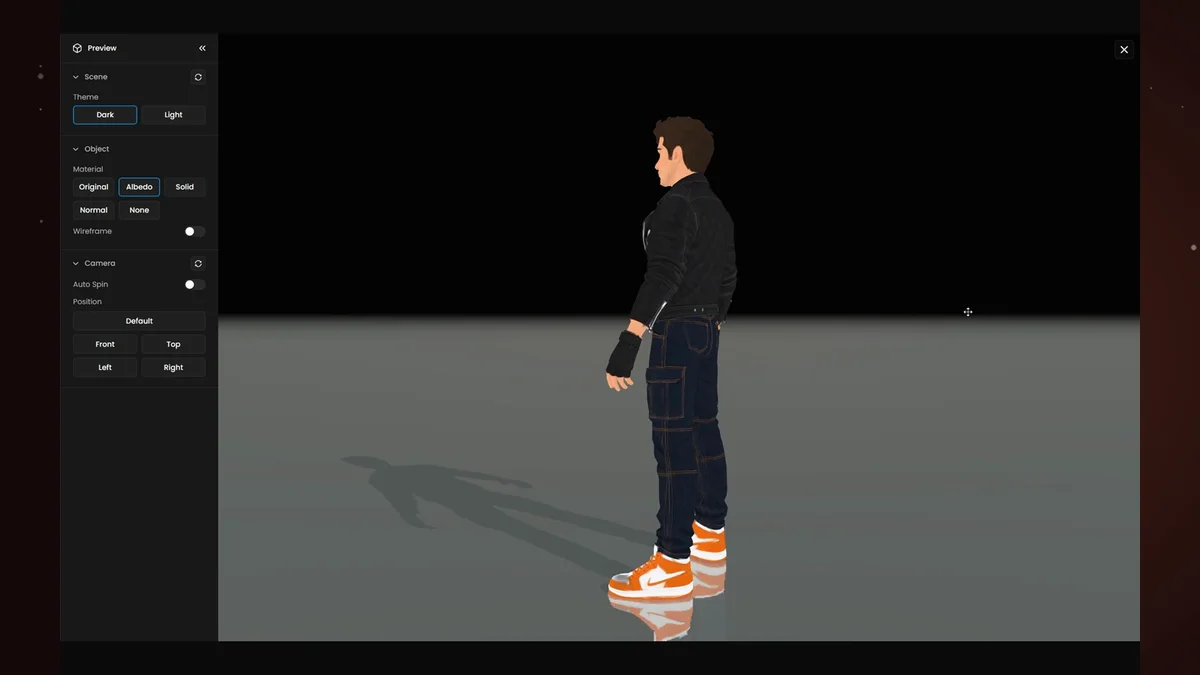
Step three paints a new texture on your clean mesh, using the new UVs, from a reference image.
Use the original image to bring the texture back, or a different reference to change it completely: same mesh, same UVs, two different looks. Orbit around both results and check the surface from every side.
To texture a 3D model outside the workflow, run Tripo 3.0 Texturing on its own, or Meshy 7 Retexture, a fast alternative at about a minute per run.