

Your first tour of the platform
Every main screen of the Scenario web app, what each one is for, the three ways to use Scenario, how organizations and projects work, and where search, notifications, Scenario Genie and settings live.
- Guide
On this page17 sections
- Before you start
- Step 1: Start on Home
- Step 2: Try a ready-made idea
- Step 3: Know the three ways to use Scenario
- Step 4: Read the top menu
- Step 5: Open Create
- Step 6: Open Assets
- Step 7: Open Models
- Step 8: Open Workflows
- Step 9: Open More
- Step 10: Use search and notifications
- Step 11: Open collections and Genie
- Step 12: Check your account and Settings
- Step 13: Check your organization and project
- Projects and roles
- Common problems
- What's next
This is a calm tour of the Scenario web app for people who are completely new to it. You open every main screen once, see what each part is for, and learn how to check which organization and project you are working in. Nothing is generated, so the tour costs nothing.
Quick version
- Start on Home: the box under What do you want to make? sends your idea to Scenario Genie.
- Open each item of the top menu once: Create, Assets, Models, Workflows and More.
- Try the shortcuts on the right: search, notifications, collections, Genie and your account.
- Click the project pill at the top left and check the organization and project you are in.
Before you start
- What you need: a Scenario account on any plan, and a browser. The web app runs in the browser at app.scenario.com, with nothing to install.
- Where things live: everything starts from the dark bar along the top of the screen. It is on every page, so you can jump anywhere from anywhere.
- Two words to know:
- An organization is your team or company.
- A project is a shared folder for one piece of work inside it. Everything you make is saved into the project shown at the top left.
- What it costs: browsing is free. When you run something later, its cost shows on the Generate button before you click.
Step 1: Start on Home
Home is the first page you see every time you sign in. Click Home in the top bar to come back to it from anywhere.
In the middle is one question, What do you want to make? The box under it is where you type your idea, in plain words, the way you would describe it to a friend. The film types this idea, without sending it:
A tiny mouse queen with a red cape and a gold crown
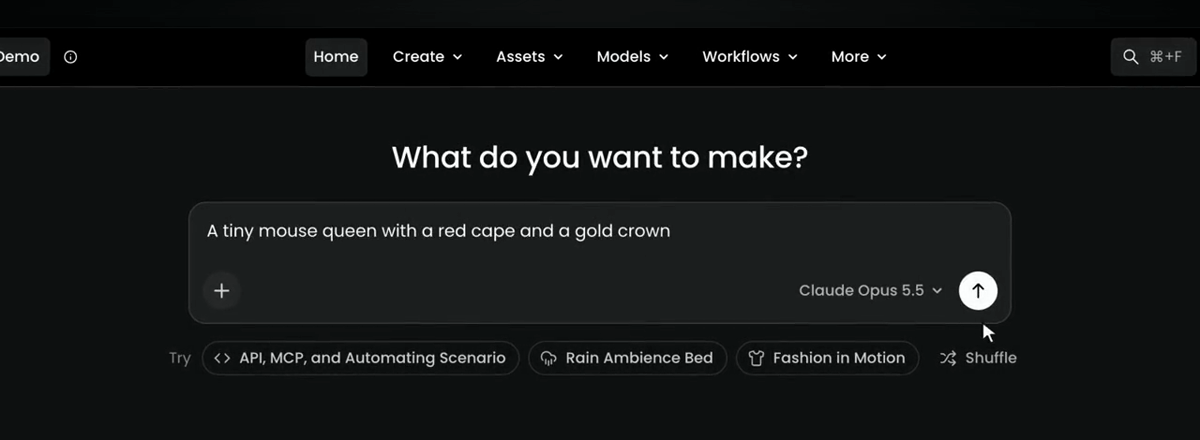
When you send it, Scenario Genie, Scenario's built-in assistant, reads your idea and gets started for you. Genie uses the model shown in the box, here Claude Opus 5.5. Click its name to pick a different one from the menu. Your studio in Scenario shows Genie at work.
Step 2: Try a ready-made idea
Not sure what to type? Under the box, next to Try, are ready-made ideas, such as API, MCP, and Automating Scenario, Rain Ambience Bed or Fashion in Motion. Click one to load its prompt into the box, or click Shuffle to see different ones.
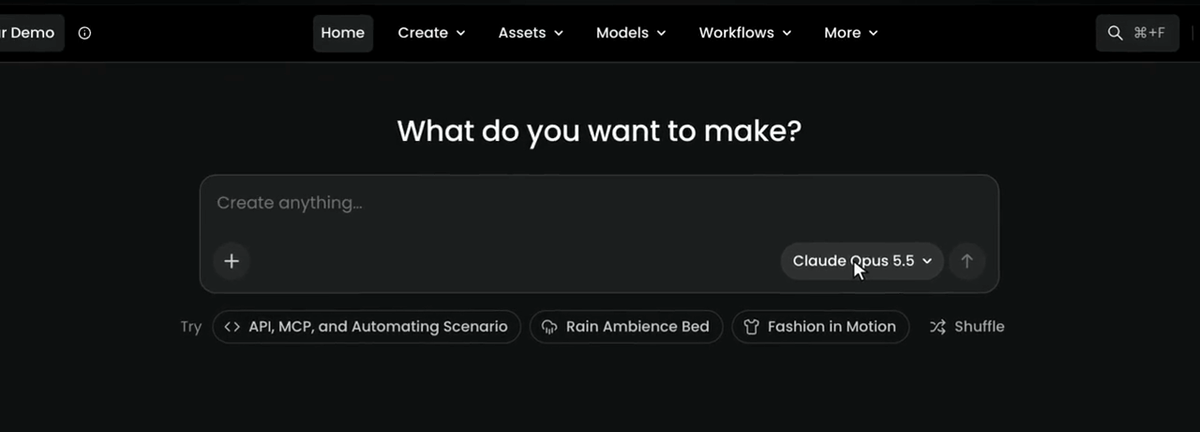
Below the box, a showcase plays examples of what people make with Scenario: videos, 3D models, images and more. Scroll down for the Tools list, a shortcut to every tool grouped as Automate, Generate and Edit. It is a good place to find ideas.
Step 3: Know the three ways to use Scenario
Before you go further, it helps to know there are three ways to use Scenario:
- The web app: what this tour is about. It runs in your browser, with nothing to install.
- The API: for developers who want to connect Scenario to their own code, games or pipelines.
- The Scenario MCP: lets AI agents, like Claude, use Scenario for you.
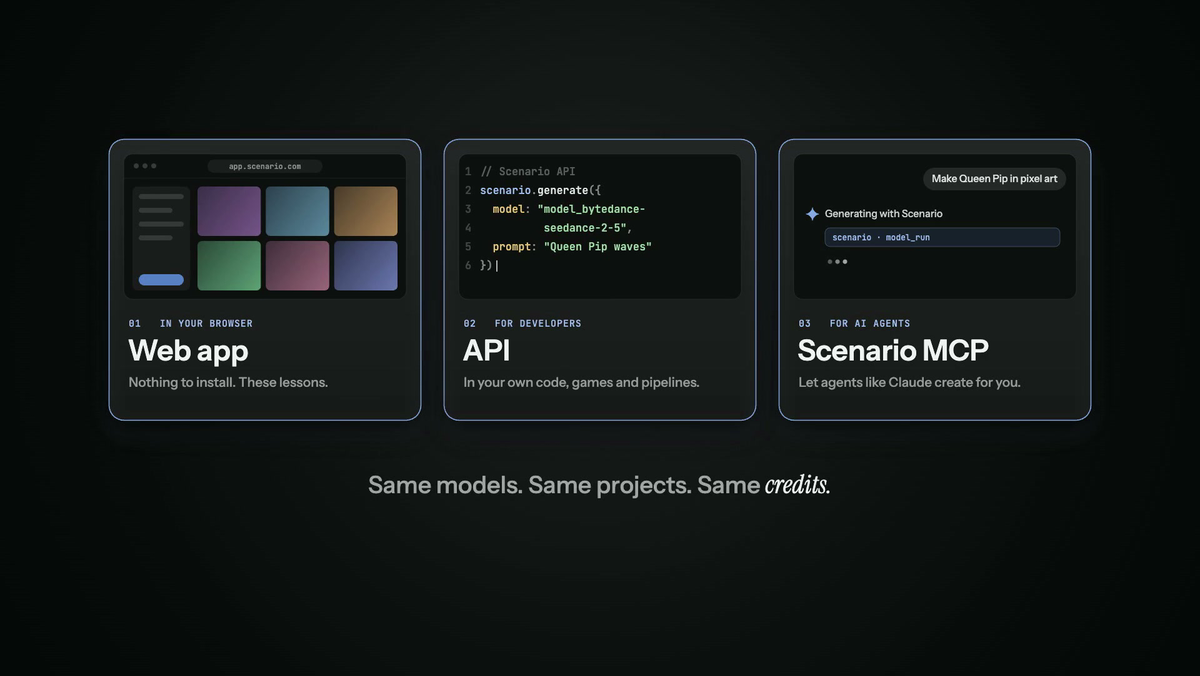
All three share the same models, the same projects and the same credits, so what you learn in the web app carries over.
Step 4: Read the top menu
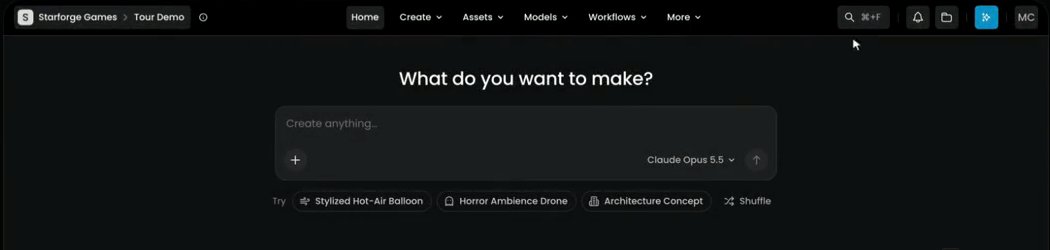
The dark bar along the top is the main menu. From left to right:
- the project pill (Step 13)
- Home, Create, Assets, Models, Workflows and More
- the shortcuts: search, the bell, the folder, the blue Genie button and the circle with your initials
Step 5: Open Create
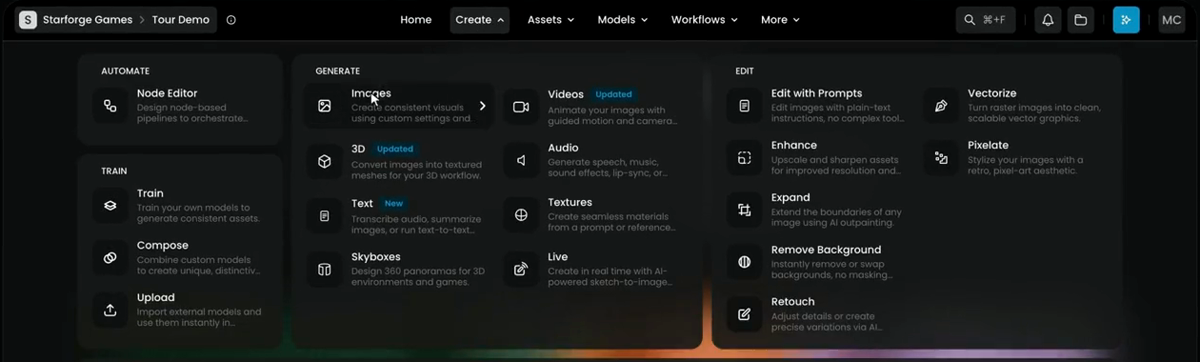
Create is where you make things. Its menu has four groups:
| Group | What's in it |
|---|---|
| Automate | Node Editor, to design node-based pipelines |
| Train | Train your own models, Compose custom models, Upload external models |
| Generate | Images, Videos, 3D, Audio, Text, Textures, Skyboxes, Live |
| Edit | Edit with Prompts, Vectorize, Enhance, Pixelate, Expand, Remove Background, Retouch |
Under them, Featured Apps shows a few ready-made Apps, with View All.
Click Images to open the image playground. Your settings are on the left, from top to bottom: Model, Prompt, Reference Images, then Settings. Everything you generate appears on the right, in your Session.
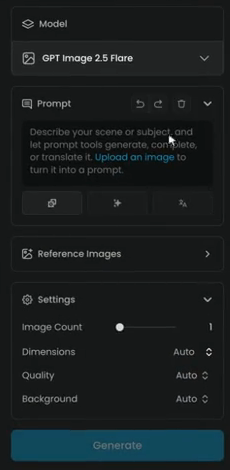
Videos, 3D and audio use the same playground: a model, your inputs and the model's settings. Only the settings change. For a video model, for example, the panel adds First Frame, Last Frame, Reference Videos and Reference Audio. First results goes through all of it.
Step 6: Open Assets
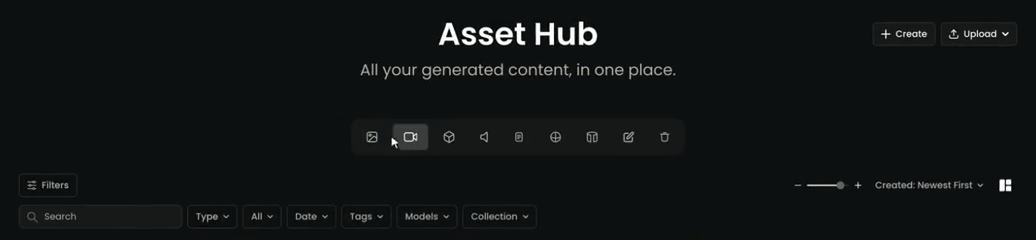
Assets is your library. Everything you make is saved here automatically, so nothing gets lost. Its menu lists each kind: Images, Videos, 3D, Audio, Text, Textures, Skyboxes and Canvas.
Each one opens the Asset Hub, "All your generated content, in one place." The row of icons switches between types. Under it are the filters: Type, All, Date, Tags, Models and Collection, plus a search box. Create and Upload at the top right add new assets.
Step 7: Open Models
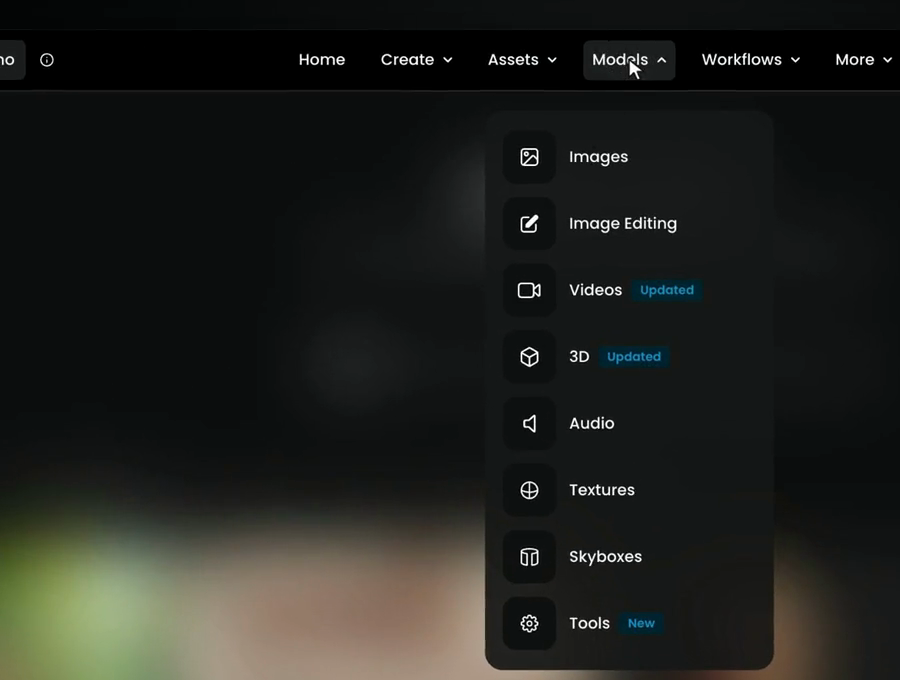
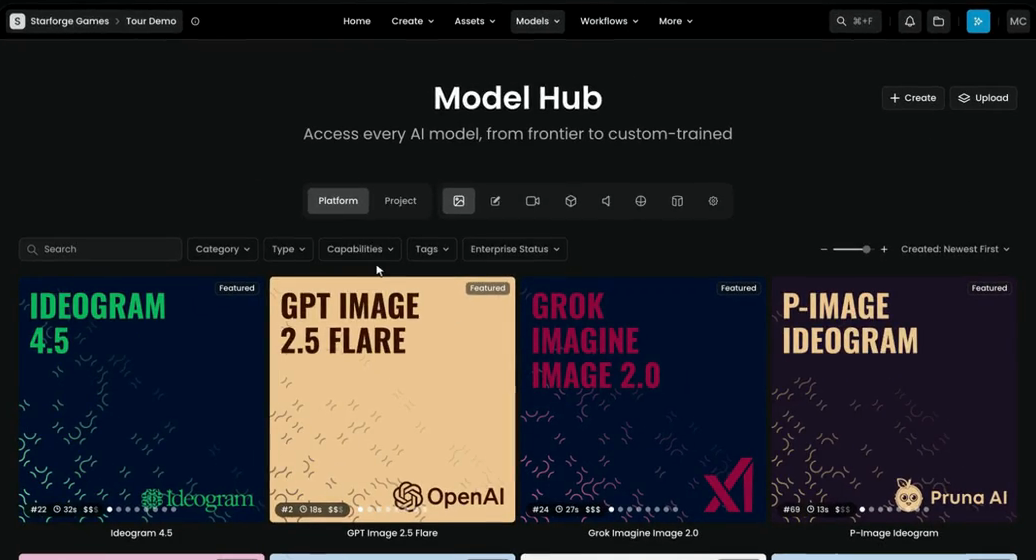
Models lists every AI model you can use, grouped by what it makes: Images, Image Editing, Videos, 3D, Audio, Textures, Skyboxes and Tools.
Each one opens the Model Hub, "Access every AI model, from frontier to custom-trained." Each card is one model. Platform shows the models everyone can use, and Project the ones your team trained or uploaded. Narrow the list with Search, Category, Type, Capabilities, Tags and Enterprise Status, or ask Genie which model fits your job.
Step 8: Open Workflows
Workflows has two items: Apps and Workflows.
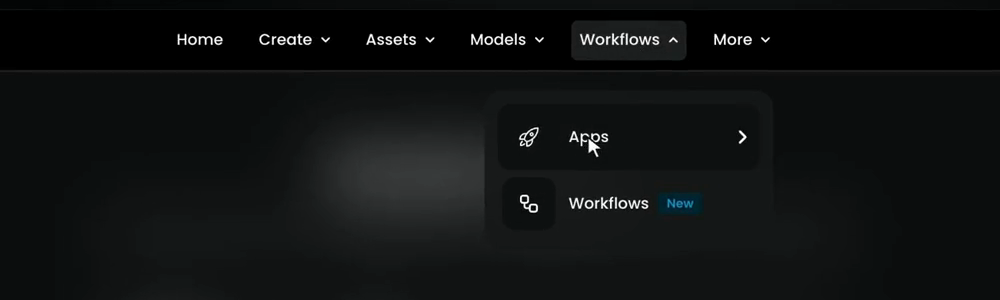
- Workflows chain several steps together, so you can run them again whenever you like. The page has a Platform tab with workflows Scenario built, and a Project tab with your team's own. Create starts a new one and Import loads one from a file.
- Apps are simple forms that run a whole workflow in one click.

Step 9: Open More
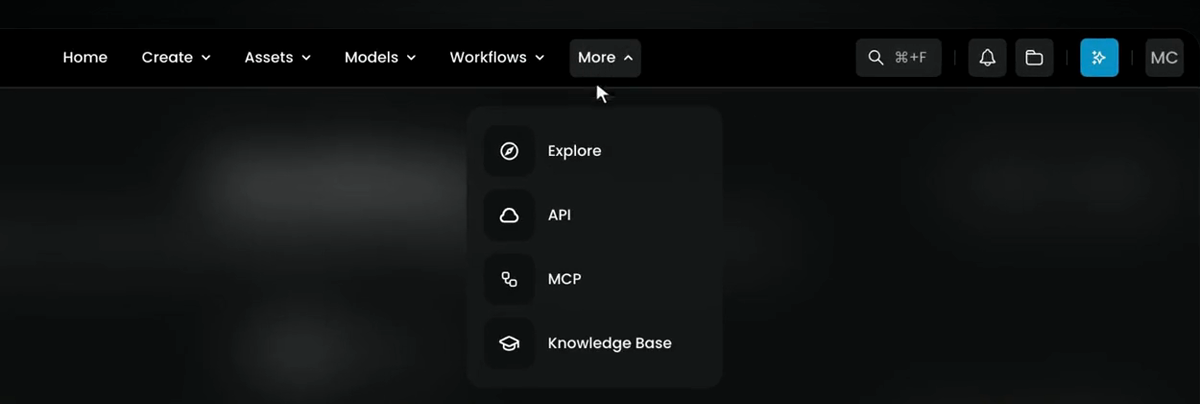
More holds the rest:
- Explore: examples made by the Scenario team. Scroll through it whenever you need ideas.
- API and MCP: connect Scenario to your own code, and to AI agents through the Scenario MCP.
- Knowledge Base: the help articles.
Step 10: Use search and notifications
On the right of the bar are a few shortcuts.
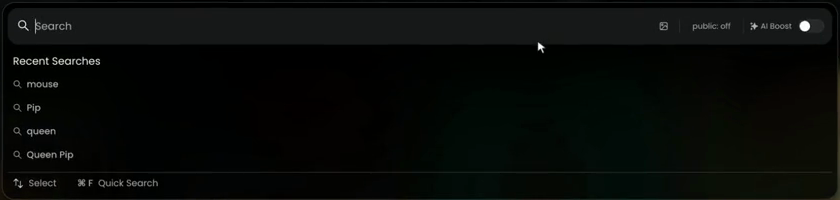
The magnifying glass, or Cmd+F (Ctrl+F on Windows), searches everything you have made. Type a word, like "mouse", and every image and video that matches comes up. Scenario reads what is in each image, so it finds things even when the prompt didn't use that word. Your Recent Searches are listed under the box.
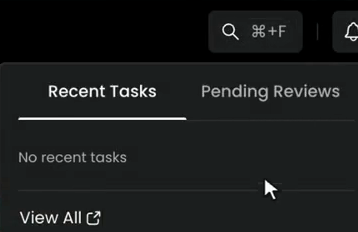
The bell shows your recent tasks. While something generates, follow it here under Recent Tasks and see when it is done. The second tab is Pending Reviews, and View All opens the full list.
Step 11: Open collections and Genie
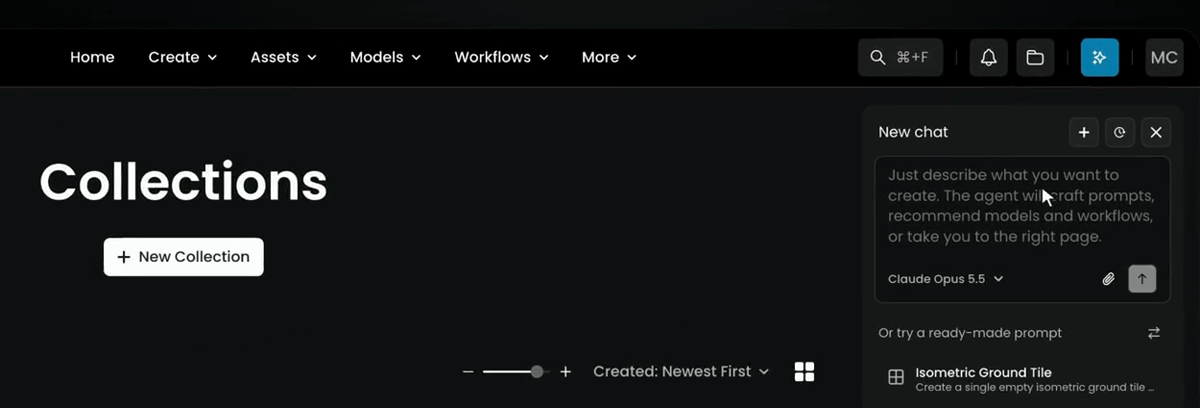
The folder opens your Collections: groups of assets you put together, like a folder for one project or one character. New Collection starts one.
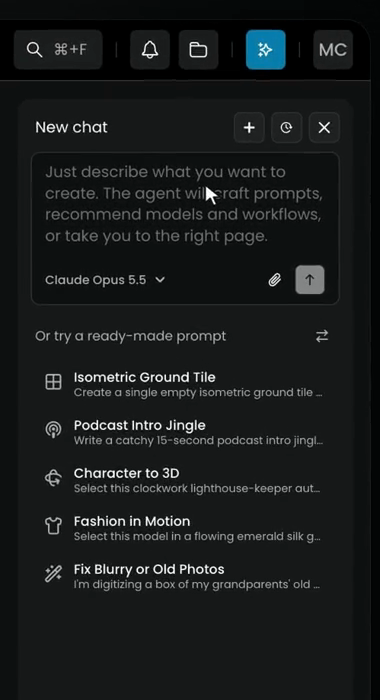
The blue button opens Genie, your assistant, in a side panel that stays open as you move around. Chat with it in plain words: ask a question or ask it to make something, and it picks the right tools for you. Under the box, Or try a ready-made prompt lists ideas to start from, and the arrows load new ones. Cmd+K (Ctrl+K on Windows) opens it from anywhere.
Step 12: Check your account and Settings
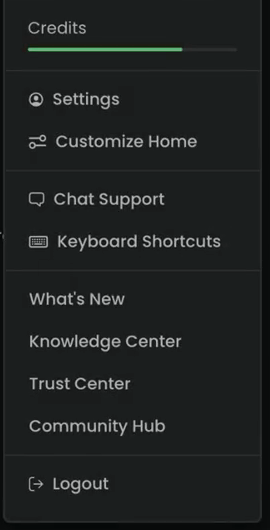
Click the circle with your initials. The menu shows your name and email, your Credits, then Settings, Customize Home, Chat Support, Keyboard Shortcuts, What's New, Knowledge Center, Trust Center, Community Hub and Logout.
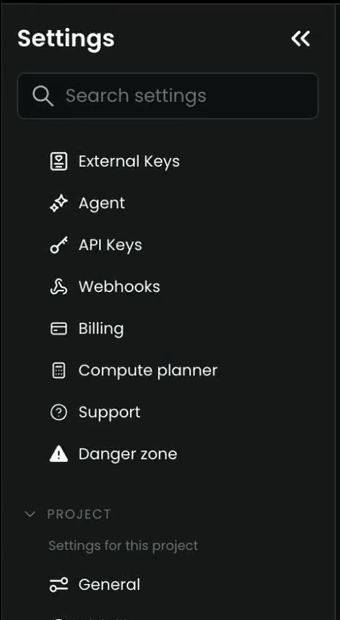
Settings opens on your profile. The list on the left has External Keys, Agent, API Keys, Webhooks, Billing, Compute planner, Support and Danger zone, then a Project section with the settings of the project you are in.
Step 13: Check your organization and project
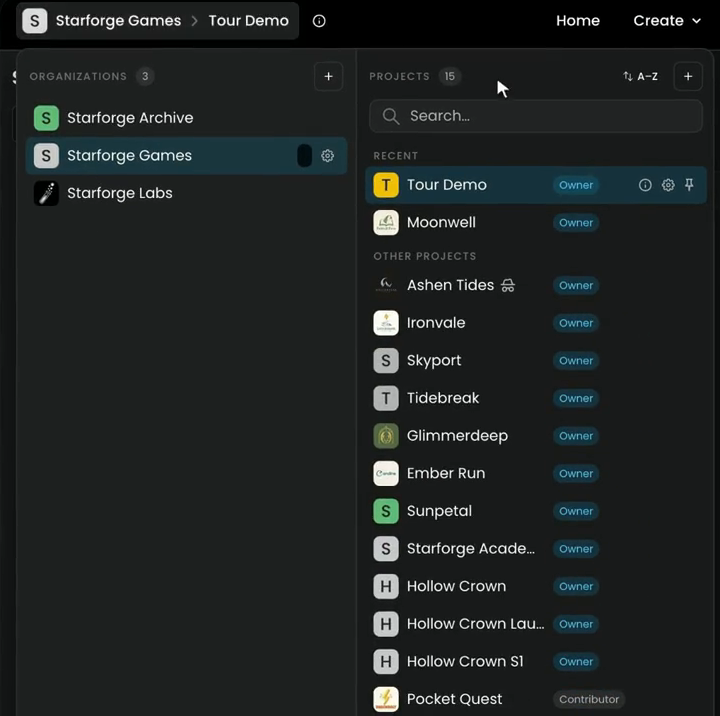
On the far left of the bar is the project pill. It shows two names: your organization, then the project you are working in. Everything you make is saved into the project shown here.
Click the pill to open the switcher:
- Organizations on the left lists every organization you belong to.
- Projects on the right lists the projects of the selected one: Recent first, then Other projects. Each shows your role, such as Owner or Contributor.
- Use Search to find a project, the sort button to order them, and + to create a new one.
Click a project to switch to it.
Projects and roles
A project keeps its assets and models apart from every other project, even inside the same organization. Each project has its own members, and each member has one of three roles:
| Role | What they can do |
|---|---|
| Owner | Add or remove members and see the project's dashboard data |
| Contributor | Generate content and train models |
| Viewer | See content, but not change it |
Members must be invited to the organization first. An owner adds them from the gear next to the project in the switcher, under Project › Members.
You know your way around when: you can open each item of the top menu and say what it is for, find an image with search, and name the organization and project you are in without opening the pill.
Common problems
| What you see | What to do |
|---|---|
| Your work isn't in Assets | Check the project pill. Assets only shows the project you are in; switch to the one you made it in. |
| A project you expect is missing from the switcher | You are not a member of it yet, or it is in another organization. Select the organization on the left first, or ask an owner to add you. |
| Search finds nothing | Check that you are in the right project, then try a simpler word that describes what is in the image. |
| The Genie panel is in the way | Close it with X, or press Cmd+K (Ctrl+K) to toggle it. |
What's next
That is your map of Scenario. In First results, you make your first image, edit it and turn it into a short video. To ask for things in plain words, see Ask Scenario Genie.