

Your studio in Scenario
The Model Hub, your own models, Apps and workflows, folders and sharing, and Scenario Genie, on the character from your first results.
- Guide
On this page16 sections
- Before you start
- Step 1: Open the Model Hub
- Step 2: Filter and search
- Step 3: Read a model's page
- Step 4: Open the Apps
- Step 5: Run an App on your image
- Step 6: Open the workflow behind the App
- Step 7: Build your own workflow
- Step 8: Keep your work in collections
- Step 9: Share an image
- Step 10: Ask Genie
- Step 11: Find the rest under More
- When to reach for what
- What Genie can do
- Common problems
- What's next
The last lesson of Scenario Essentials shows the rest of the studio, using Queen Pip from First results. You choose a model in the Model Hub, run an App on Queen Pip and open the workflow behind it, file and share your work in collections, and let Scenario Genie make a new image from a plain request.
Quick version
- Open Models, filter or search the Model Hub, and open a model's page before you use it.
- Open Workflows › Apps, pick an App, give it your image and click Generate.
- Open the workflow behind the App, then Duplicate Workflow to change it or Run to use it as it is.
- File your work with Collections, and share it with Copy Link.
- Open Genie, attach an image, and ask for what you want in plain words.
Before you start
- What you need: a Scenario account, and an image of your own to work with. This lesson uses Queen Pip, made in First results.
- Where it lives: Models, Workflows and More are in the top bar; the folder icon and the blue Genie button are on its right.
- Key words:
- An App is a ready-made workflow with a simple form on top. It runs in one click.
- A workflow is a chain of steps, called nodes, that runs the same way every time.
- A collection is a folder of assets.
- What it costs: browsing is free. Every run shows its cost on the Generate or Run button before you click.
Step 1: Open the Model Hub
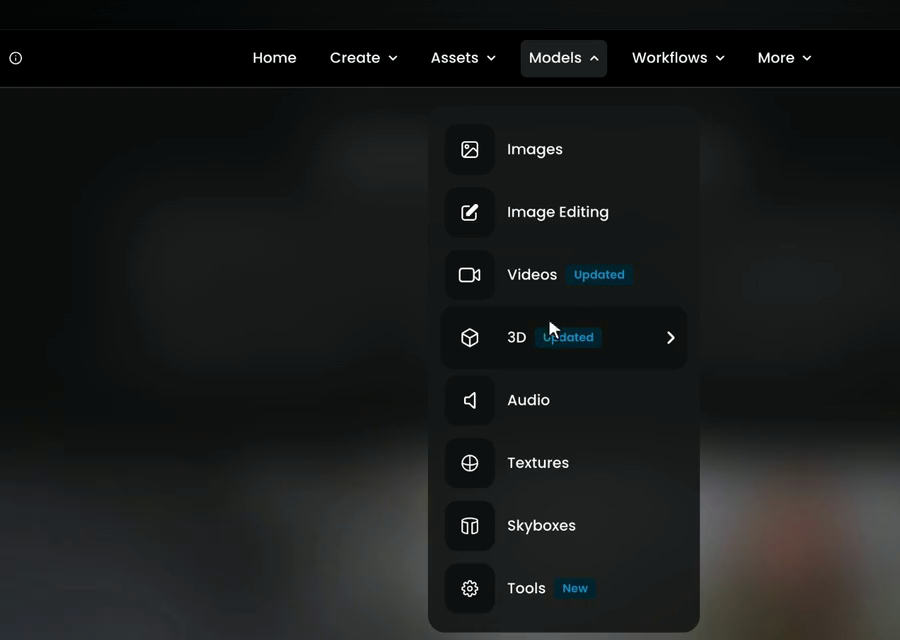
Open Models. The models are grouped by what they make: Images, Image Editing, Videos, 3D, Audio, Textures, Skyboxes and Tools. Click Images.
This is the Model Hub: every AI model in Scenario, from the newest frontier models to ones trained by your team.
- Platform has the models everyone can use.
- Project holds the ones your team has added.
- The icons next to them switch between images, image editing, video, 3D, audio and the other types.
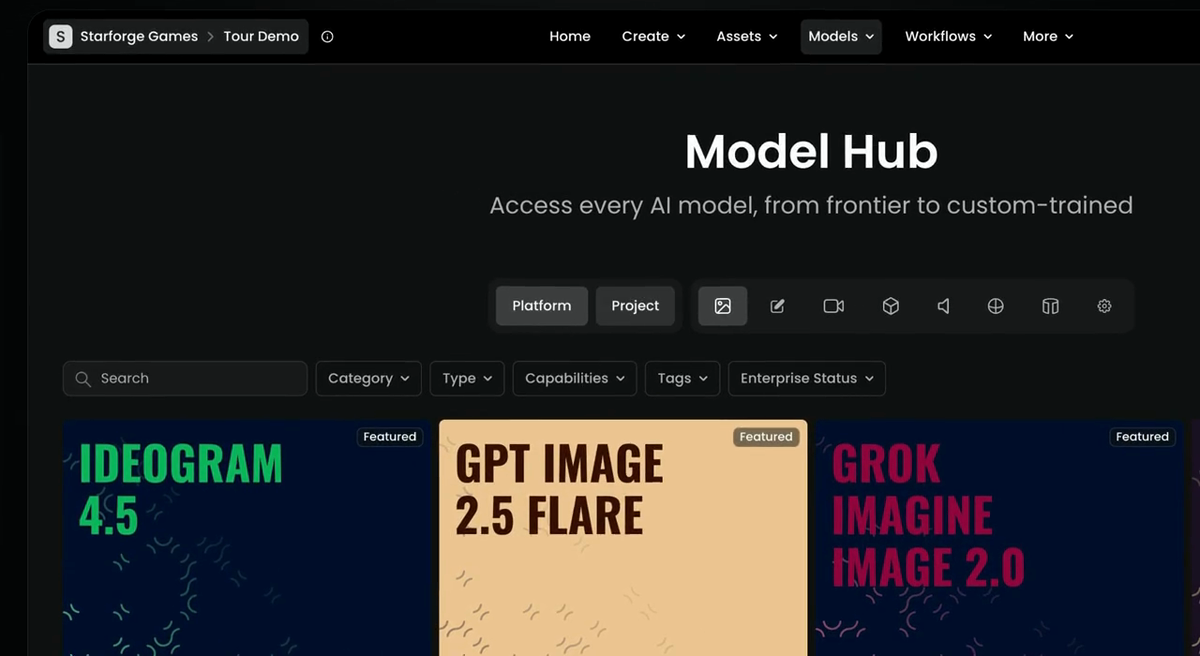
Each card tells you three things at a glance: how the model ranks, how many seconds a result takes, and how much it costs, from one dollar sign to three.
Step 2: Filter and search
Filters help you narrow hundreds of models down:
| Filter | What it does |
|---|---|
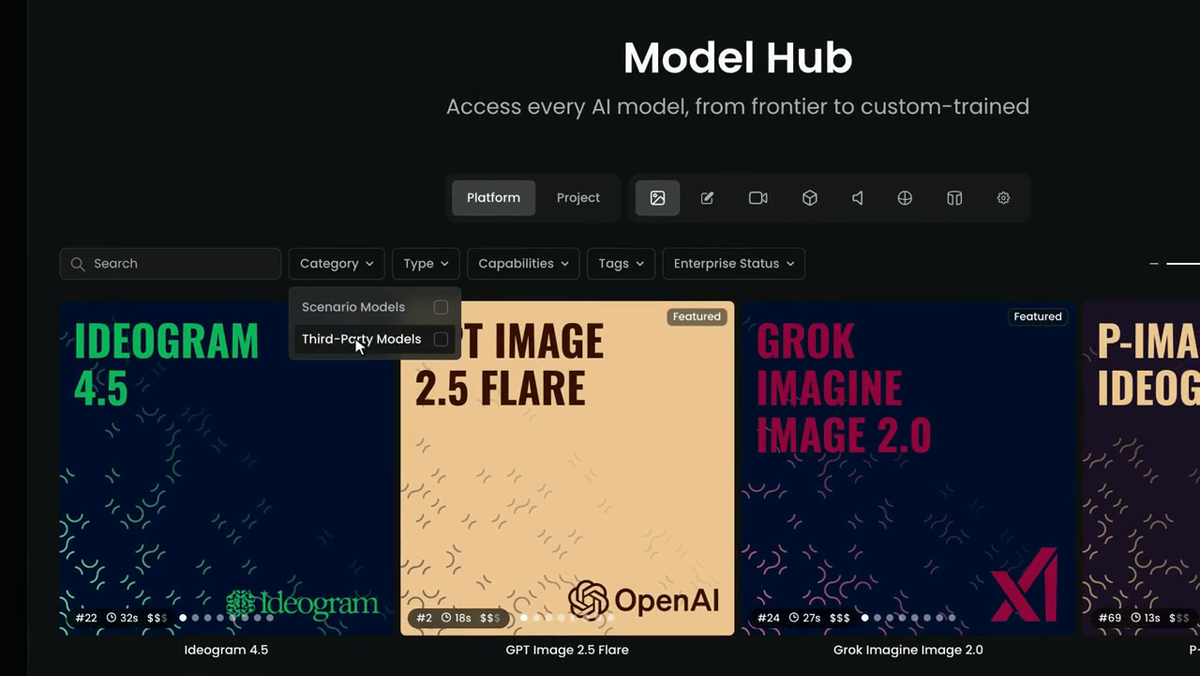
| Category | Splits Scenario Models from Third-Party Models |
| Capabilities | What a model can do: make images from text, work from an image, upscale, make an image from a video, or edit with a prompt |
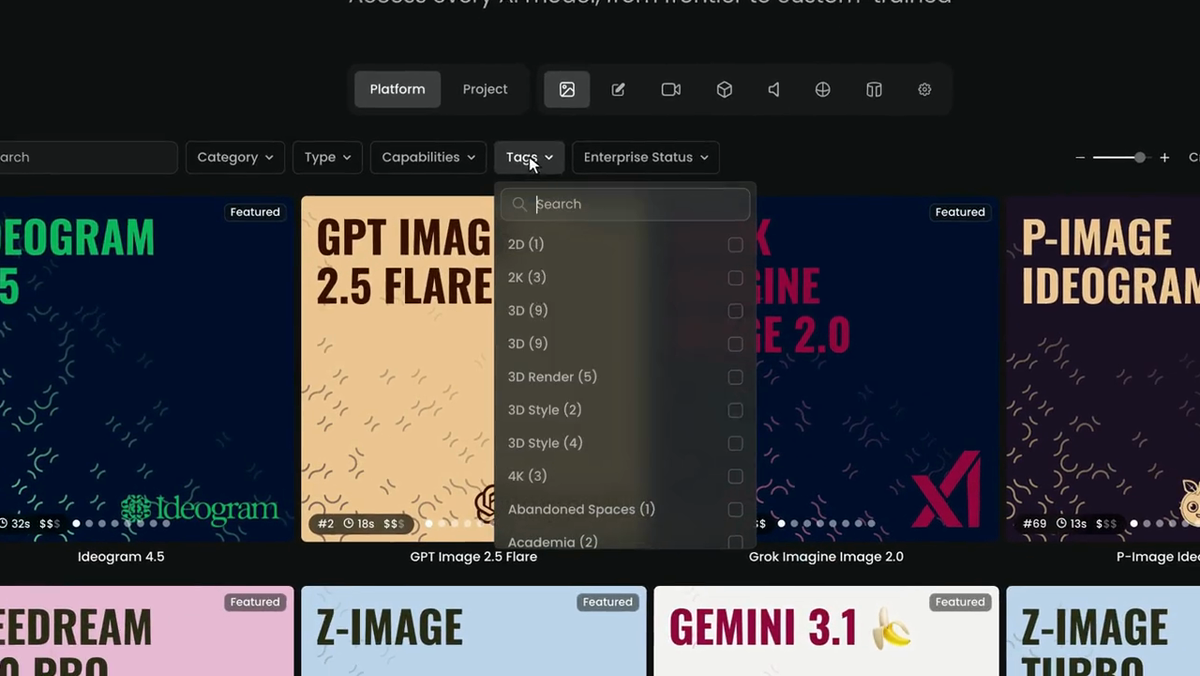
| Tags | A style or a use, like 3D or 4K |
| Search | Find a model by name, for example GPT |
Type and Enterprise Status narrow the list further.
Step 3: Read a model's page
Click a model's name to open its page. The film opens Ideogram 4.5. At the top are its name, its tags and a short summary. The list on the left jumps to each part: Overview, Description, Governance, Parameters, Pinned examples and Generations. Use this model opens it in the playground, ready to go.
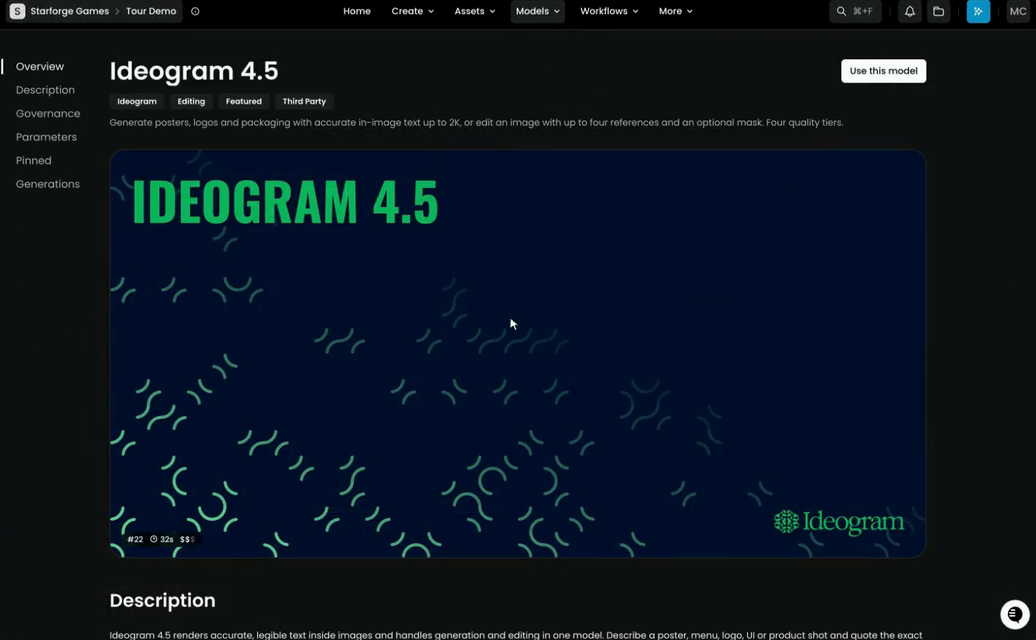
Not sure which model to pick? Start with a featured one, try the same prompt on two or three, and keep the resolution low while you test. Genie can recommend one too (Step 10).
Step 4: Open the Apps
Open Workflows. It has two parts, Apps and Workflows. Click Apps.
Apps are ready-made workflows for common jobs, and they run in one click. Browse them by category: Featured, 3D, Audio, Branding, Character Design, Composition, E-Commerce, Education, Effects, Enhancement, and more under Show more. Platform has Scenario's Apps and Project your team's. Pick Character Design.
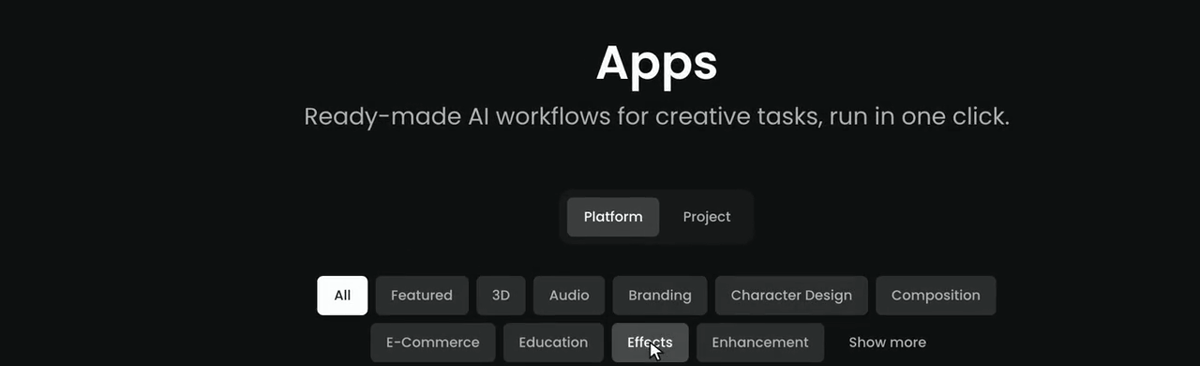
Step 5: Run an App on your image
Open True 4-Pose, "Make Precise 4-Pose Turnarounds". It makes a character turnaround from four true angles: front, right, back and left. You only see what you need to fill in, here a Character Reference: Drag & drop or paste, Select from Library, or Upload.
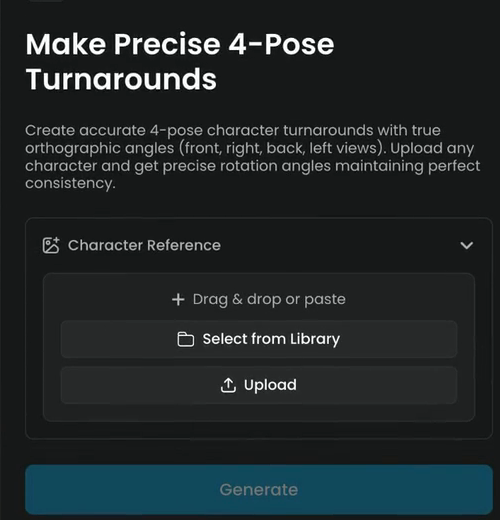
Click Select from Library, pick Queen Pip, and click Generate. Its cost shows on the button.
And here she is from four angles: the front, both sides and the back. A turnaround like this is ready for a model sheet, or for a 3D artist.
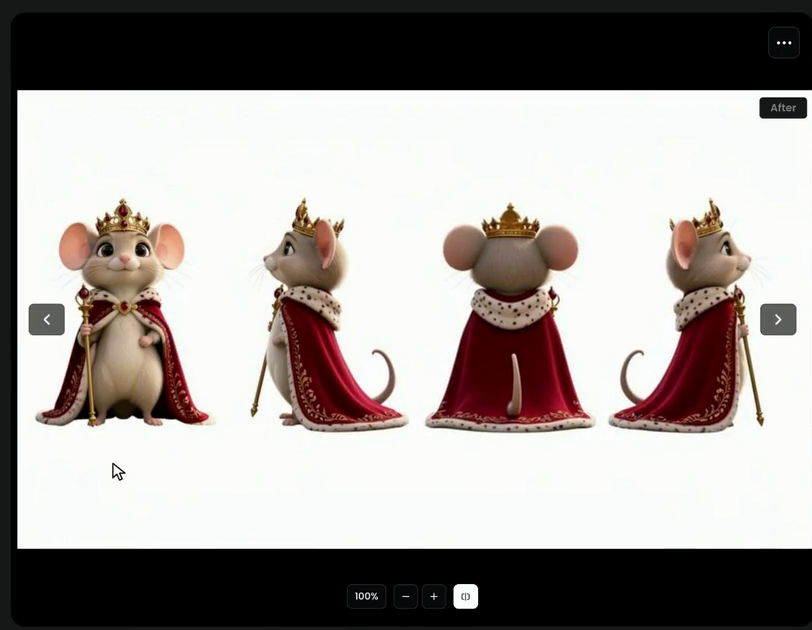
Step 6: Open the workflow behind the App
Every App is a workflow underneath. Click the workflow button at the top right of the App to open it.
A workflow is a chain of steps, called nodes. Each box is one step, and the lines carry each result on to the next. This one has three:
- Character Reference, an input for your character's image.
- Turnaround Prompt, the instructions.
- 4-Pose Turnaround Generator, a model, FLUX 2, that draws the four poses.
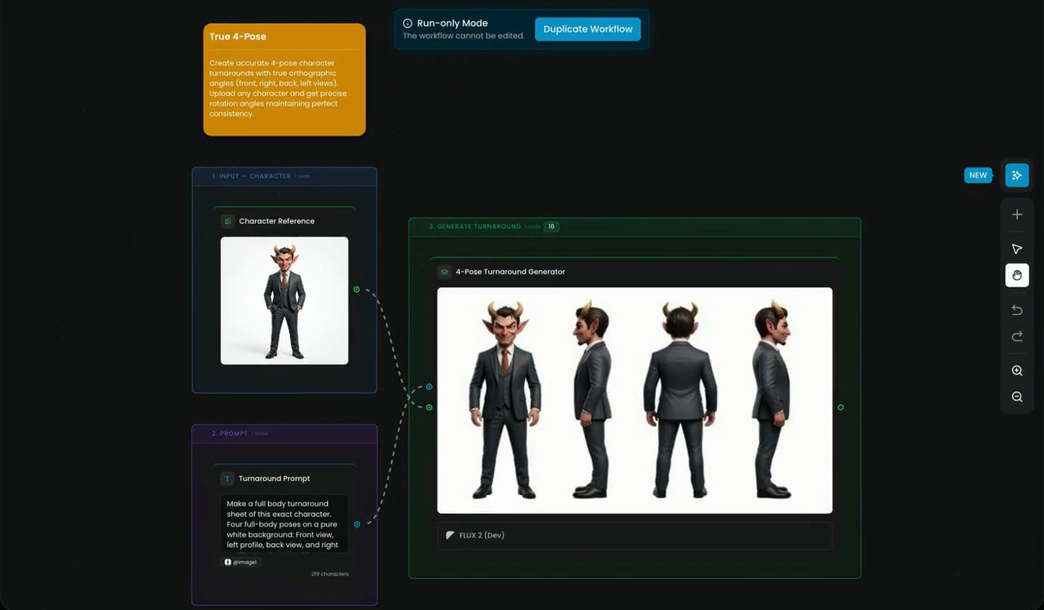
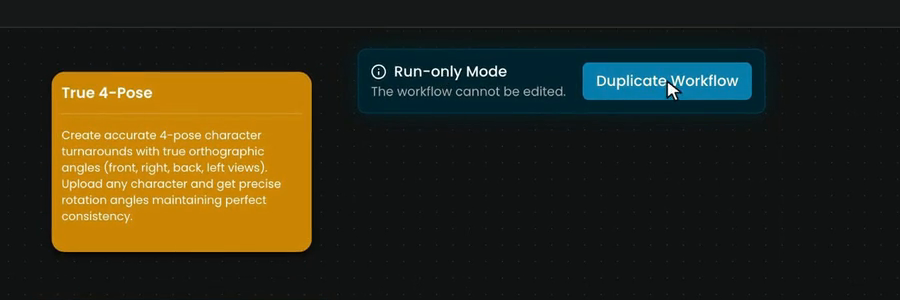
Workflows from the platform are run-only: a banner reads Run-only Mode, "The workflow cannot be edited." Click Duplicate Workflow to get your own copy you can change, or click Run to use it as it is.
Step 7: Build your own workflow
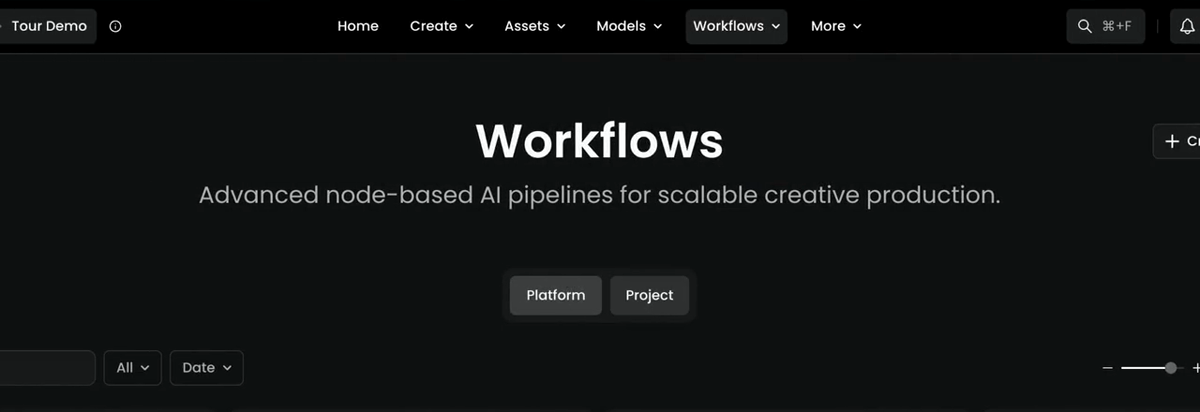
All your workflows live under Workflows › Workflows, right next to Apps. Platform has ready-made ones, and Project holds your team's own.
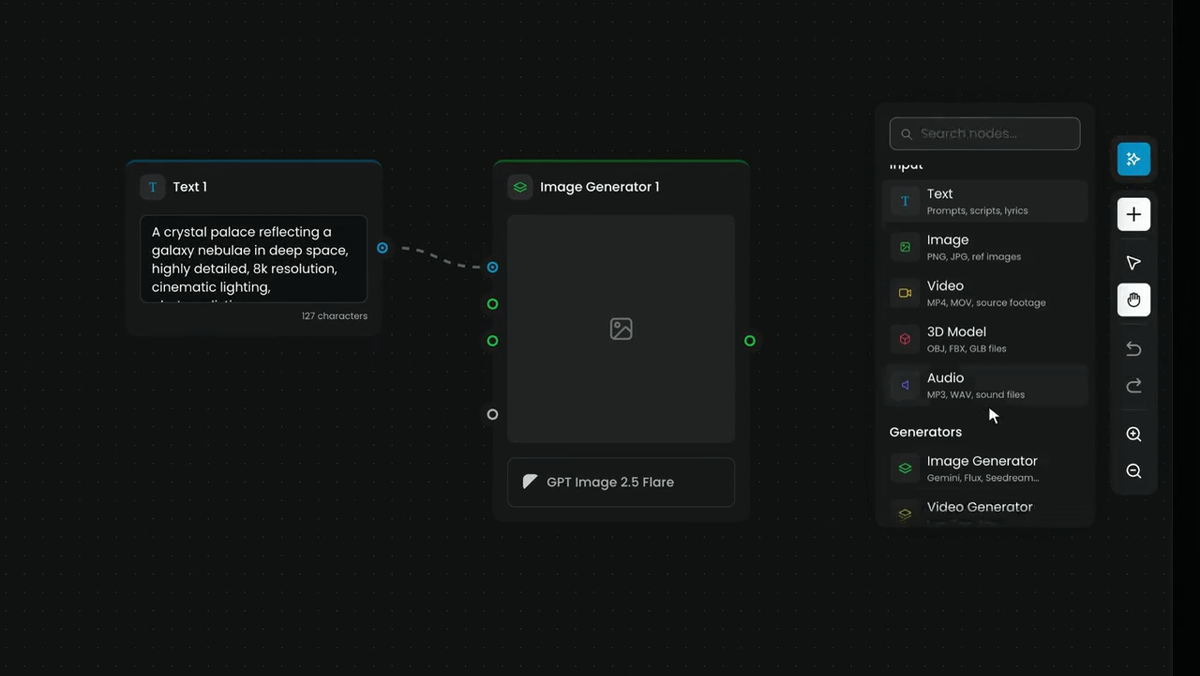
To build your own, click Create. A New Workflow opens with two steps already connected: Text 1, a text prompt, and Image Generator 1, here with GPT Image 2.5 Flare.
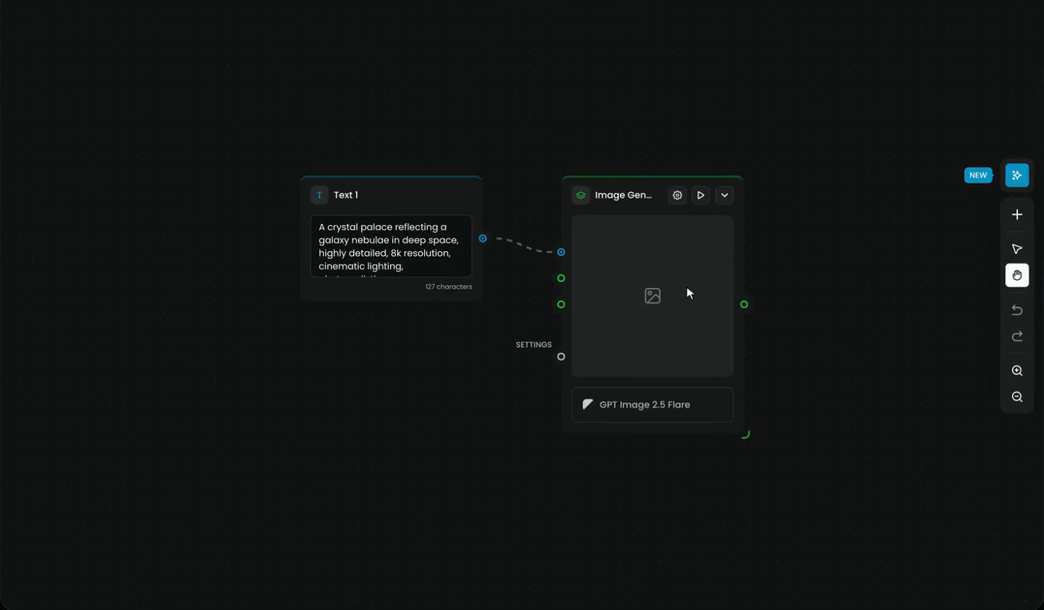
Click the + on the right to add more. The list has inputs, like Text, Image, Video, 3D Model and Audio, and generators, like Image Generator and Video Generator, with more below. Connect nodes dot to dot, then click Run.
Workflows can do much more. What are workflows starts the full course.
Step 8: Keep your work in collections
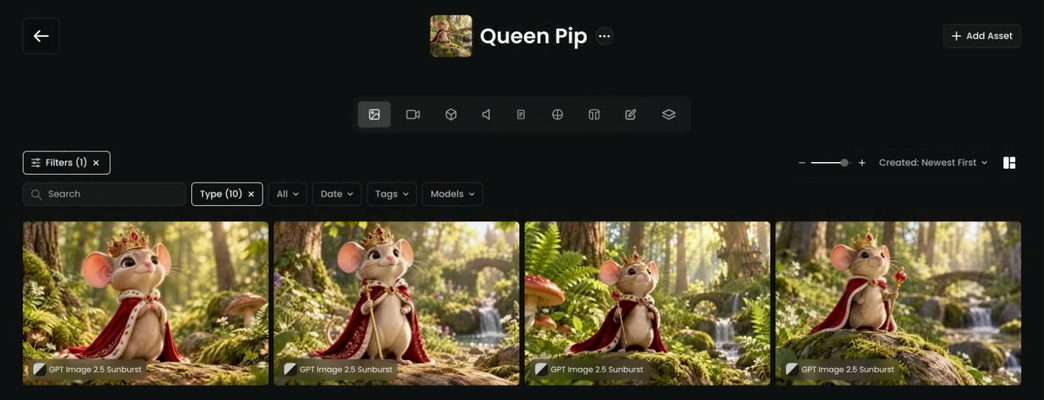
In Scenario, folders are called collections. Click the folder icon in the top bar to see them all. Click New Collection to start one, or open a collection, like Queen Pip, to see everything in it. The icons at the top filter it by type, and Add Asset puts more in.
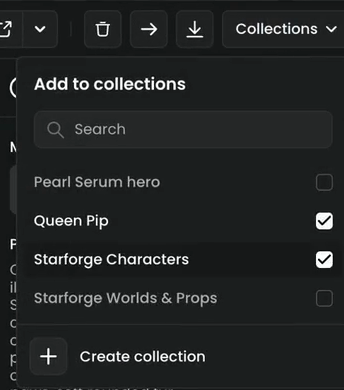
You can also file an image from its page. Open it, click Collections at the top right, and tick the collection you want in Add to collections. Create collection makes a new one on the spot.
Step 9: Share an image
To share an image, open the menu next to the # on its page. Copy Link gives you a link to this exact image, to send to a teammate. Copy Asset ID copies its ID instead.
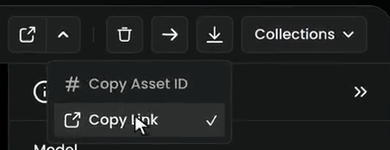
Next to it, the download button saves the file, and the arrow transfers it to another project. A transfer copies the image; the original stays where it is.
Step 10: Ask Genie
Genie is Scenario's AI assistant. You find it on Home, in the What do you want to make? box, and behind the blue button in the top bar, on every page. Cmd+K (Ctrl+K on Windows) opens it too.
Describe what you want in plain words. Genie writes the prompts, picks the models, runs the steps for you, or takes you to the right page. The ready-made prompts under Or try a ready-made prompt show what it can do, and the arrows load new ones.
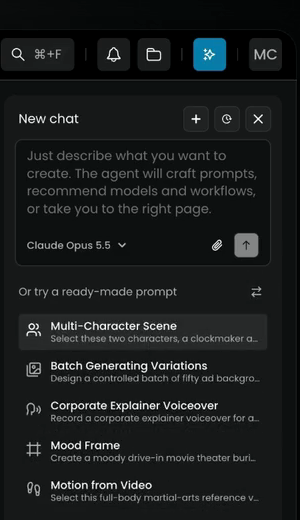
Attach Queen Pip with the paperclip, and ask:
Make a royal guard to stand next to Queen Pip, in the same 3D style.
Genie explains its plan, and gets to work.
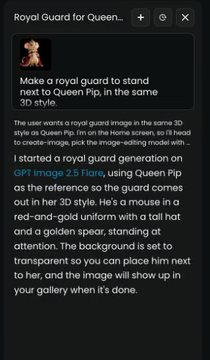
It opens the image playground, writes the prompt, adds Queen Pip as the reference, picks a model and clicks Generate. You can follow every step in the chat, and change anything you like. If it needs anything from you, it asks first.
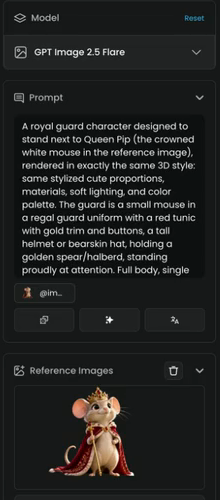
And here he is: her royal guard, in her style, saved to your assets like everything else you make.

the guard matches Queen Pip's 3D style, proportions and finish, and the result is saved in your project.
the style drifts from the reference. Tell Genie what to change in the same chat, or open the playground and adjust the prompt yourself.
Step 11: Find the rest under More
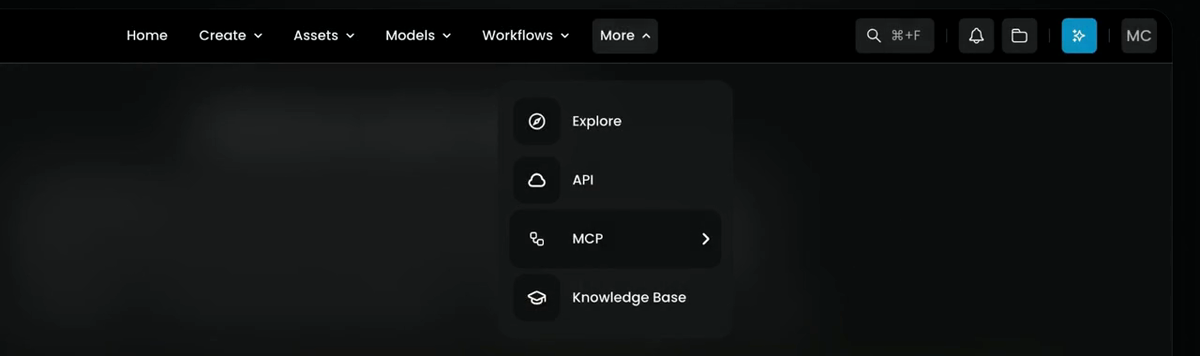
Last, the More menu. Explore has examples from the Scenario team. API and MCP connect Scenario to your own tools: with the Scenario MCP, an AI assistant like Claude can make, edit and organize your work in Scenario, straight from a chat. Knowledge Base has the help articles.
When to reach for what
| You want to | Reach for |
|---|---|
| Make one image, video, 3D model or sound, with full control | A model in the playground, picked in the Model Hub |
| Do a common job in one click, like a turnaround | An App |
| Run the same chain of steps again and again, or change one | A workflow |
| Say what you want and let Scenario set it up | Genie |
| Connect Scenario to your code or to an AI assistant | The API or the Scenario MCP |
What Genie can do
- On a creation page, Genie drives the form for you: it chooses the model, writes the prompt, sets the parameters and runs the generation.
- On any other page, it answers questions, recommends models and workflows, and takes you to the right place.
- It works across images, video, audio and 3D, including your team's own models.
- Its conversations, history and memory belong to the project you are in, so switching projects gives you a clean context.
- Genie is not the Node Agent in the workflow editor: the Node Agent helps you build node graphs.
Common problems
| What you see | What to do |
|---|---|
| Too many models to choose from | Filter by Capabilities for your job, start with a Featured one, and compare two or three on the same prompt. |
| The Project tab of the Model Hub is empty | Your team hasn't trained or uploaded a model in this project yet. |
| You can't edit a platform workflow | It's run-only. Click Duplicate Workflow to get your own copy. |
| Your image isn't in Select from Library | Check you are in the project where you made it. |
| Genie's result doesn't match what you asked | Reply in the same chat with what to change, or open the playground it set up and edit the prompt. |
| A teammate can't open your link | They need access to the same project. Ask an owner to add them, or transfer a copy to a project they're in. |
What's next
That's Scenario Essentials. You know your way around, you can create, edit and organize, and you know when to reach for a model, an App, a workflow or Genie. Next, go deeper with What are workflows, Run and share Apps, Ask Scenario Genie or What is Scenario MCP.