

About this lesson
Keep spend under control and see where it goes: usage alerts under Billing, usage limits for members, projects and API keys, Analytics and the Activity Trail, and who sees what, admins or members. The models and settings in this lesson are as of November 2026.
See moreSee less
- Set usage alerts, and cap spend per member, project or API key.
- Read Analytics by date, project, category and model, and follow every action in the Activity Trail.
- Know what admins see and what members see, and how to share the numbers.
Step by step with an agent, through the Scenario MCP (4 steps)Hide the steps
Connect the Scenario MCP as an admin
Connect your agent with OAuth and sign in as an organization Admin at mcp.scenario.com. Usage alerts, Auto-Refill, the default limit, project and API key caps and the Analytics API key stay in the web app (Billing, Members, Usage limit, API Keys).
Brief the agent: where the credits went
PromptUsing the Scenario MCP, in the team [team]: with the usage tool, show me this billing period's usage by project, by model and by person, and the top five consumers. Don't change anything.Cap one person
PromptFind the members tools with scenario_tools_search. Set a consumption cap of [amount] CU for this billing period on [email]. Show me the change first and wait for my go, then list the members with their caps and what each has used.Check and report
Accept when the totals match Organization › Analytics for the same dates and the cap shows on the person's row in Members. A cap only restricts the shared pool, it never adds credits.
Step by step in the web app (9 steps)Hide the steps
Find Usage Alerts
Pill › the gear next to the organization › Billing. In the current-plan card, click Set up on the Usage Alerts row.
Add alerts
Click Add alert and set Notify when balance drops below a value in % of the plan's credits or in CU, up to ten, then Save. Every admin gets an email once per billing period per alert.
Set a default limit for everyone
In Organization › Members, click Set limit on the Default usage limit card, type a CU amount and click Save. It applies to every member and API key without a cap of its own.
Set a limit for one person
Click the usage icon in the person's Actions column, turn off Unlimited, type the CU cap and click Save. Each person's usage then shows against their cap.
Cap a project and an API key
A project: Project › Usage limit, type the CU amount, Save limit. An API key: click its Usage value in Organization › API Keys; keys used by scripts are the first to cap.
See where the credits went
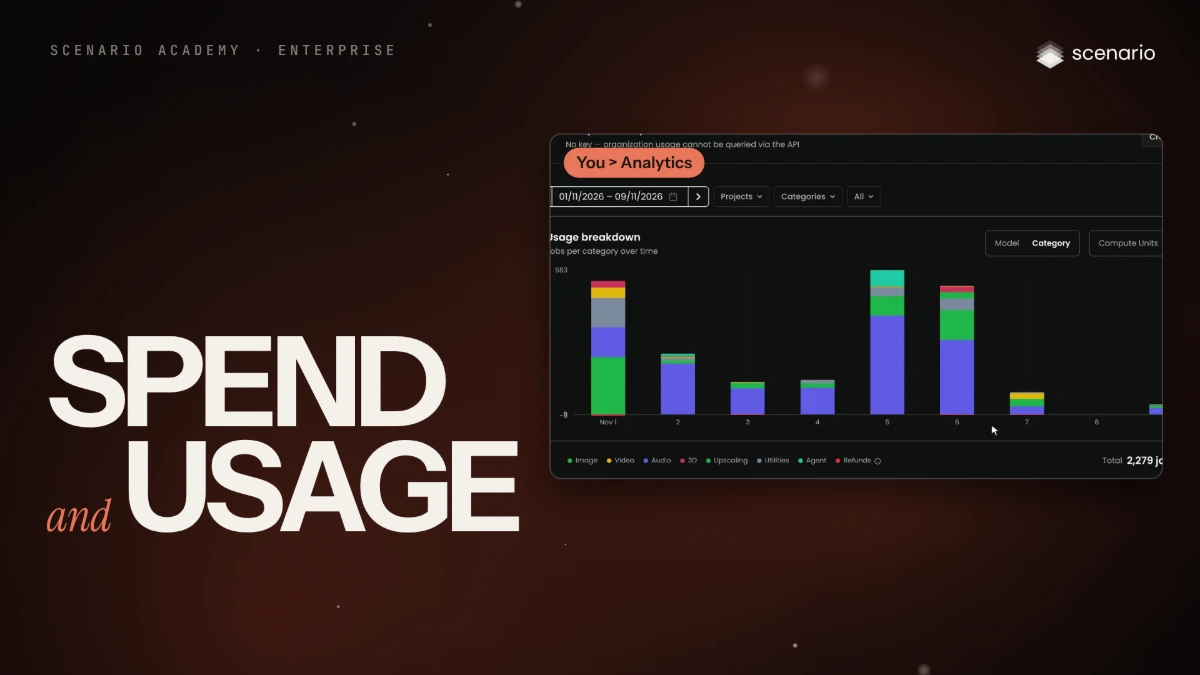
Organization › Analytics: pick the dates, filter by Projects or Categories, switch Usage breakdown between Model and Category and between Compute Units and Jobs. Below are Usage per model, the Usage Heatmap and Top Users.
Check the Activity Trail
Organization › Activity Trail logs who made what, with which model, and when. Search it, pick the dates, filter by Projects and type, and hover a row to preview.
Send the numbers to finance
Click Create key on the Analytics API key card at the top of Analytics to pull the same numbers into your own tools.
Know who sees what
Admins see the organization's Analytics, the Activity Trail and every member's usage; members see their own under You › Analytics, and each project has its own under Project › Analytics. Download the report to share the organization's numbers.