About this lesson
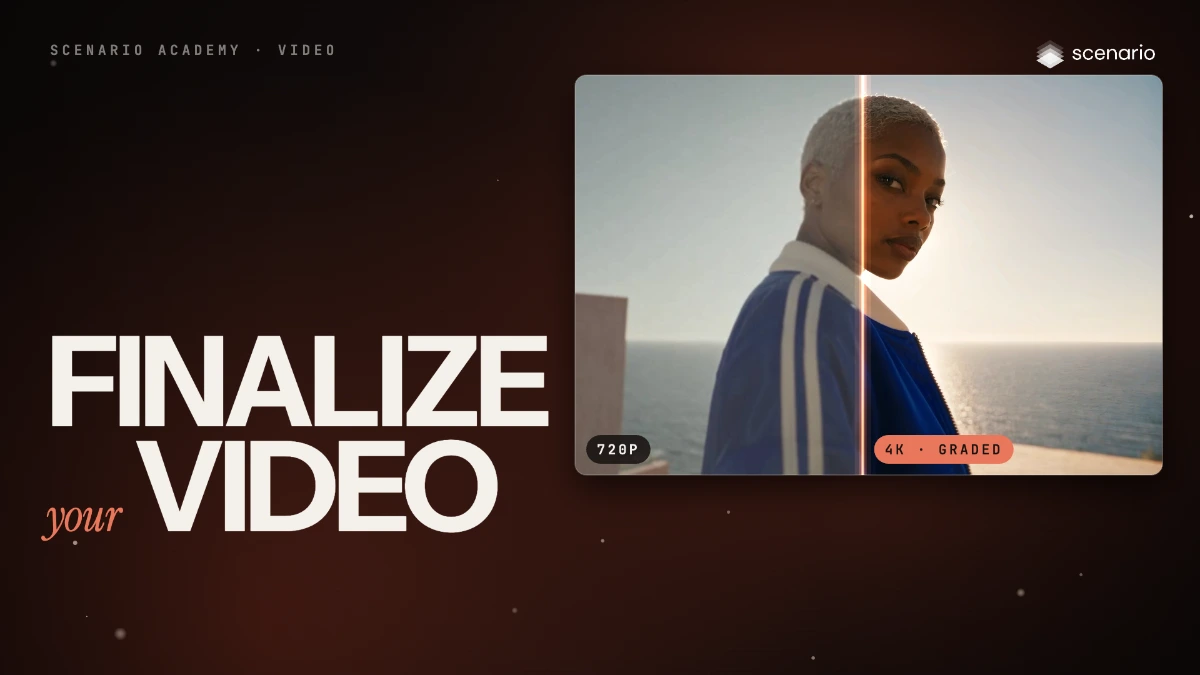
Finalizing is the last pass on the video you keep: upscale it, check it against the source, then grade the color so the shots of a scene match. This lesson upscales a 720p skateboard clip to 4K with Gemini Omni 1.2 Flash Upscale, then grades it with 3D Color LUT (Video) and shows Color Correction (Video) for finer control. The models and prices in this lesson are as of November 2026.
See moreSee less
- Once you've chosen the video you want to keep, upscale it: pick an upscaler under Capabilities, Video Upscale, and choose the resolution you need.
- Compare the upscale with the source on faces and clothes: some upscalers add details that were not there.
- Then grade the color with 3D Color LUT (Video) or Color Correction (Video), with the same settings on every shot of a scene.
Step by step with an agent, through the Scenario MCP (6 steps)Hide the steps
Connect the Scenario MCP
Connect your agent and sign in once at mcp.scenario.com. Then tell it which Scenario team and project to use, so every file lands there.
Give the agent the clip you keep
Only the final, trimmed and edited clip: here the 9-second edited ride, 1280 × 720 at 24 fps. Upload it with upload_asset or give its asset ID.
Brief the agent: upscale
PromptUpscale this clip to 4K with Gemini Omni 1.2 Flash Upscale (find its model id with models_list, and read model_schema_get for its parameter names). It takes 16:9 or 9:16 sources at 360p, 720p or 1080p, up to 15 seconds: check the clip fits first. Keep the source frame rate and the audio. Quote the cost with a dry run first and wait for my go.Check and redo
Accept when the frame is sharper with the same faces, clothes, text and shapes, and motion is as smooth as the source. Reject a changed face, outfit or product, details that weren't there, edges that shimmer between frames, or stuttering motion.
PromptWait for the job with jobs_wait. Pull the same frames from the source and the upscale, a face first, then the jacket, and tell me anything the upscale added or changed. Tell me the output size and frame rate. If it fails, quote P-Video Upscale or SeedVR2 - Video Upscale on the same clip and wait for my go.Brief the agent: grade
PromptGrade the approved upscale with 3D Color LUT (Video) (model_scenario-postprocessing-lut-video): LUT style Matrix Green, LUT intensity 1 (read model_schema_get for the parameter names and the preset's exact value). Use the same style and intensity on every shot of the scene. Quote it first and wait for my go.File and report
PromptCreate a collection for the finished scene with the source, the upscale and the graded clip, and report the models, the settings and every asset ID.
Step by step in the web app (5 steps)Hide the steps
Find the video upscalers
In Create › Videos, click the Model card › View all models and tick Video Upscale under Capabilities: the list shows the video upscalers with their provider, typical time and relative cost.
Load the clip and choose the resolution
Pick Gemini Omni 1.2 Flash Upscale › Use this model, load the clip under Input Video and set Target Resolution: 1080p for the web, 4K for big screens (4K here). Check the price on Generate, then click it.
Compare the upscale with the source
Drag the viewer's slider between source and upscale: check a face first, then the finest detail, at 100% or closer. Reject anything new or changed (here a zipper and curls appeared), shimmering edges or stuttering motion, and check the output size.
Grade the color with a LUT
Search the library for "LUT" and pick 3D Color LUT (Video), the upscaled clip under Input Video. Settings: LUT Style Matrix Green, LUT Intensity 1. Use the same look and intensity on every shot of the scene.
Fine-tune with Color Correction
For finer control, Color Correction (Video) has sliders (Temperature, Brightness, Contrast, Saturation, Gamma, Exposure, Shadows, Highlights) that start at neutral; move only the ones you need.
Related