About this use case
A 2D character turned into a playable 3D character in two generations: image to mesh, then mesh to rig. This playbook does both for one hero, checks the skeleton and the skinning, and shows where an auto-rig stops and hand work begins. The models and settings in this use case are as of October 2026.
See moreSee less
- A character image turned into a textured 3D mesh, auto-rigged with a humanoid skeleton, with walk and run clips.
- Start from an A-pose image, mesh with a polycount target, then judge the rig in motion.
- Two runs: the mesh carries most of the cost, and the rig with two clips adds a small share on top.
Step by step with an agent, through the Scenario MCP (6 steps)Hide the steps
Connect the Scenario MCP
Connect your agent and sign in once at mcp.scenario.com. Then tell it which Scenario team and project to use, so every file lands there.
Give the agent the files
The approved full-body hero in a relaxed A-pose, arms away from the body and legs apart (here Zuri's hero from the character reference sheet). Give its asset ID, or upload it with upload_asset. An image with the arms against the body fuses them to the torso.
Brief the agent: the mesh
Mesh first and look at it before you rig: the back is reconstructed from a front image.
PromptMesh the hero with Meshy 7.1 - Image to 3D (model_meshy-7-1-img23d): image [hero asset ID], poseMode "a-pose", shouldRemesh true, targetPolycount 20000, enablePbr true, shouldTexture true. Quote the cost with a dry run first and wait for my go. When it is back, show it to me from the front, three-quarter and back, and wait for my approval.Rig the approved mesh
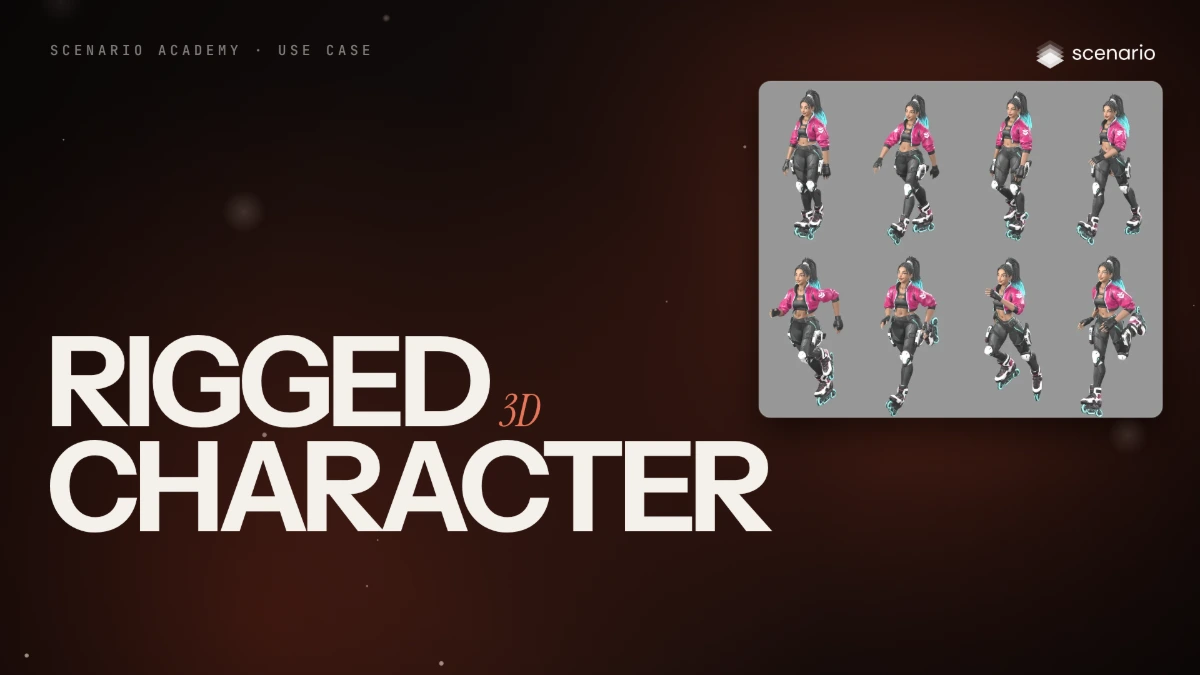
The rigging run returns the rigged mesh in a rest pose plus walk and run clips, each with the mesh and as animation only.
PromptRig the approved mesh with Meshy Rigging (model_meshy-rigging): model set to the mesh asset, heightMeters 1.8 (the character's height, roller blades included). Quote the cost with a dry run first and wait for my go. The job returns several assets: download each as GLB with asset_download and tell me what each one is.Check the rig in motion
Accept when the front matches the hero's keep-list, the skeleton is a standard humanoid, knees and elbows bend without collapsing, the blasters and braids move with the body and the feet plant in the walk. Reject arms merged into the torso, a bone outside a limb, a joint that tears or pinches, or an accessory that stays put.
PromptOpen the rigged GLB in Blender, headless, and list its bones. Render a few frames of the walk and the run and tell me what fails against those rules. If the arms are fused, mesh again from an A-pose image; if a bone sits outside a limb, rig again with the corrected height.File and report
PromptCreate a collection for the character with the hero, the mesh and the rigged files. Report the models, every asset ID with what it is, and the total cost spent.
Step by step in the web app (7 steps)Hide the steps
Generate the mesh
Create › 3D, Image › Select from Library: the A-pose hero, model Meshy 7.1 - Image to 3D. Settings: pose mode A-pose, remesh on with a target polycount of 20,000, PBR on.
Inspect the mesh
Look at the front, three-quarter and back views: the back is reconstructed from a front image, so check the braids, the holsters and the back of the jacket. This mesh had 20,754 triangles, one material and 2048 px maps.
Rig it
In the model picker, Rigging › Meshy Rigging. Select the mesh (the rigger takes GLB only) and set the height in meters to the character's height: 1.8 here, roller blades included; the default is 1.7.
Unpack the result
The run returned five GLB files: the rigged mesh in a rest pose, and a walking and a running clip, each with the mesh and as animation only. The animation-only files retarget onto other characters with the same skeleton.
Check the skeleton
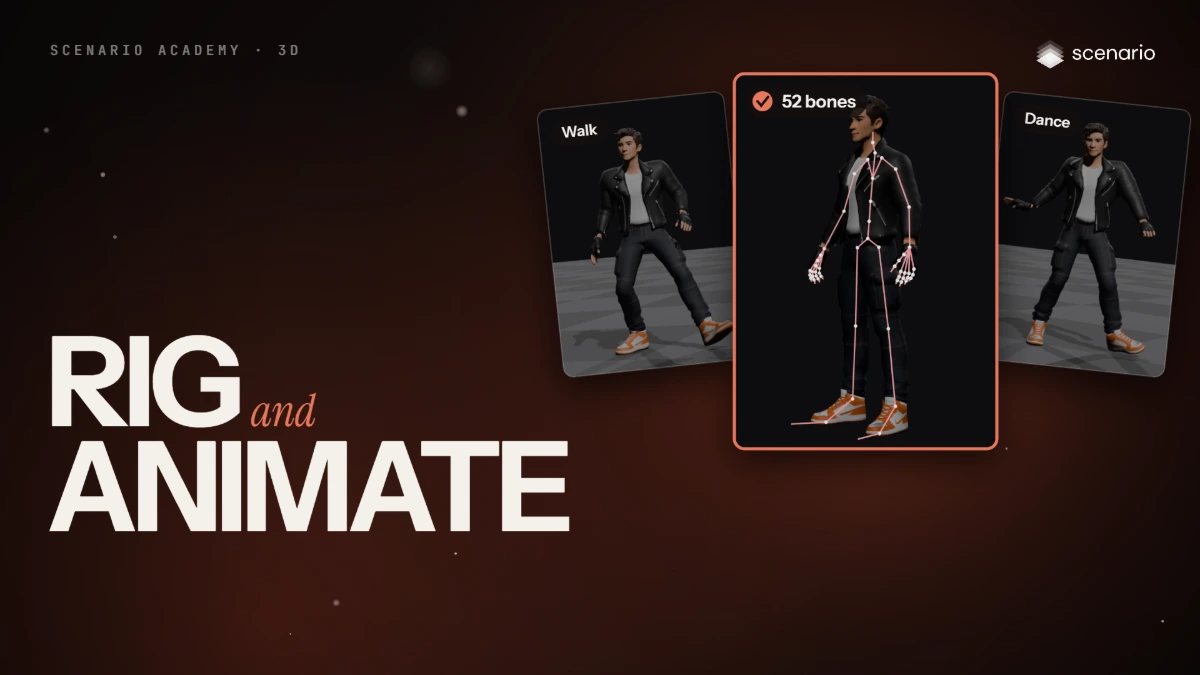
Import the rigged GLB. This one had 24 bones in a standard humanoid layout, with no finger bones and no face bones.
Play both clips and watch the deformation
Loop the walk (about 26 frames) and the run (16 frames), and watch the knees, the elbows, the thigh blasters and the braids.
Export
GLB keeps mesh, skeleton and clips in one file; FBX suits Unity and Maya.
Related