

Make vectors, pixel art and layered files
Turn an image into an SVG with Recraft Vectorize, into pixel art on a true grid with Pixelate, and into separate transparent layers with Seedream 5.0 Flash Layerize. Then slice or assemble grids and sprite sheets.
- Guide
- Step 1 Learn
On this page15 sections
- Before you start
- Step 1: Pick Recraft Vectorize and add your emblem
- Step 2: Vectorize
- Step 3: Check and download the SVG
- Step 4: Pick Pixelate and your character
- Step 5: Set the pixel grid size
- Step 6: Set the color palette
- Step 7: Check the pixel art
- Step 8: Remove the background
- Step 9: Pick Seedream 5.0 Flash Layerize and your image
- Step 10: List the parts and generate
- Step 11: Check the layers
- Slice and assemble grids
- Common problems
- What's next
A generated image is a flat grid of pixels. This lesson turns one into three other kinds of file: an SVG logo that stays sharp at any size, with Recraft Vectorize; a pixel art sprite on a true grid, with Pixelate and Remove Background; and a stack of transparent layers you can move or replace, with Seedream 5.0 Flash Layerize.
Quick version
- For a logo or icon, pick Recraft Vectorize, add the image and click Vectorize. Download the SVG.
- For pixel art, pick Pixelate, set Pixel Grid Size, Remove Noise and Color Palette, and click Pixelate.
- Open the pixel art, click ... and choose Remove Background for a transparent sprite.
- For layers, pick Seedream 5.0 Flash Layerize, add the image, list the parts under Prompt and click Generate.
Before you start
- All three tools live in the same place. Go to Create and open the image editing page (its header reads Edit Image). Pick the tool in the Model box at the top of the left panel. You can also open an image and choose Pixelate, Vectorize or Remove Background from the ... menu above it.
- Start from a clean source. Flat art with clean edges makes the best vectors. A character with a clear outline on a plain background makes the best sprite. For best results, use an image of 1024 × 1024 pixels or more.
- Know which file you need. A vector (SVG) is made of shapes, not pixels, so a logo can go on a business card or a billboard. Pixel art is the opposite: a deliberately small grid with few colors. Layers are for compositing, parallax and animation, where each part has to move on its own.
- The cost shows on each button. Vectorize, Pixelate and Generate each show the price of the run before you click.
Step 1: Pick Recraft Vectorize and add your emblem
Click the model name under Model and pick Recraft Vectorize. Under Image, you have three ways in: Drag & drop or paste, Select from Library or Upload. Here, click Select from Library and pick the emblem.
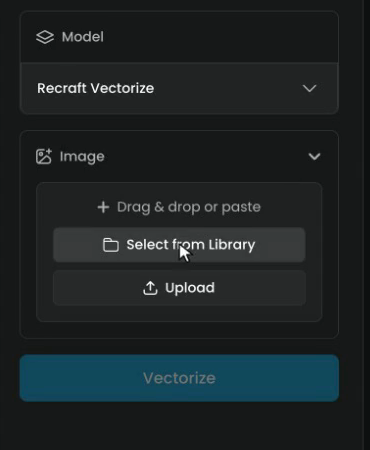
Flat art with clean edges works best: solid fills, no soft shadows, no photo texture. Each color region becomes a shape, so a gradient or noisy texture turns into hundreds of tiny shapes.
Step 2: Vectorize
Recraft Vectorize has no settings. With the emblem loaded, click Vectorize.
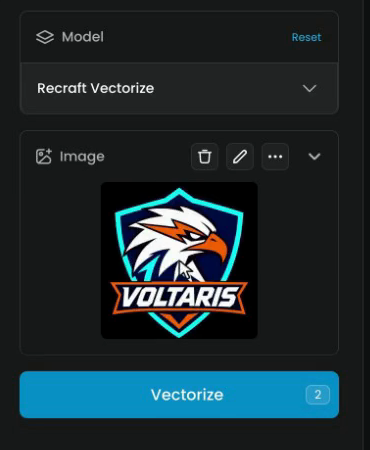
Step 3: Check and download the SVG
The vector opens in the viewer with the same shapes and colors as the original.
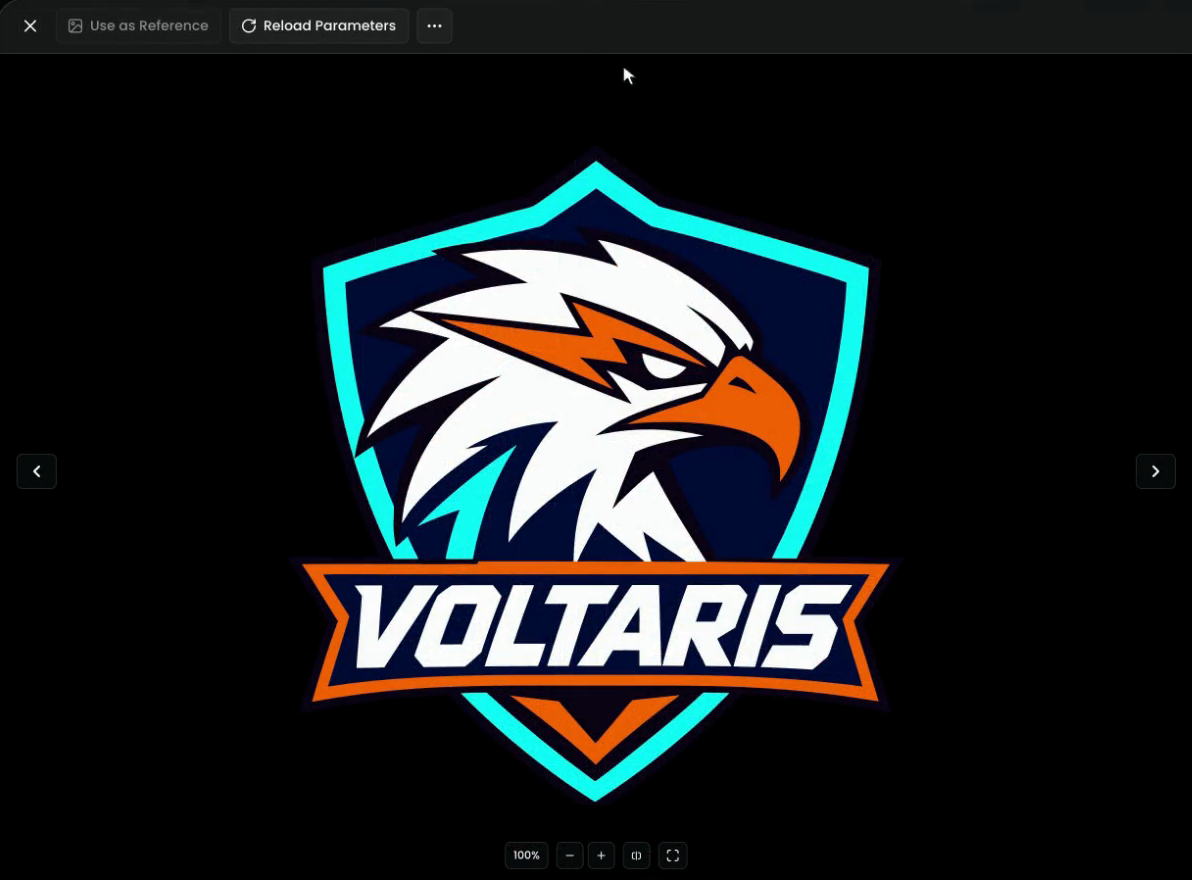
The viewer shows a picture of the vector. To see the real thing, click Download at the top right of the viewer to save it as an SVG file, and open it in your design tool. Zoom far in: the edges stay sharp where the original pixels would blur.

The other vectorizer: Scenario Vectorize
Scenario Vectorize is in the model library too. It has three presets:
| Preset | What it does | Use it for |
|---|---|---|
| Clean (recommended) | Flat shapes with smooth curves, in the colors already in the image | Icons, logos, stickers, illustrations, comics |
| Minimal | The same flat look with the fewest colors possible | A bold, poster-like version of a busy image |
| Textured | Keeps the shading and texture, with many more shapes | Photos and painterly art where gradients matter |
Images smaller than 1024 px are enlarged first so the shapes come out clean, which adds a little to the cost.
Step 4: Pick Pixelate and your character
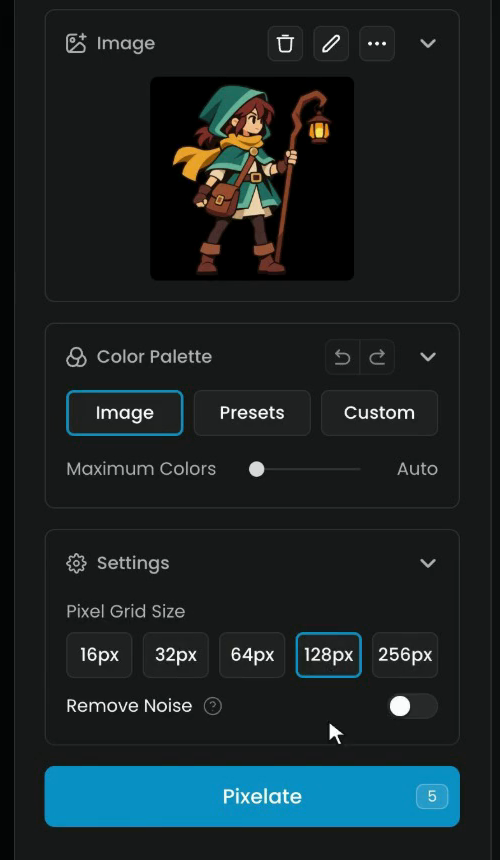
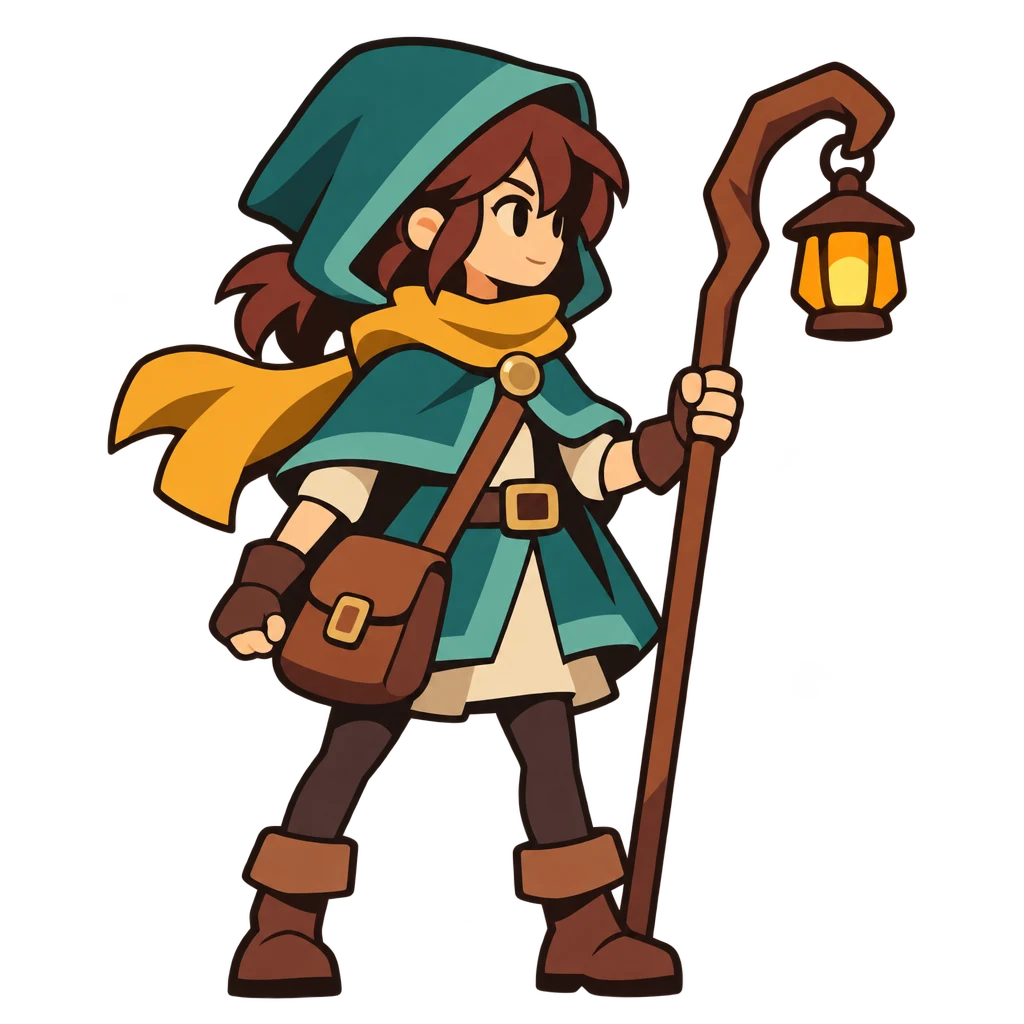
Now pixel art. Under Model, pick Pixelate, then click Select from Library under Image and pick your character.
Step 5: Set the pixel grid size
Under Settings, choose the Pixel Grid Size: 16px, 32px, 64px, 128px or 256px. It's how many pixels wide your pixel art will be.
| Grid | Look | Good for |
|---|---|---|
| 16px, 32px | Big, chunky pixels, a strong retro look | Small sprites, items, classic 8-bit style |
| 64px | A balance of detail and retro look | A good first try when you're unsure |
| 128px, 256px | More detail, light pixelation | Full characters, portraits, larger scenes |
For a full character, 128px keeps the face readable. Use it here.
Turn on Remove Noise for cleaner shapes, with fewer stray pixels. It helps most on detailed images.
Step 6: Set the color palette
Color Palette sets the colors your pixel art can use. It has three options:
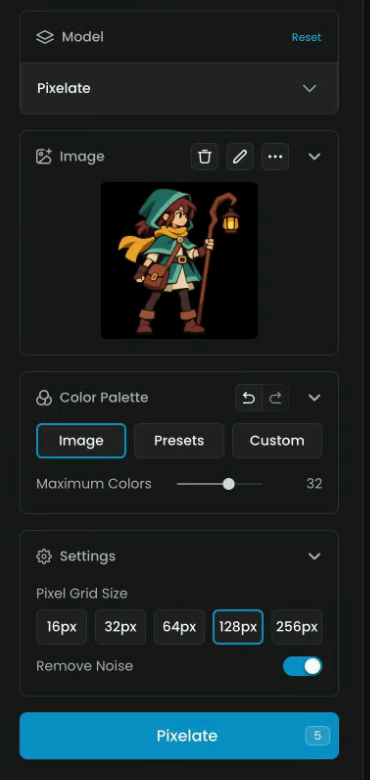
- Image takes the colors from your own picture. Maximum Colors sets how many to keep. Auto lets Pixelate decide. Fewer colors give a more retro look.
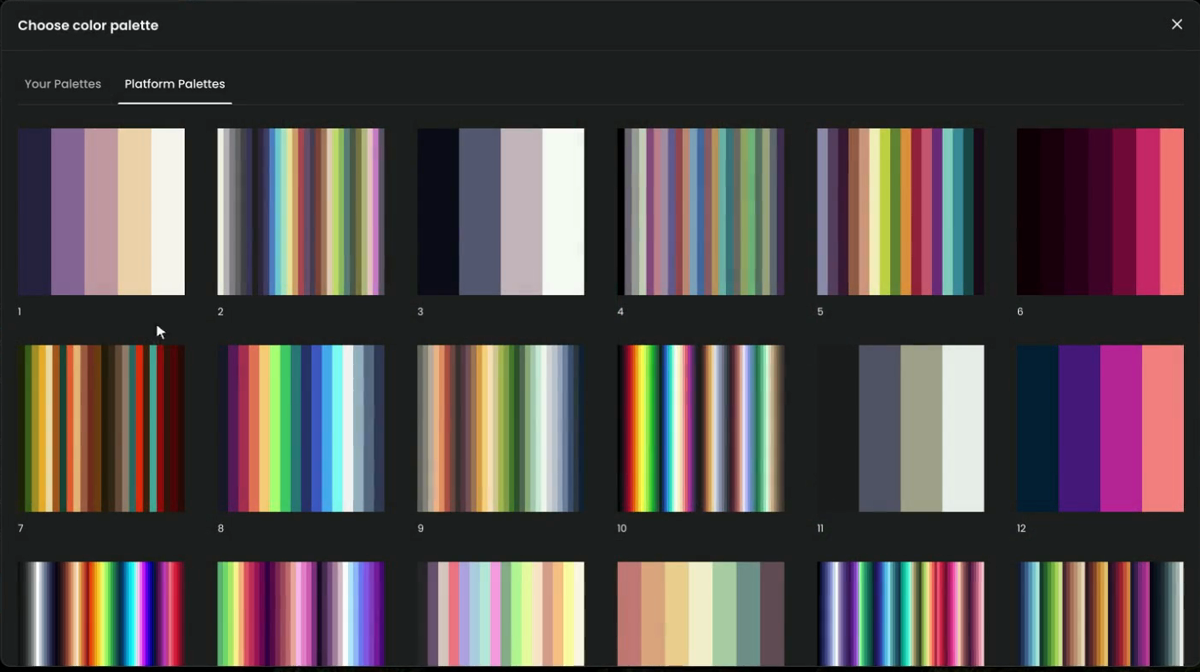
- Presets opens Choose color palette, with ready-made palettes under Platform Palettes and the ones you saved under Your Palettes.
- Custom lets you build your own palette, color by color with +, for example to match the rest of your game.
Here, choose Image and drag Maximum Colors to 32. The panel now reads: Image, 32 colors, 128px, Remove Noise on. Click Pixelate.
Step 7: Check the pixel art
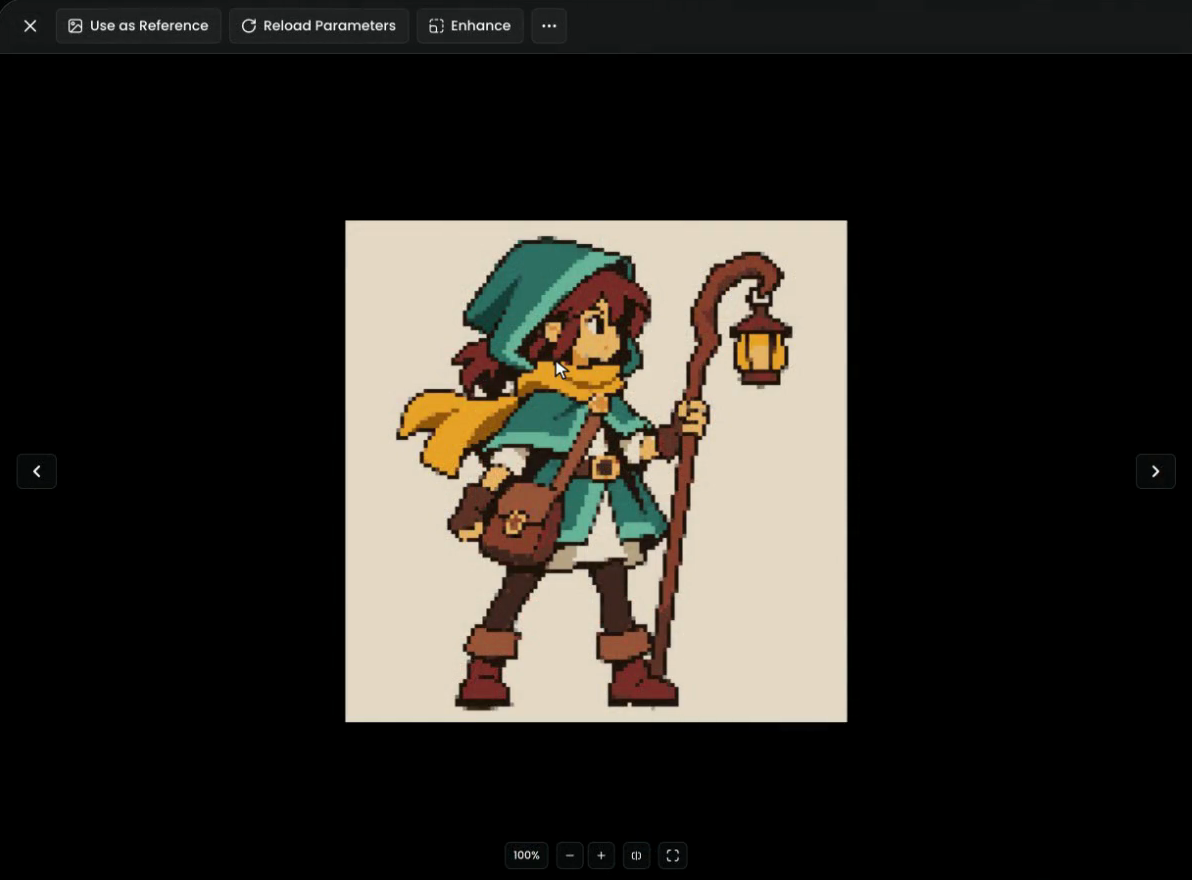
Every pixel now sits on the grid, with a small set of colors.
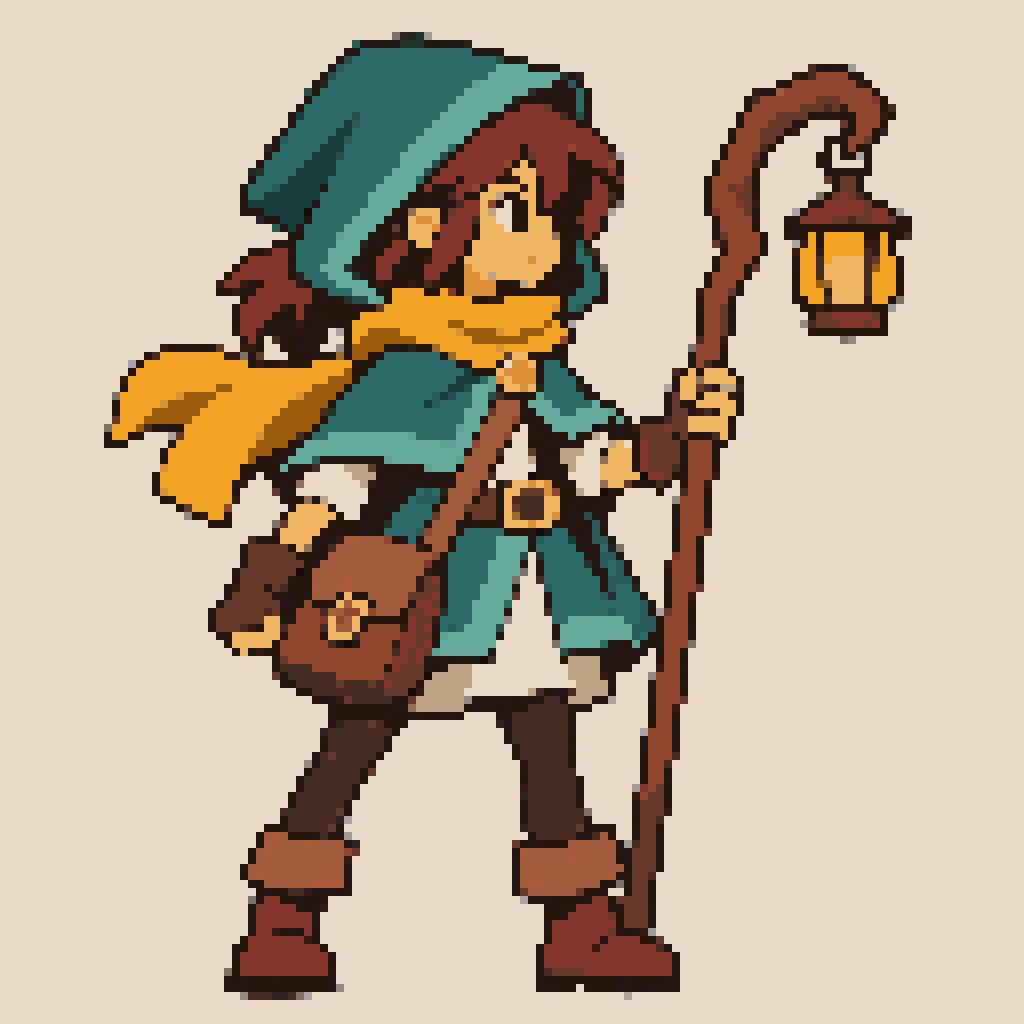
Step 8: Remove the background
Pixelate fills the background, so the sprite isn't ready for a game yet. Above the image, click the ... button and choose Remove Background.
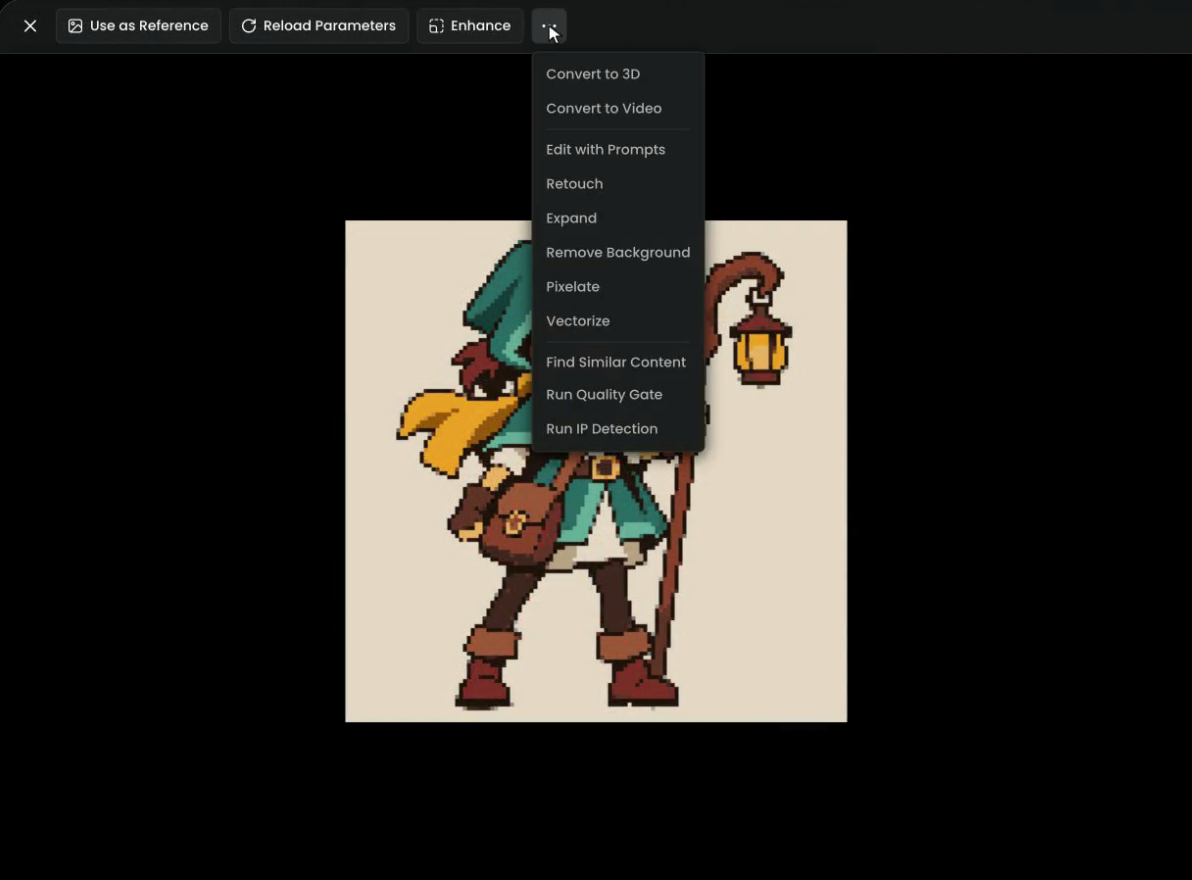
The same menu has Pixelate and Vectorize, so you can run either on any image straight from the viewer. In the film, Remove Background ran with Photoroom Background Removal.
The result is a transparent sprite, ready for your game.
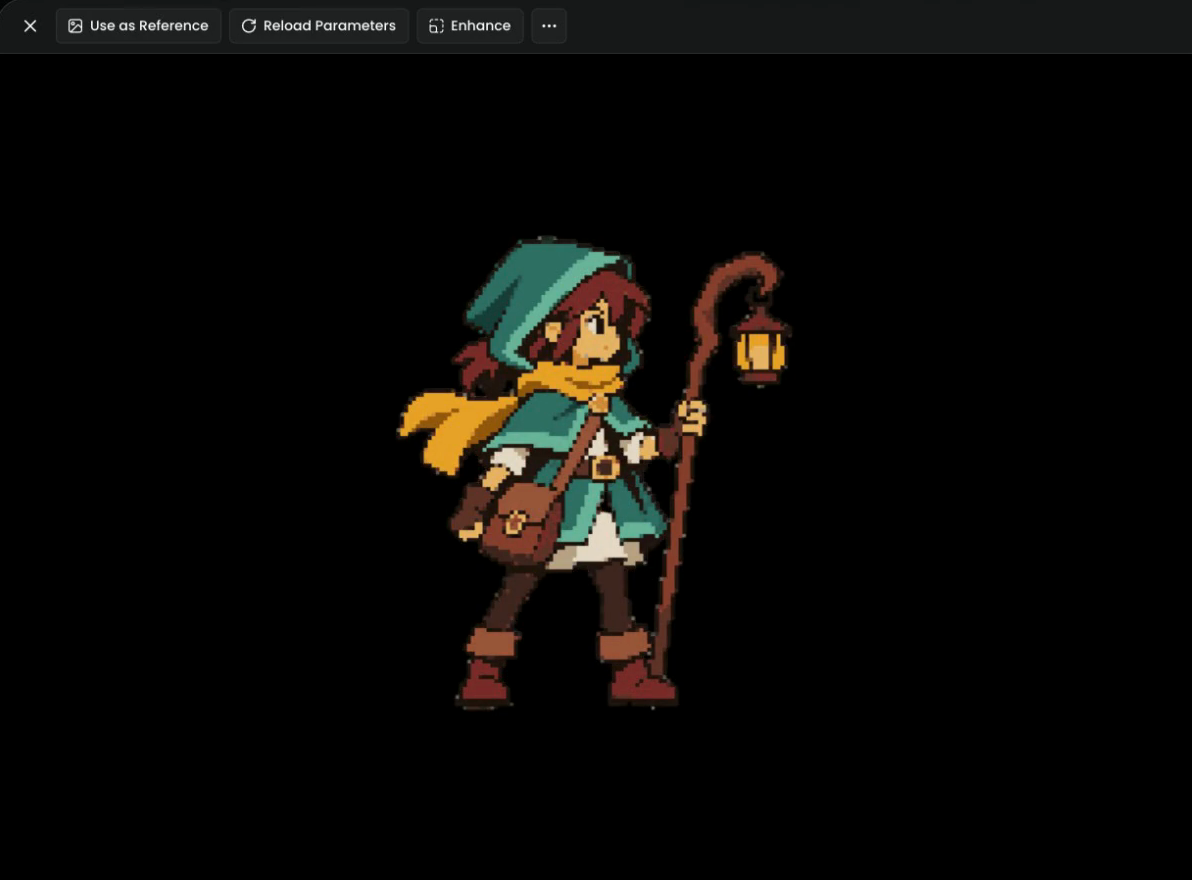
every pixel is the same size and sits on one grid, the face reads at the size the game shows it, the palette has no stray in-between shades, and the edges of the sprite are clean against transparency.
pixels drift or differ in size, the face turned to mush (raise the grid size), there are lone specks (turn on Remove Noise), or bits of background are left around the outline.
When the pixel art came from a generator: Pixel Snapper
Image models often make "pixel art" whose pixels differ in size and drift off the grid. Pixel Snapper fixes that: it snaps every pixel to one consistent grid and reduces the colors to a strict palette, while keeping details such as dithering and curved lines. It takes PNG or JPG images up to 10 MB. It works on art that already has fairly clear pixels; a blurry image or a photo won't gain much. Use Pixelate to turn an ordinary image into pixel art, and Pixel Snapper to clean up pixel art that's almost right.
Step 9: Pick Seedream 5.0 Flash Layerize and your image
To split a picture into parts you can move or replace, pick Seedream 5.0 Flash Layerize under Model and select your image from the library.
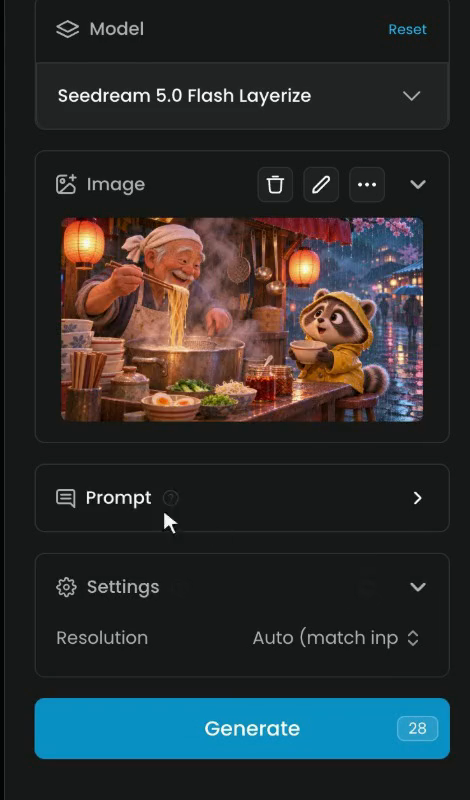
Settings has one option, Resolution. The film leaves it on Auto, which matches the input image.
Step 10: List the parts and generate
Open Prompt and list the parts you want, one by one. The film uses:
Separate this image into transparent layers: the old cook, the raccoon cub in the yellow raincoat, the noodle stall with its counter and bowls, the hanging lanterns, and the background street.
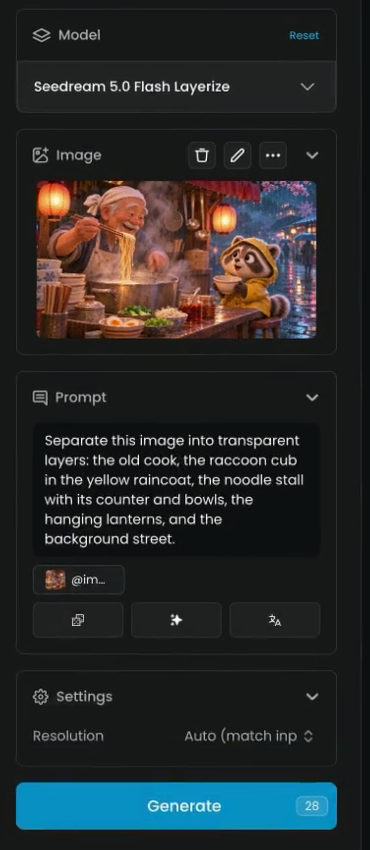
Write it as a rule for splitting, not as a description of the scene. "Two people walking a dog" tells the model what's there; "split the two people, the dog and the background" tells it how to divide it. Name each part plainly, and add a detail when two parts could be confused ("the raccoon cub in the yellow raincoat"). Click Generate.
Step 11: Check the layers
Each part comes back on its own transparent layer: the cook, the raccoon, the lanterns, the counter, and the street behind them, rebuilt where they stood.
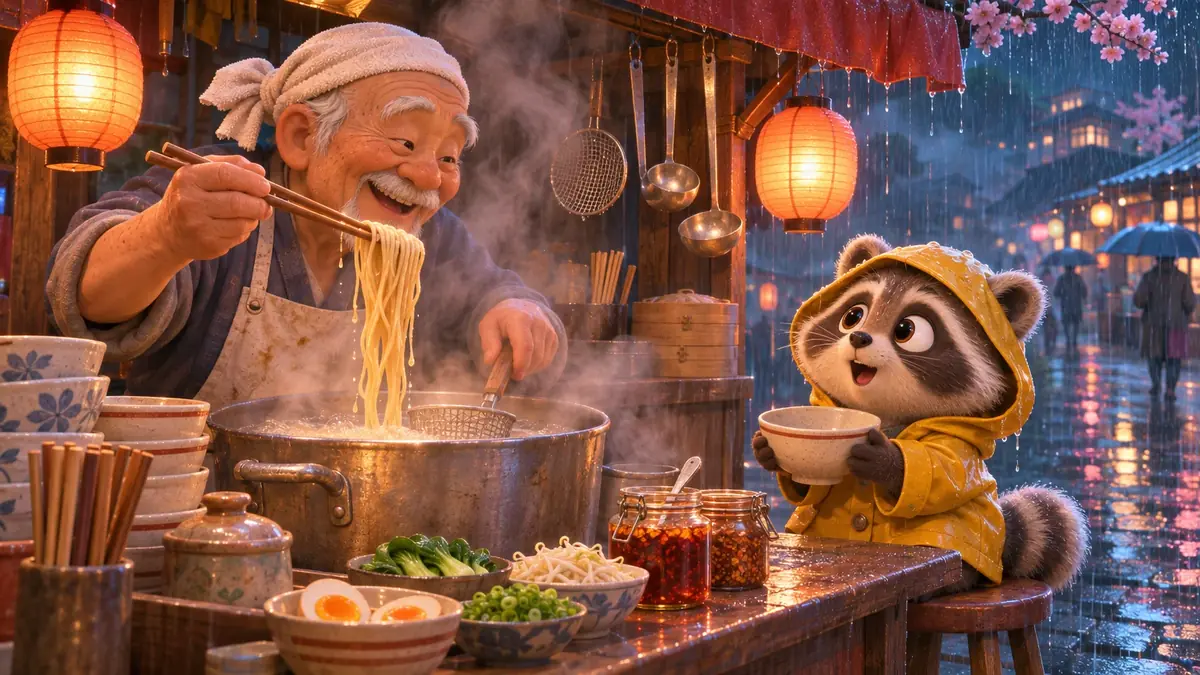
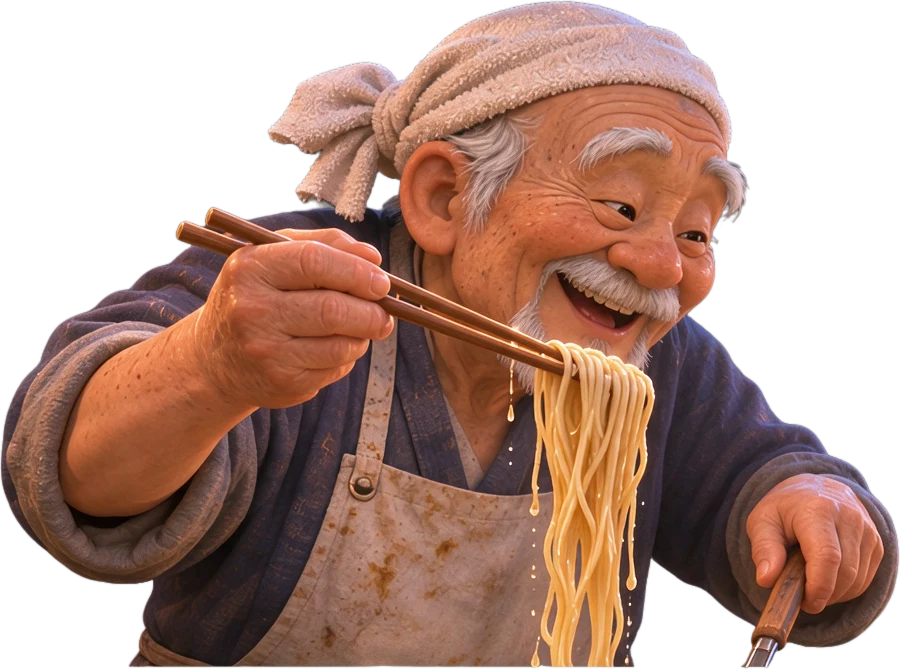
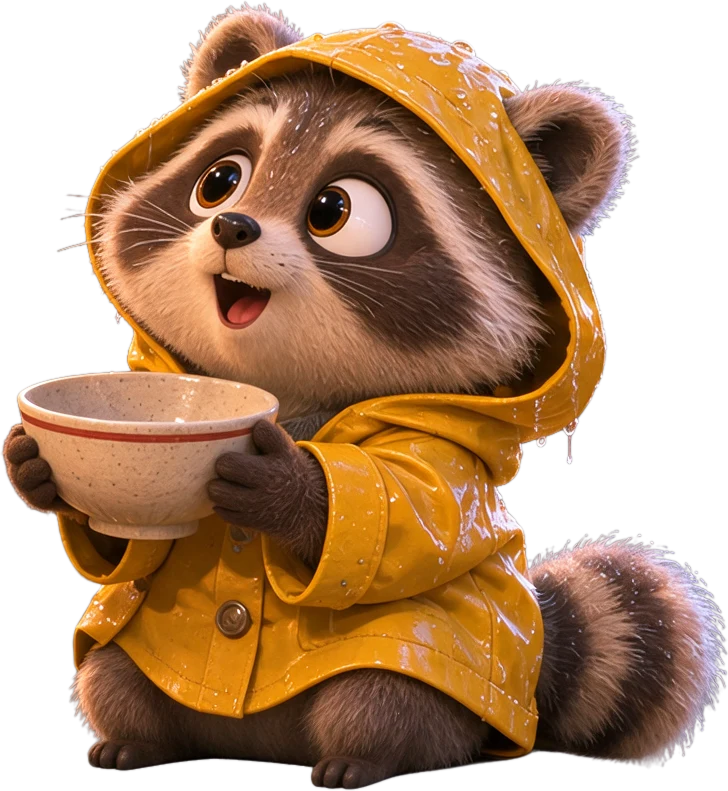
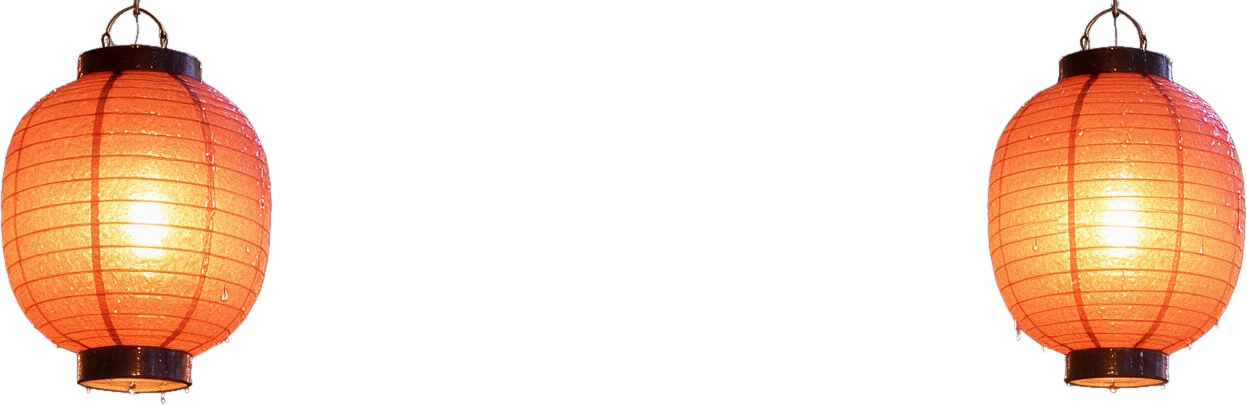
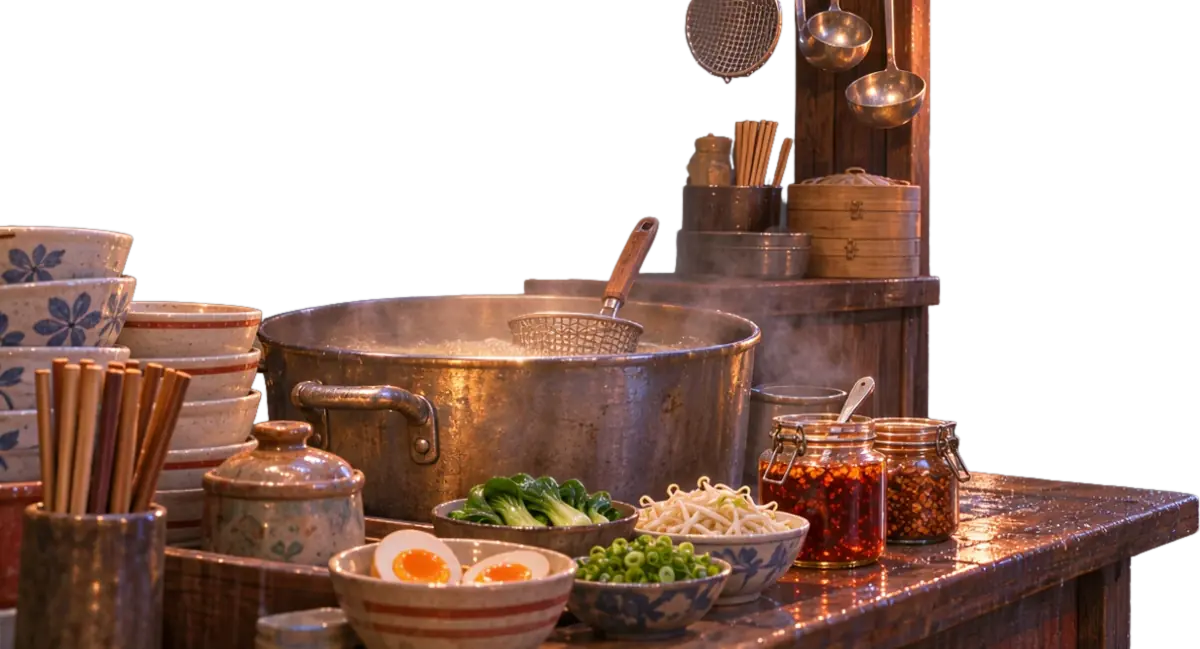
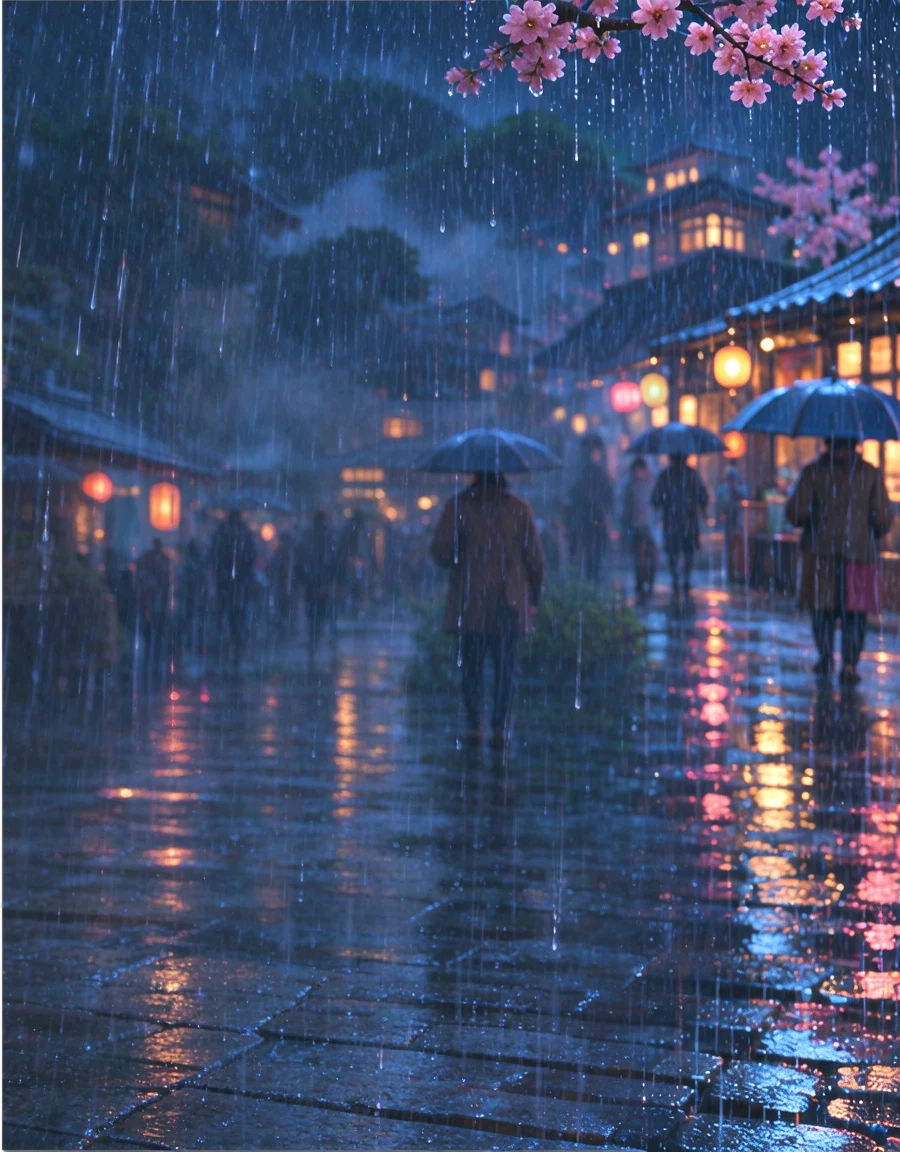
The background is filled in where the parts were, so you can move a layer or drop in a new one without leaving a hole.
each part you listed is on its own layer, edges (hair, fur, steam) are clean enough for where it's going, and the background has no ghost of the parts that were lifted out.
two parts merged into one layer, a part is missing or cut off, or the filled background is smeared. Name the parts more precisely and generate again.
Other layer tools
The model list also has Seedream 5.0 Pro Layerize. Image to Layers splits images too, with a Separation Instruction (up to 2000 characters) and a Max Layers setting: from 1 to 10, default 6, plus the background. It may return fewer layers if it finds nothing else worth separating. Set Max Layers to about the number of parts you want, since more layers cost more without improving the main one. Video to Layers does the same on video.
Slice and assemble grids
Two utility tools work with grids of images, for sprite sheets and boards:
| Tool | What it does | Settings |
|---|---|---|
| Image Slicer | Cuts one image into equal tiles and saves each as its own file, for example the frames of a sprite sheet | X and Y subdivisions: 4 × 2 gives 8 frames |
| Grid Maker | Assembles several images into one aligned grid, for a sprite sheet, a pose sheet or a review board | Columns, rows, padding, background color |
For a sprite sheet a game engine can read, keep the padding at 0 and match the columns and rows to your animation. To cut one back up, use Image Slicer with the same numbers. Image Slicer always makes equal tiles, so an image that doesn't divide evenly may give an extra row or column to discard.
Common problems
| What you see | What to do |
|---|---|
| The SVG has hundreds of tiny shapes | The source had gradients or texture. Use a flatter source, or Scenario Vectorize with Clean or Minimal |
| The vector looks soft in the viewer | The viewer shows a picture of it. Download the SVG and open it in your design tool |
| The pixel art face is unreadable | Raise Pixel Grid Size to 128px or 256px |
| Stray single pixels and specks | Turn on Remove Noise |
| Too many colors, not retro enough | Choose Image and lower Maximum Colors, or pick a small palette under Presets |
| The sprite has a colored background | Pixelate fills it. Run Remove Background from the ... menu |
| Generated "pixel art" has uneven pixels | Run it through Pixel Snapper |
| Two parts came back on one layer | Name each part on its own in the prompt, with a detail that tells them apart |
| A part is missing from the layers | Check its name matches what's in the image; for Image to Layers, raise Max Layers |
What's next
Lettering in images is its own skill: Text and typography in images shows how to get words right in one generation, or use your own logo. To build a full set of icons, see the Game icon set playbook; for animated sprites, Sprite sheet animation.