About this lesson
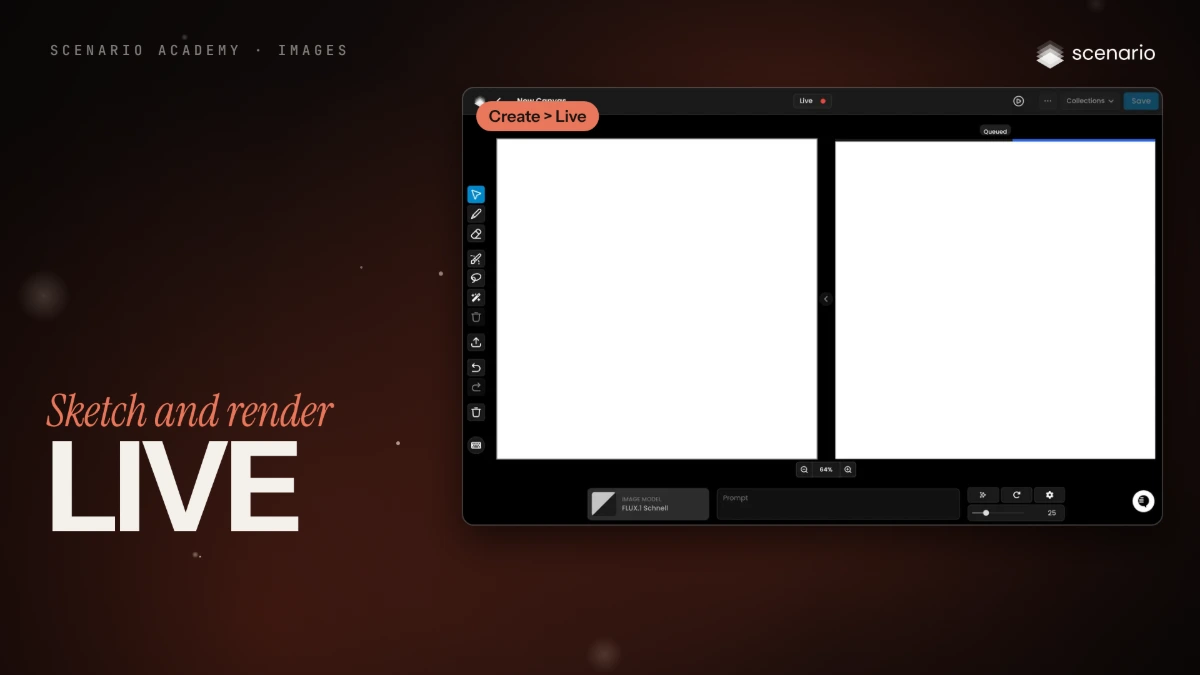
Live turns a rough color sketch into a rendered image while you draw. You find a layout by moving shapes instead of rewriting a prompt, which makes it good for thumbnails, compositions, poses and color blocking. This lesson walks through the Live canvas, from a blank page to a render you can finish on a full-quality model. The models and settings in this lesson are as of November 2026.
See moreSee less
- Live renders your sketch as you draw, so you can try many layouts quickly.
- Keep the prompt and the sketch in agreement, and use the render as a reference, not a final.
- Open it from Create > Live; it offers custom models only, and the slider starts at 25.
Step by step in the web app (8 steps)Hide the steps
Open Live
Create › Live opens a New Canvas: you draw on the left pane and the render updates on the right.
Name the canvas and check that Live is on
Click New Canvas to name it after the shot, and check the Live switch in the top bar is on. Save keeps the canvas under Assets › Canvas.
Pick the model and write the prompt
Click the IMAGE MODEL card (it opens on FLUX.1 Schnell; Category › My models for your team's custom models) and write a short prompt that agrees with the sketch. Prompt Spark suggests prompts.
Sketch on the left pane
Brush (S), color picker (C) and eraser (E): block in big, flat color shapes with clear contrast, then move and recolor them until the render works.
Set how closely the render follows the sketch
The unlabeled slider runs from 1 to 100 and starts at 25: around 40 to 70 keeps your drawing, around 10 to 30 frees the model. Move it in steps of 5 or 10.
Try variations and settings
The circular arrow renders a new seed of the same sketch; the gear holds Seed with FLUX.1 Schnell. Fix the seed while you change the sketch.
Change one part with a mask
Send the render to the left pane with the arrow, mask the area with draw mask, lasso or smart mask, and change the prompt to describe only that area.
Finish the render on a full-quality model
Save, open the render, click Use as Reference and pick a full-quality model such as GPT Image 2.5 Sunburst; say the reference sets the composition. Then edit and Enhance once approved.
Related