About this lesson
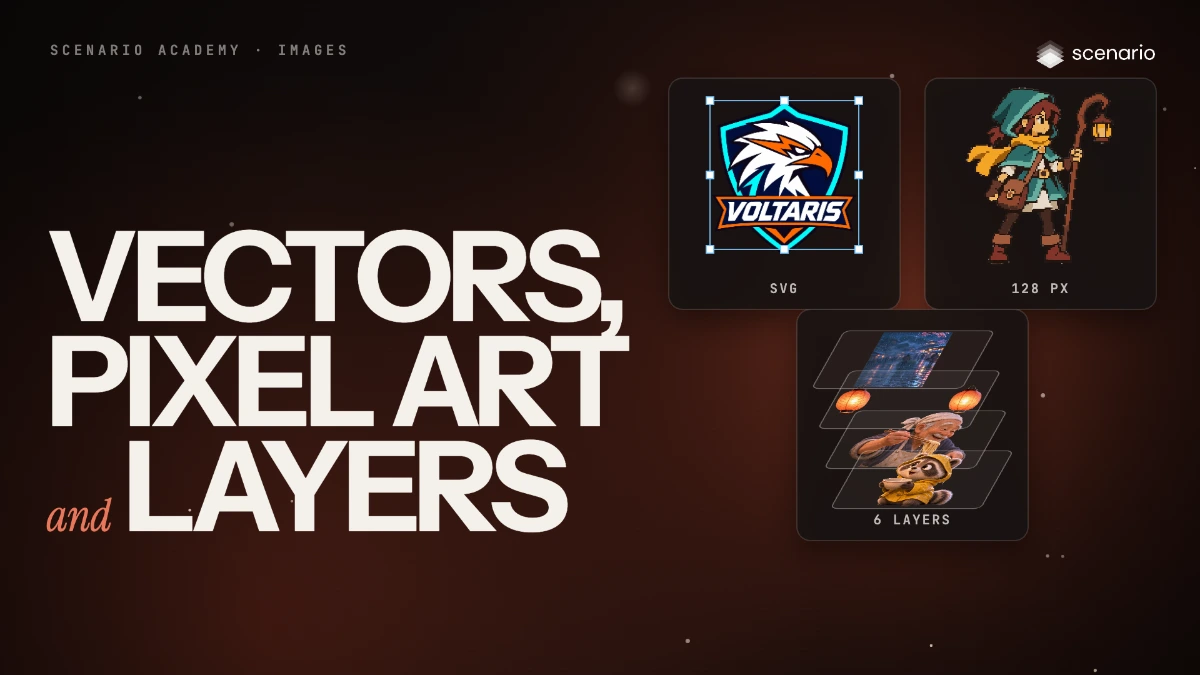
A generated image is a flat grid of pixels. This lesson turns one into three other kinds of file: an SVG logo that stays sharp at any size, with Recraft Vectorize; a pixel art sprite on a true grid, with Pixelate and Remove Background; and a stack of transparent layers you can move or replace, with Seedream 5.0 Flash Layerize. The models and prices in this lesson are as of November 2026.
See moreSee less
- Recraft Vectorize turns a flat logo or icon into an SVG with the same shapes and colors.
- Pixelate snaps a character to a true pixel grid with a small palette. Then Remove Background gives you a transparent sprite.
- Seedream 5.0 Flash Layerize splits a picture into the parts you list, each on its own transparent layer.
Step by step with an agent, through the Scenario MCP (5 steps)Hide the steps
Connect the Scenario MCP
Connect your agent and sign in once at mcp.scenario.com. Then tell it which Scenario team and project to use, so every file lands there.
Give the agent the files
The flat emblem for the vector, the character for the sprite and the noodle stall scene for the layers, each 1024 px or more. Upload them with upload_asset or give their asset IDs.
Brief the agent
Three tools, one input each. Read each tool's settings with model_schema_get rather than guessing their names.
PromptThree runs, one image each. Read each model's parameters with model_schema_get first. Quote the cost with a dry run first and wait for my go. 1. Vectorize the emblem with Recraft Vectorize (model_recraft-vectorize), no settings, and download the result as an SVG. 2. Pixelate the character with Pixelate (model_sc-pixelate): pixel grid size 128px, remove noise on, palette taken from the image with 32 colors at most. Then remove the background of that result with Photoroom Background Removal (model_photoroom-background-removal) for a transparent sprite. 3. Split the noodle stall image with Seedream 5.0 Flash Layerize (model_bytedance-seedream-5-0-flash-layerize), resolution auto. Prompt, word for word: Separate this image into transparent layers: the old cook, the raccoon cub in the yellow raincoat, the noodle stall with its counter and bowls, the hanging lanterns, and the background street. Launch the first runs with wait: false and collect them with jobs_wait, then show me every result.Check and redo
Accept an SVG made of a few clean shapes, a sprite whose pixels are all one size on one grid with a readable face and clean edges, and one layer per listed part with a clean filled background. Reject hundreds of tiny shapes, drifting pixels, specks, or two parts on one layer.
PromptTell me how many shapes the SVG has, whether the sprite has stray specks or leftover background, and which layers came back for which part. Redo only what fails: Scenario Vectorize (model_sc-vectorizer) with its Clean preset for a busy vector, a 256px grid if the face is mush, or the layer prompt with each merged part named on its own.File the results and report
PromptCreate a collection called "Vectors, sprites and layers" with the sources and every kept result. Report each asset ID with its model and the total cost spent.
Step by step in the web app (11 steps)Hide the steps
Pick Recraft Vectorize and add your emblem
Create › Edit Image, then Model › Recraft Vectorize, and under Image › Select from Library pick the emblem. Flat art with clean edges works best.
Vectorize
Recraft Vectorize has no settings: with the emblem loaded, click Vectorize.
Check and download the SVG
Click Download at the top right of the viewer to save the SVG, then zoom far in in your design tool: the edges stay sharp.
Pick Pixelate and your character
Under Model, pick Pixelate, then Image › Select from Library and pick your character.
Set the pixel grid size
Settings › Pixel Grid Size 128px keeps a full character's face readable. Turn on Remove Noise for fewer stray pixels.
Set the color palette
Color Palette › Image with Maximum Colors at 32 (Presets and Custom are the other options). With 128px and Remove Noise on, click Pixelate.
Check the pixel art
Every pixel sits on one grid with a small set of colors, and the face reads at game size.
Remove the background
Pixelate fills the background: click ... above the image › Remove Background for a transparent sprite (here with Photoroom Background Removal).
Pick Seedream 5.0 Flash Layerize and your image
Under Model, pick Seedream 5.0 Flash Layerize and select the noodle stall image from the library. Leave Settings › Resolution on Auto.
List the parts and generate
Open Prompt and write a rule for splitting, naming each part plainly, then click Generate.
PromptSeparate this image into transparent layers: the old cook, the raccoon cub in the yellow raincoat, the noodle stall with its counter and bowls, the hanging lanterns, and the background street.Check the layers
Each part comes back on its own transparent layer, and the street is filled in where the parts stood. If two parts merged, name them more precisely and generate again.
Related