

What workflows are
A workflow is a node graph that chains inputs, models, logic and outputs so a process runs the same way every time. An App is a workflow with a form.
- Concept
- Step 2 Repeat
On this page16 sections
- Before you start
- Step 1: Open Workflows
- Step 2: Look at the finished version
- Step 3: Create a workflow
- Step 4: Name it
- Step 5: Clear the canvas
- Step 6: Open the node list
- Step 7: Add an Image input
- Step 8: Rename the node
- Step 9: Pick the character
- Step 10: Read the output port
- The canvas, in short
- Three kinds of workflow
- When a workflow is worth it
- Common problems
- What's next
A workflow is a chain of steps that Scenario runs for you, the same way every time. You build it once, and anyone on your team can run it again. This lesson shows where workflows live, opens the finished workflow the course rebuilds, and starts your own copy with its first node: an Image input holding one character.
Across the course you build Anatomy reference sheets, a workflow that takes one character image and makes four reference sheets for artists: a pencil sketch with the anatomy drawn on top, a plain pencil sketch, a gray sculpt and a textured sculpt.
Quick version
- In the top bar, open Workflows › Workflows.
- On the Platform tab, open Image to anatomy reference to see the finished version.
- Go back, switch to the Project tab and click Create.
- Rename the workflow
Anatomy reference sheetsand delete the two sample nodes. - Click + in the right toolbar, choose Input › Image, and pick your character with Select from Library.
Before you start
- What you need: a project you can create workflows in, and one character image in your library. The course uses a ranger from the Starforge cast: a hooded cape, armor, a sword and a shield. Any full or half-body character works.
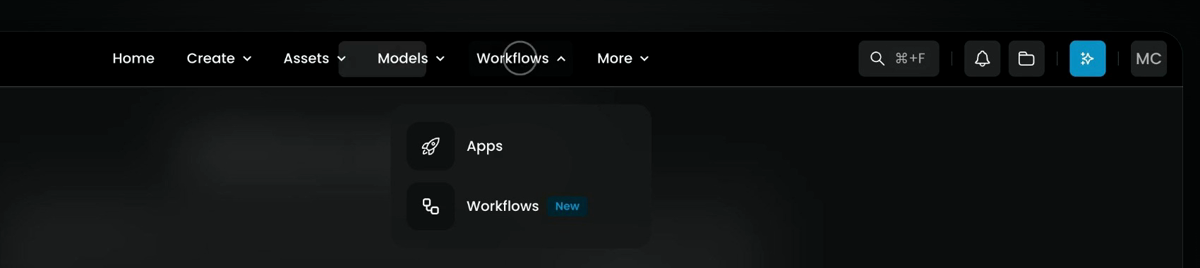
- Where it lives: Workflows in the top bar holds two pages, Apps and Workflows. This course works on Workflows.
- Nothing runs in this lesson. You only build, so nothing is spent. A workflow costs what its nodes cost when you run it, and the price shows on the run buttons before you click.
Key ideas
| Term | What it means |
|---|---|
| Node | One box on the canvas. It does one step: holds an input, runs a model, joins text, and so on |
| Wire | A dashed line from one node's output to another node's input. Results flow along it, left to right |
| Port | The small dot where a wire starts or ends. Inputs sit on a node's left edge, outputs on its right |
| Port color | What the port carries: green for images, blue for text, yellow for video, red for 3D, purple for audio. Only matching colors connect |
| Run-only mode | How a workflow opens: you can fill its inputs and run it, not edit it. A Platform workflow stays that way until you duplicate it; one in your project has Switch to Edit Mode |
Step 1: Open Workflows
Workflows live in the top bar. Click Workflows, then choose Workflows in the menu that opens. The other entry, Apps, holds workflows published with a simple form; the last lesson of this course makes one.
The Workflows page has two tabs:
- Platform: workflows Scenario has built and keeps up to date. You can search them by name, filter them and sort them.
- Project: your team's own workflows, in the current project. Every project member can see them.
Step 2: Look at the finished version
On the Platform tab, find Image to anatomy reference. It's the workflow this course rebuilds.
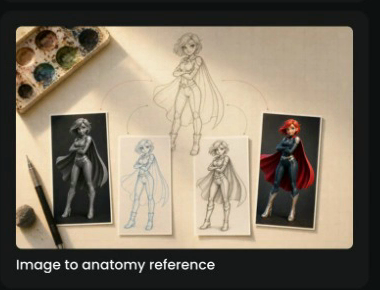
Open it. Each box is a node, and wires carry the results from left to right: the character image on the left, then the style prompts, then one Prompt Builder per look, then four image generators with the four sheets.
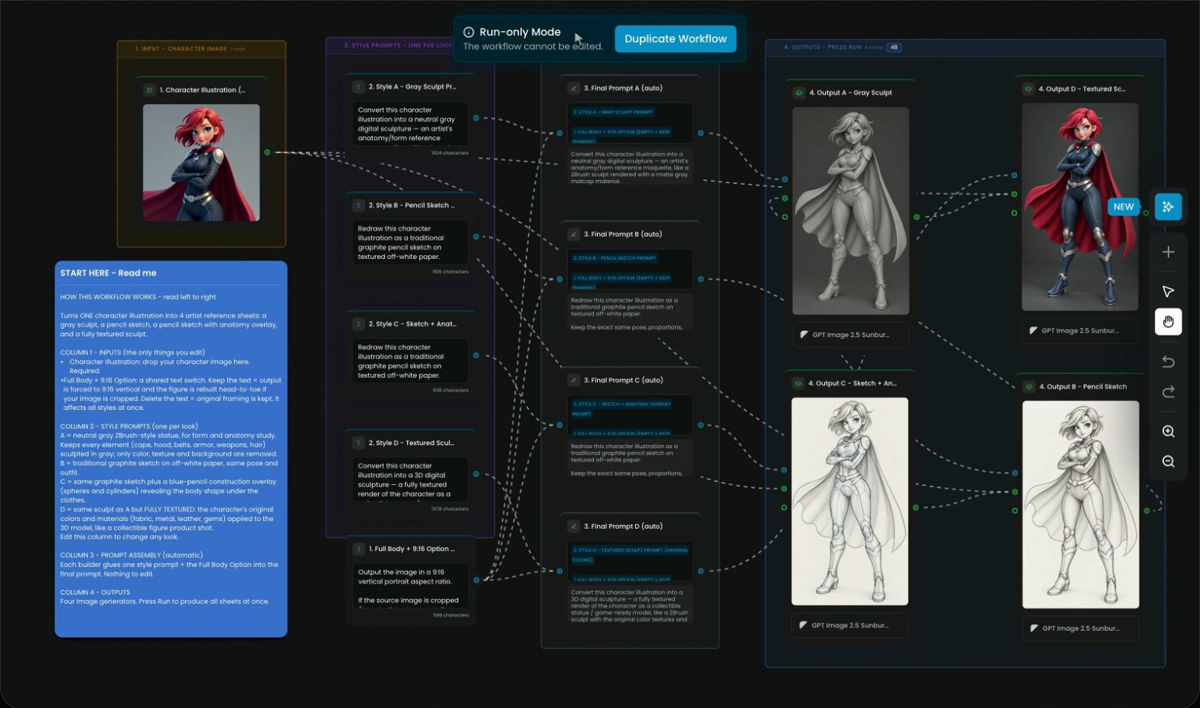
A Platform workflow opens in Run-only Mode: "The workflow cannot be edited." To change one, you would click Duplicate Workflow, which saves a copy to your Project tab. The course doesn't copy it in one click. You build your own, so you see every step. Read the blue START HERE note on the left: Scenario's own workflows often explain themselves with a sticky note like this.
Step 3: Create a workflow
Go back to Workflows and switch to the Project tab. This is where your team's own workflows live. Click Create at the top right.
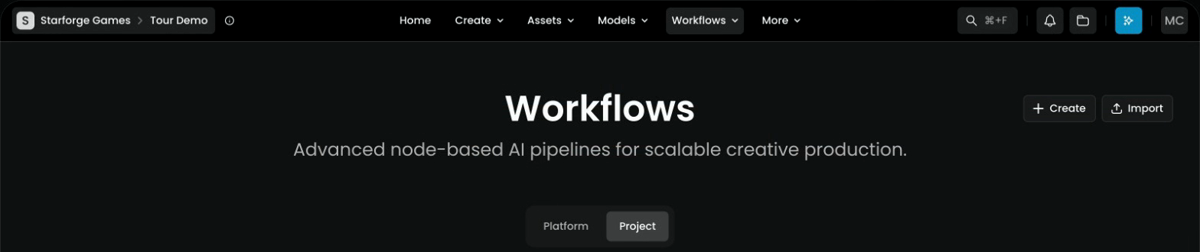
Import, next to it, loads a workflow someone exported as a JSON file.
Step 4: Name it
A New Workflow opens, with two sample nodes already wired: a Text node with a sample prompt and an Image Generator. The workflow saves itself as you build; there's no save button.
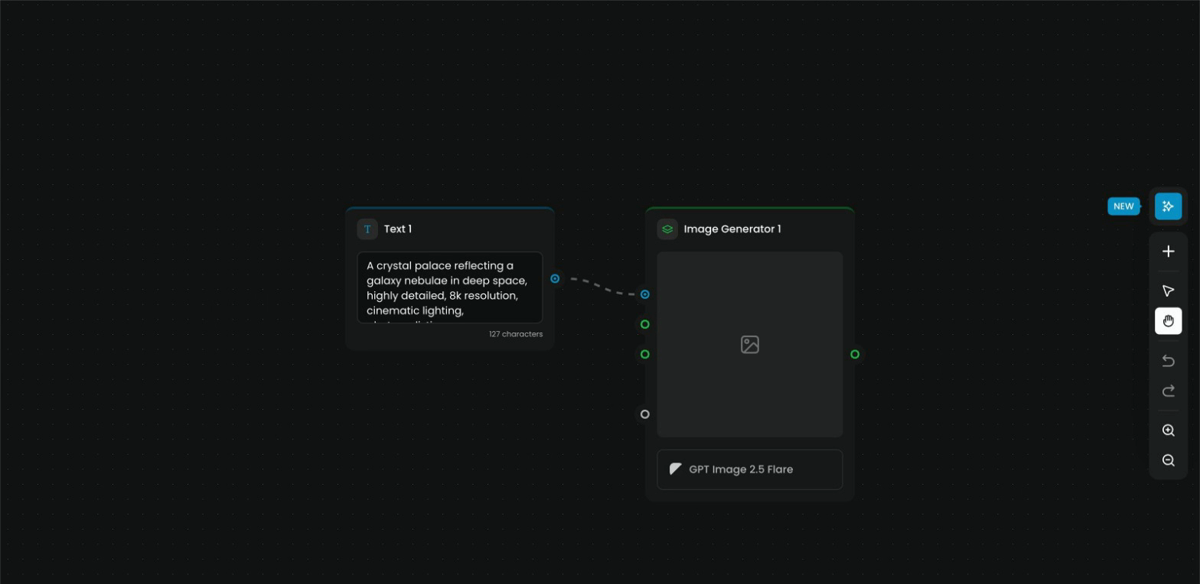
Click the title at the top left and type:
Anatomy reference sheets

A clear name matters: it's what your team sees on the Project tab, and what an App will show later.
Step 5: Clear the canvas
This workflow starts from nothing, so delete the two sample nodes. Click one and press Delete (or Backspace), then do the same with the other.
Step 6: Open the node list
Every node comes from the + button in the toolbar on the right. It opens a list with a search box (Search nodes...), the Most used nodes, then four groups:
| Group | What its nodes do | Nodes |
|---|---|---|
| Input | Hold what you bring in | Text, Image, Video, 3D Model, Audio |
| Generators | Run a model | Image Generator, Video Generator, 3D Generator, Audio Generator, LLM Node |
| Composers | Assemble results into one output | Image Studio, Video Studio |
| Utilities | Join, split, branch, repeat, pause and annotate | Prompt Builder, Split Text, Group Items, Slice Items, If-Else, Loop, Approval, Sticky Note, Tools |
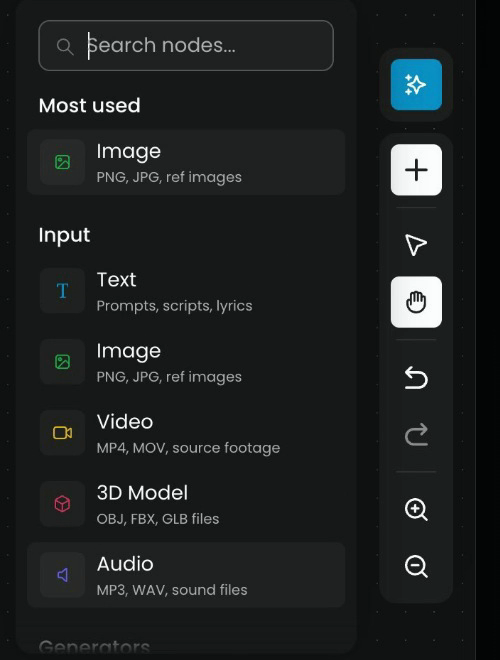
Other ways in: right-click the canvas, or drag a wire from any output and release it on empty canvas to see only the nodes that fit.
Step 7: Add an Image input
The workflow starts with a character image, so under Input, choose Image (the shortcut is Shift + I). The new node lands in the middle of the canvas. Drag it to the left: the graph reads left to right, and the input belongs at the start.
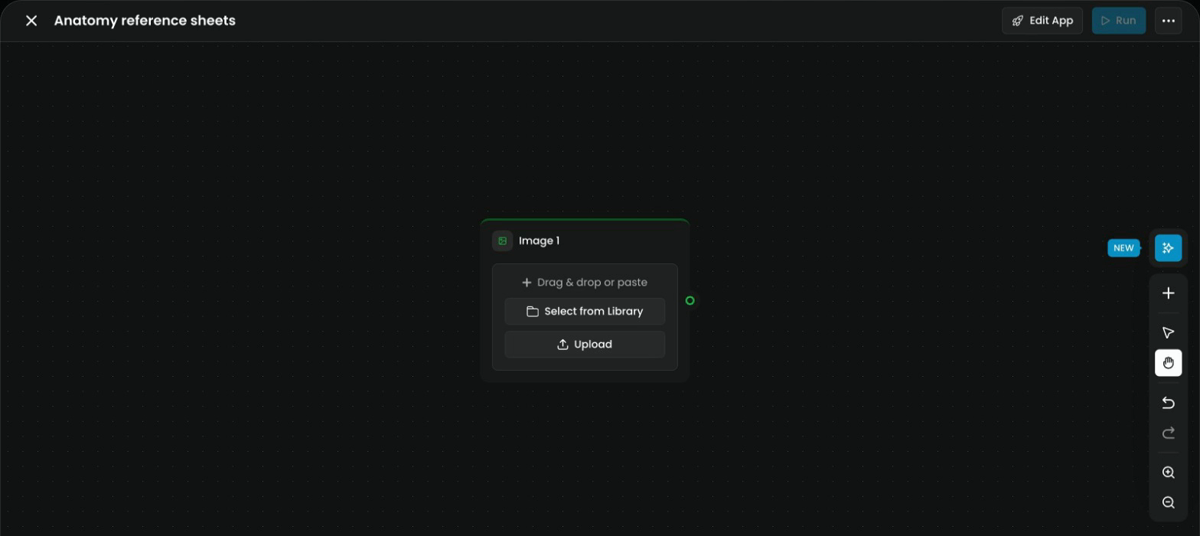
An Image node takes PNG, JPEG, WebP and GIF, plus HEIC and HEIF photos from an iPhone, which are converted to JPEG on upload. With Enable Multiple Images turned on, one node holds up to 10 images and passes all of them on.
Step 8: Rename the node
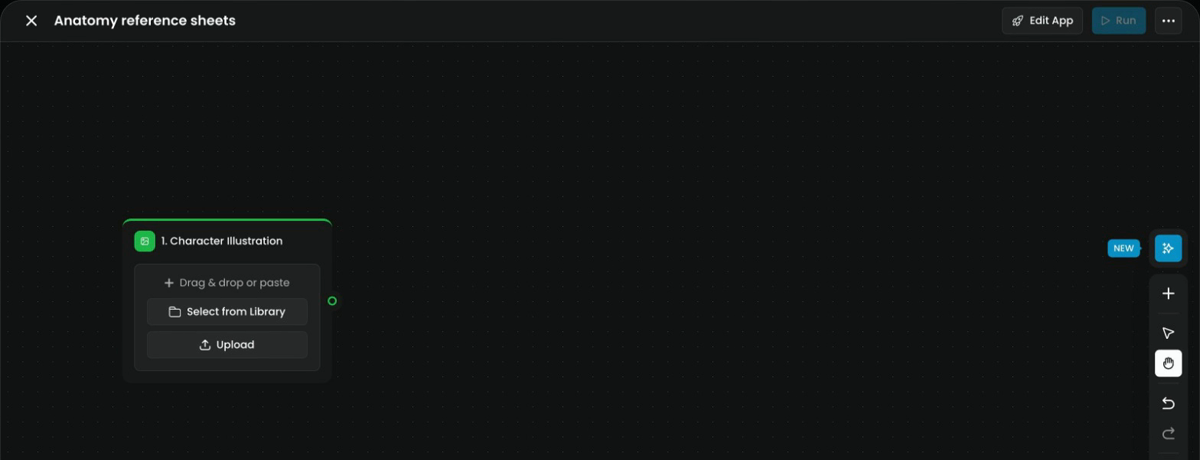
Double-click the node's title to rename it. The course names it 1. Character Illustration. Clear names make the graph easy to read later, and the number keeps the nodes in reading order as the graph grows.
Step 9: Pick the character
Give the node a picture. There are three ways:
- Drag & drop or paste: drop a file on the node, or paste an image from the clipboard. Pasting on an empty part of the canvas creates a new Image node for you.
- Select from Library: choose an image already in your project.
- Upload: pick a file from your computer.
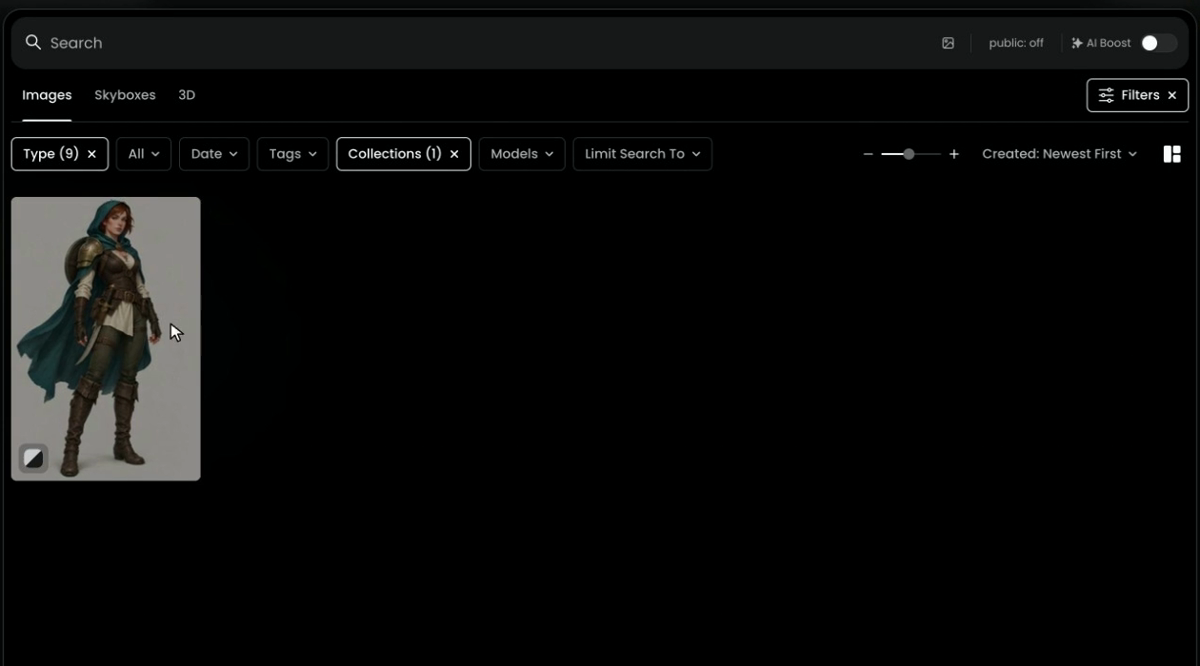
The course uses Select from Library and chooses the ranger. A collection filter keeps the library to the one image the course needs.
Step 10: Read the output port
That's the input. See the small green dot on the right edge of the node, labeled IMAGE when you hover it? That's its output port. Green means it carries an image, so it will only connect to green inputs, such as an Image Generator's Reference Images.
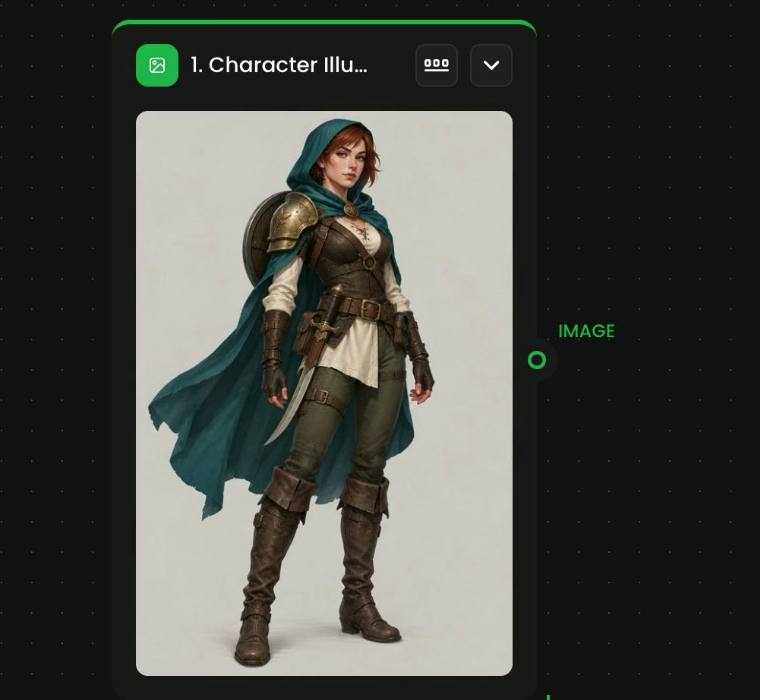
the workflow is called Anatomy reference sheets on the Project tab, the canvas holds one node named 1. Character Illustration with your character in it, and its green output port sits on the right edge.
the sample nodes are still there, the node is still called Image 1, or the image is cropped to a face. A full or half-body character gives the later sheets something to redraw.
The canvas, in short
| To | Do this |
|---|---|
| Pan | Drag an empty part of the canvas, or use the middle mouse button |
| Zoom | Scroll, or use the + and - zoom buttons at the bottom of the right toolbar |
| Select several nodes | Drag a box around them, or Ctrl/Cmd + click |
| Copy, paste, duplicate | Ctrl/Cmd + C, Ctrl/Cmd + V, Ctrl/Cmd + D |
| Delete a node | Select it and press Delete or Backspace |
| Delete a wire | Hover it and click it |
| Group nodes | Select them, right-click, choose Group. A locked group still runs but can't be changed |
Three kinds of workflow
| Kind | Where it lives | What you can do |
|---|---|---|
| Platform workflows | Platform tab | Built by Scenario. They open in run-only mode; Duplicate Workflow copies one to your project. See Platform workflows and templates |
| Project workflows | Project tab | Yours and your team's. Lock one so others can run it but not change it |
| Apps | Workflows › Apps | A workflow published with a form: the person running it sees only the fields you chose. See Publish a workflow as an App |
When a workflow is worth it
- The job has several steps, such as redraw, then upscale, then remove the background. By hand, each step is a new page and a new chance to forget a setting.
- The job repeats. The tenth character runs exactly like the first.
- Someone else will run it. You fix the models and prompts once, and the team only swaps the input.
Prove a step by hand on the Create pages first. When it works twice, it's worth a node. A workflow repeats a process faithfully, including its mistakes: it doesn't judge quality for you.
Common problems
| What you see | What to do |
|---|---|
| No Create button, only Duplicate Workflow | You're inside a Platform workflow. Go back to Workflows and use the Project tab |
| "The workflow cannot be edited" | It opened in run-only mode. Click Duplicate Workflow for a copy you can change |
| The new node landed off screen | Scroll to zoom out, or drag the canvas until you find it |
| A wire won't connect | The port colors differ. Green connects to green, blue to blue |
| Your workflow isn't on the Project tab | Check the project in the top-left switcher: workflows belong to the project they were created in |
| The canvas feels slow with many nodes | Collapse nodes or groups you're not working on with the chevron on their title bar |
What's next
The input is ready. In Build your first workflow, you wire it into the first prompt and make the first sheet. For every node and its settings, keep the Nodes reference and the Tour of the workflow editor close.