About this lesson
The image panel turns a written description into new images. This lesson walks through it from top to bottom and makes a game character with GPT Image 2.5 Sunburst: two takes of a tank hero for an invented hero shooter, at 2048 × 1152. Then it shows what you can do with the result. The models and prices in this lesson are as of November 2026.
See moreSee less
- The image panel turns a description, and optionally references, into new images you can check and reuse.
- Choose the model first: it decides which references and settings the panel shows below it.
- Open it from Create > Images; the Generate button shows the price in CU before you click.
Step by step with an agent, through the Scenario MCP (5 steps)Hide the steps
Connect the Scenario MCP
Connect your agent and sign in once at mcp.scenario.com. Then tell it which Scenario team and project to use, so every file lands there.
Give the agent the files
Nothing to upload: this character is made from the prompt alone, with no reference.
Brief the agent
The same model, prompt and settings as the web app, so the takes match.
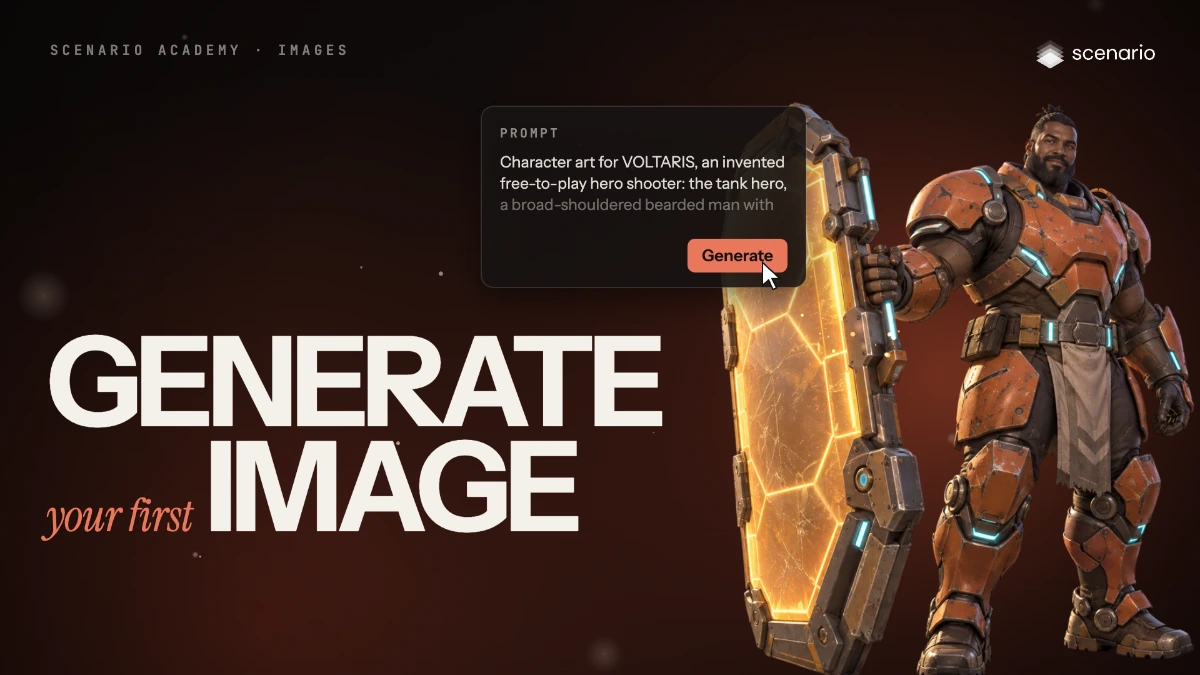
PromptUse GPT Image 2.5 Sunburst (model_openai-gpt-image-2-5-sunburst): width 2048, height 1152, quality "high", background "auto", numOutputs 2. No reference. Quote the cost with a dry run first and wait for my go. Prompt, word for word: Character art for VOLTARIS, an invented free-to-play hero shooter: the tank hero, a broad-shouldered bearded man with dark skin and a short black topknot, in riveted burnt-orange armor with cyan light strips. On the left side of the picture, a huge hexagonal energy shield glowing amber, nearly as tall as he is, held in his right hand with its bottom edge on the ground. He stands upright, full body, front three-quarter view, looking at the camera with a calm, confident expression. Behind him an empty metal landing platform on a floating salvage island, a few patched canvas awnings far back, open sky with soft late-afternoon light. The whole figure and the whole shield in frame with space around them, eye-level camera. No text, no logos, no watermark. Style: stylized 3D at the standard of the best free-to-play hero shooters: bold readable silhouettes, appealing expressive faces, hand-tuned stylized PBR (painted metal, soft cloth, rubber), saturated but controlled palette, cinematic key light with a cool rim. When the job is done, show me both takes with asset_display.Check and redo
Accept when the armor colors, the topknot and the shield on the left, held in his right hand, match the prompt, the whole figure is in frame and no text, logo or watermark appeared. Reject a missing or swapped detail, a malformed hand or shield, or a cut-off figure.
PromptCheck each take against the prompt: the burnt-orange armor with cyan strips, the topknot, the amber shield on the left held in his right hand, the whole figure in frame, and no text, logos or watermark. If a take fails, change one thing in the prompt or the settings, tell me what you changed, and run it once more after a new quote.File the results and report
PromptCreate a collection called "VOLTARIS tank hero" and add the takes I keep to it. Report the model, the settings, every asset ID and the total cost spent, so I can reuse a take later as a reference by its asset ID.
Step by step in the web app (8 steps)Hide the steps
Pick a model
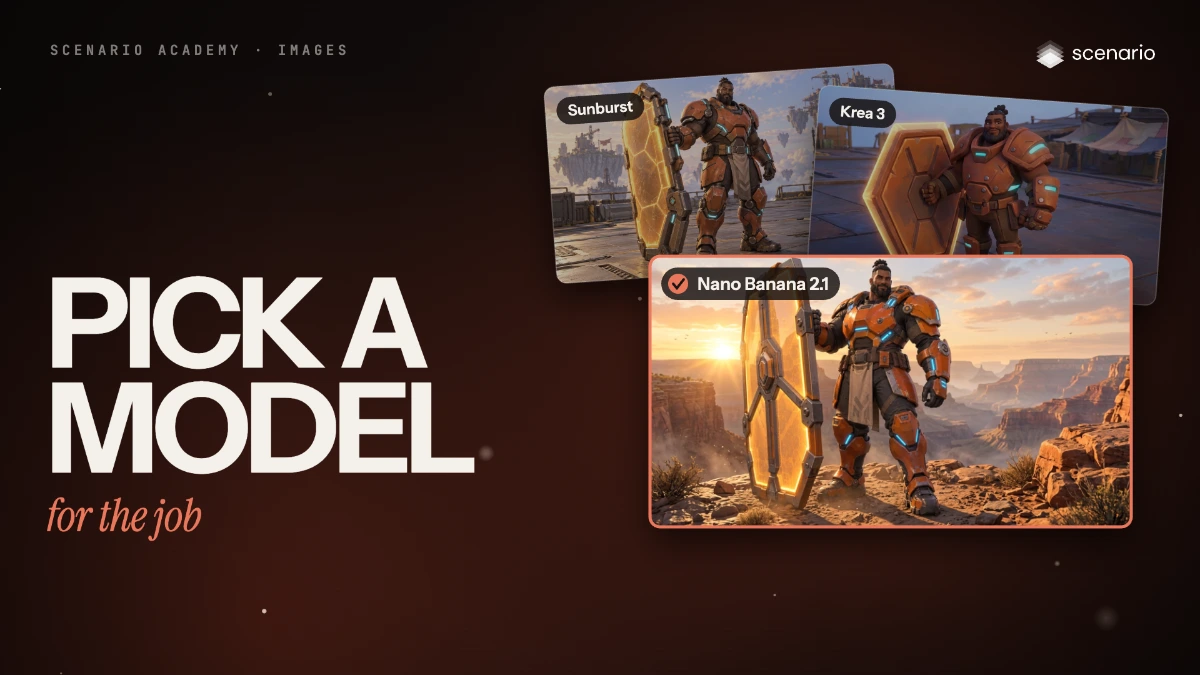
Create › Images, then click the model's name at the top of the panel and pick GPT Image 2.5 Sunburst. The model decides which references and settings appear below it.
Write the prompt
Subject first, then pose and framing, background, light, style, and what must not appear. Keep the style paragraph the same in every prompt for this world.
PromptCharacter art for VOLTARIS, an invented free-to-play hero shooter: the tank hero, a broad-shouldered bearded man with dark skin and a short black topknot, in riveted burnt-orange armor with cyan light strips. On the left side of the picture, a huge hexagonal energy shield glowing amber, nearly as tall as he is, held in his right hand with its bottom edge on the ground. He stands upright, full body, front three-quarter view, looking at the camera with a calm, confident expression. Behind him an empty metal landing platform on a floating salvage island, a few patched canvas awnings far back, open sky with soft late-afternoon light. The whole figure and the whole shield in frame with space around them, eye-level camera. No text, no logos, no watermark. Style: stylized 3D at the standard of the best free-to-play hero shooters: bold readable silhouettes, appealing expressive faces, hand-tuned stylized PBR (painted metal, soft cloth, rubber), saturated but controlled palette, cinematic key light with a cool rim.Add reference images, if you need them
Reference Images takes a drag and drop, Select from Library, Upload or Sketch. This character needs none, so leave it empty.
Choose the settings
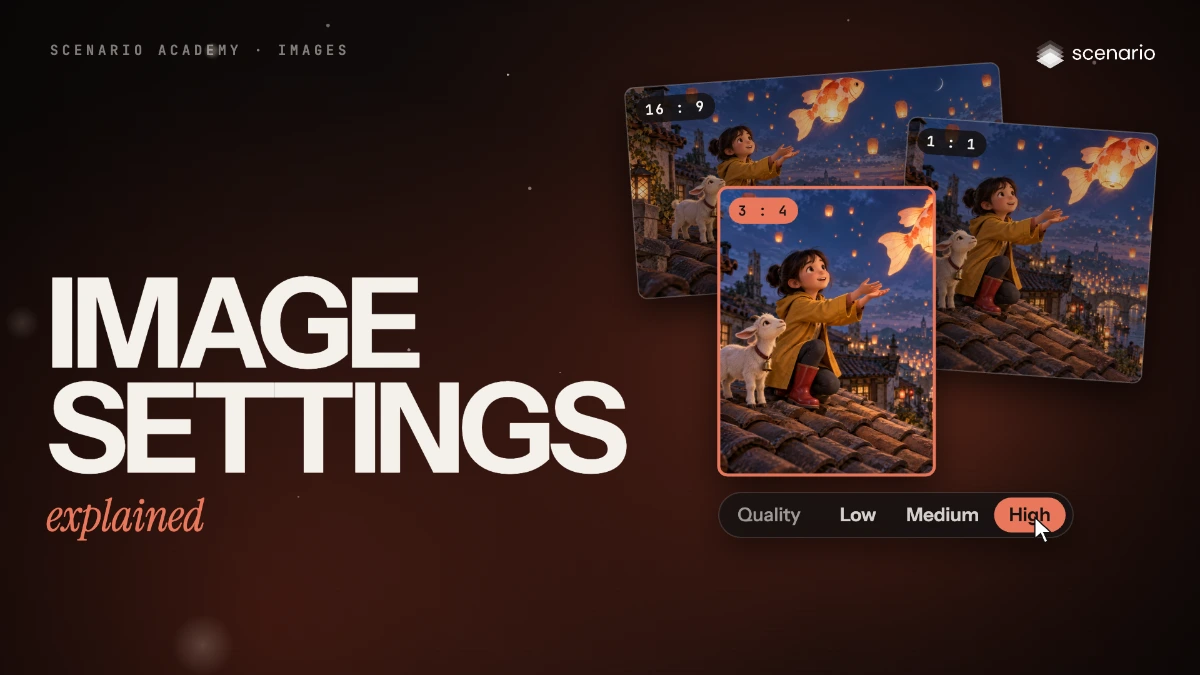
Settings: Image Count 2, Dimensions 16:9 (2048 × 1152), Quality High, Background Auto.
Generate
The cost shows on the Generate button. Click it, or press Cmd/Ctrl + Enter; the takes appear in the Session tab.
Open the result
Click a take to open it. The Info panel shows the model, the full prompt and every setting; Details adds the type, size and date.
Reuse, upscale or edit it
Use as Reference, Reload Parameters or Enhance from the bar above the image; the ... menu holds Edit with Prompts, Remove Background, Vectorize and the other tools.
Find your images in the session
Close the viewer and use the filters: Type, All, Date, Tags, Models, Collections. Reset clears the view without deleting anything.