About this lesson
Joining two clips, pulling out a frame or burning in captions should give the same result every time. The video tools do that: they join, caption, cut, resize and convert videos you already have, without generating anything new. This guide shows where they live, walks through three of them with one example each, and lists the settings that matter for every tool. The models and prices in this lesson are as of November 2026.
See moreSee less
- The video tools do exact jobs on videos you already have: join, caption, cut, resize and convert, the same way every time.
- Find them under Models › Tools, or in Create's model library under Capabilities › Tools. Each run makes a new file and leaves your original as it is.
- Join clips with Scenario Video Concat, pull frames with Video to Image Sequence, and add styled captions with Scenario Caption Studio.
Step by step with an agent, through the Scenario MCP (5 steps)Hide the steps
Connect the Scenario MCP
Connect your agent and sign in once at mcp.scenario.com. Then tell it which Scenario team and project to use, so every file lands there.
Give the agent the clips
The clips to join, in the order they play, and the clip to caption, with its speech. Upload them with upload_asset or give their asset IDs.
Brief the agent
PromptRun these video tools, reading model_schema_get for each one's parameter names first. 1. Scenario Video Concat (model_scenario-video-concat): join my two clips in this order with a 1-second fade, MP4, keep the audio. 2. Video to Image Sequence (model_scenario-video-to-image-seq) on the second clip with Extract All Frames on, and give me the last frame's asset ID. 3. Scenario Caption Studio (model_scenario-caption-studio) on the talking clip: style preset tiktok-bouncy, at most 3 words per caption, the transcription hint "Scenario", and an SRT file too. Quote the cost with a dry run first and wait for my go.Check and redo
Accept when the joined clip plays in order with the fade and the sound, the last frame is the clip's real last frame, and the captions match the speech, word for word and in time. Reject a missing transition, captions that drift or misspell a name, or captions too small for a vertical video: raise the font size and lower the words per caption.
PromptWait for the jobs with jobs_wait. Report the joined clip's duration and whether it has audio, how many frames came back and which one is last, and the caption text from the SRT. Show me the captioned clip.File and report
PromptCreate a collection with the source clips, the joined clip, the last frame and the captioned clip, and report the tools, the settings and every asset ID.
Step by step in the web app (5 steps)Hide the steps
Find the tools
Open Models and choose the last tab, Tools, to list every tool. In Create › Videos, click the Model card › View all models and tick Tools under Capabilities: the tools that return a video. The ones that return images, audio or text (Video to Image Sequence, Audio Extract, Speech to Text) show after Clear filters.
Join two clips
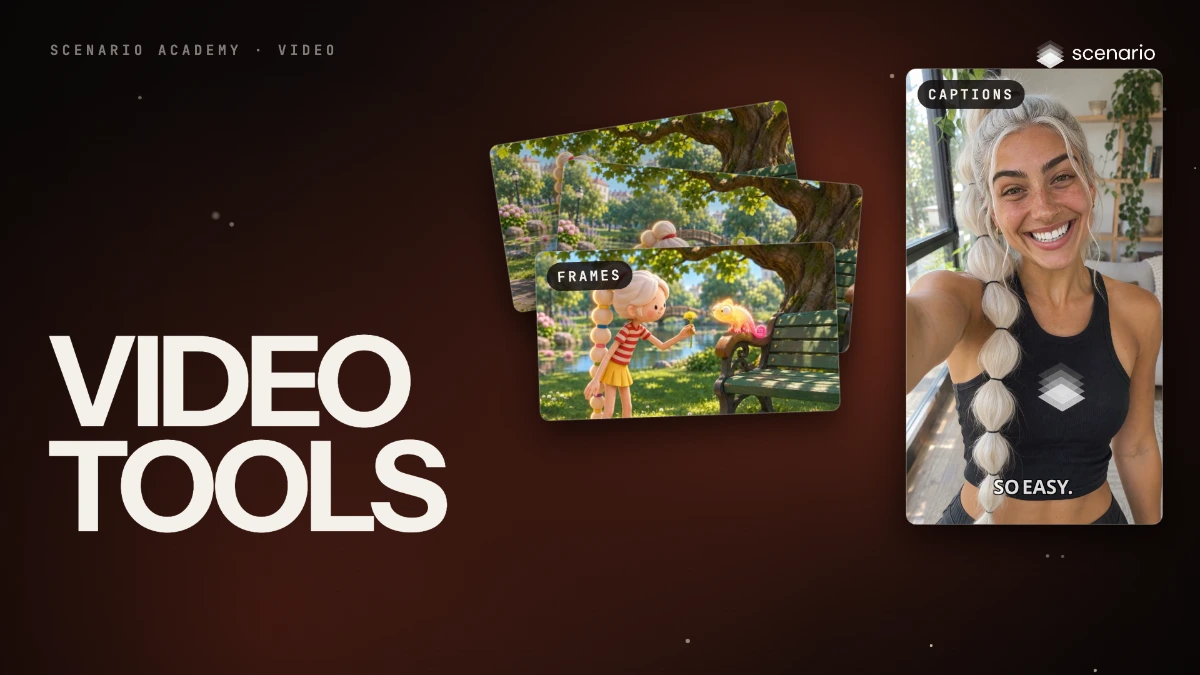
Pick Scenario Video Concat and add the clips under Videos in the order they play: here the kitchen clip, then the park clip. Under Transitions, pick a Type (Fade here) and set its Duration (1 second), then click Generate. It cost 2 credits, and the 15- and 5-second clips came back as one 19-second clip, since the fade overlaps them.
Pull frames from a clip
Clear the library's filters and pick Video to Image Sequence (Create switches to Images), with the park clip under Video. Extract All Frames saves every frame; Frame Interval keeps one in every few instead (24 is one per second at 24 fps). Here it returned six frames, the last one included: use it as the first frame of your next shot.
Add captions
Pick Scenario Caption Studio and load the video under Input Video: it transcribes the speech for you. Set Style Preset (TikTok Bouncy here) and Max Words Per Caption (3), and Target Language to translate. Turn on Output SRT to get the captions as a file too. It cost 8 credits for the 7-second selfie clip.
Make it repeatable
Put the tools you repeat into a workflow around the paid steps: Video Cut before the paid edit, upscale or lip sync, then Caption Studio after the final cut and one Resize Video run per delivery format.