

About this lesson
How a Scenario workspace is built: the organization, the main level of governance, and its projects; the two roles every person has, one in the organization and one in each project; where settings live, and how a project can only narrow them; and how assets, models and workflows move between projects. The models and settings in this lesson are as of November 2026.
See moreSee less
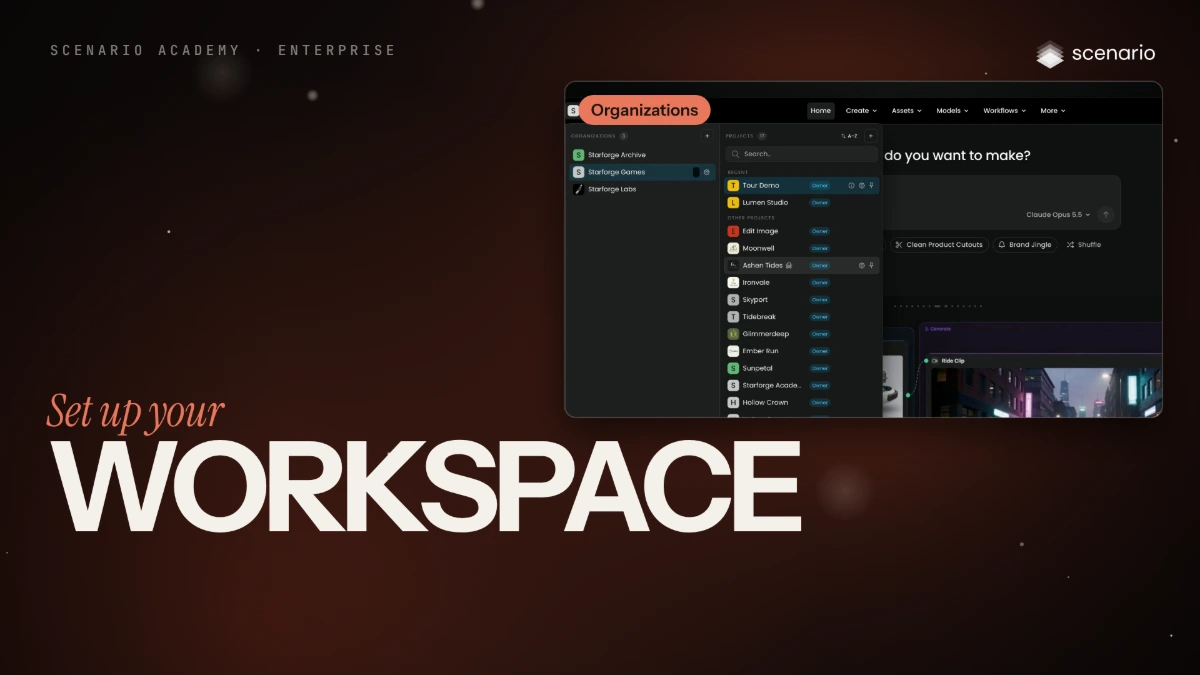
- Tell the organization from its projects, and switch between them with the pill.
- Give each person an organization role (Admin or Member) and a role in each project (Owner, Contributor or Viewer).
- Find every organization setting, and know that a project can only make it stricter.
Step by step in the web app (7 steps)Hide the steps
Read the pill
Click the pill at the top left: Organizations on the left, the selected organization's Projects on the right with your role in each. Whatever you generate goes into the project selected here.
Open Settings
Click the gear next to the organization in the pill. The left panel has three layers: Organization for everything shared, Project for the project you are in, and You for your own preferences.
Give each person an organization role
Organization › Members lists seats, Invite Members, Import CSV, the Default usage limit and each person's Usage and Role. Each person is an Admin, who runs the organization, or a Member, who works in their projects only.
Give each person a project role
Project › Members: Invite a user to this project, pick a role and click Add. Owner manages the project, Contributor makes things, Viewer only looks.
See how settings narrow
Organization › Models is the list for the whole team, with Automatically enable new models and a switch per model in the Active column. Project › Models can only turn more models off; each shows Inherited until you change it.
Know where every setting lives
Under Organization: General, Members, Projects, Analytics, Activity Trail, Models, Quality Gate, IP Detection, Watermark, External Keys, Agent, API Keys, Webhooks, Billing and Compute planner. Most have a Project version that can only be stricter, including Usage limit for a project's spend cap.
Move work between projects
An asset: Transfer at the top right of the viewer, paste the other project's Project ID (from Organization › Projects) and click Transfer; a copy goes there. A model: Transfer Model in its menu; a workflow: export it, then Import it from the other project's Workflows page.