About this lesson
Everything around your first results: the Model Hub and a model's page, an App run on Queen Pip and the workflow behind it, folders and sharing, and Scenario Genie setting up a new image from a plain request. The models and settings in this lesson are as of November 2026.
See moreSee less
- Find a model in the Model Hub with its filters and search, and read its page before you use it.
- Run an App on your own image, then open the workflow behind it to run, duplicate or edit it.
- File and share your work, and let Scenario Genie set up a run from a plain request.
Step by step in the web app (11 steps)Hide the steps
Open the Model Hub
Open Models › Images. Platform holds the models everyone can use, Project your team's; each card shows the rank, the seconds per result and the cost in dollar signs.
Filter and search
Narrow the list with Category, Capabilities, Tags and Search (for example GPT); Type and Enterprise Status narrow it further.
Read a model's page
Click a model's name, here Ideogram 4.5, for its Overview, Description, Governance, Parameters, Pinned examples and Generations. Use this model opens it in the playground.
Open the Apps
Open Workflows › Apps and browse by category on the Platform tab. Pick Character Design.
Run an App on your image
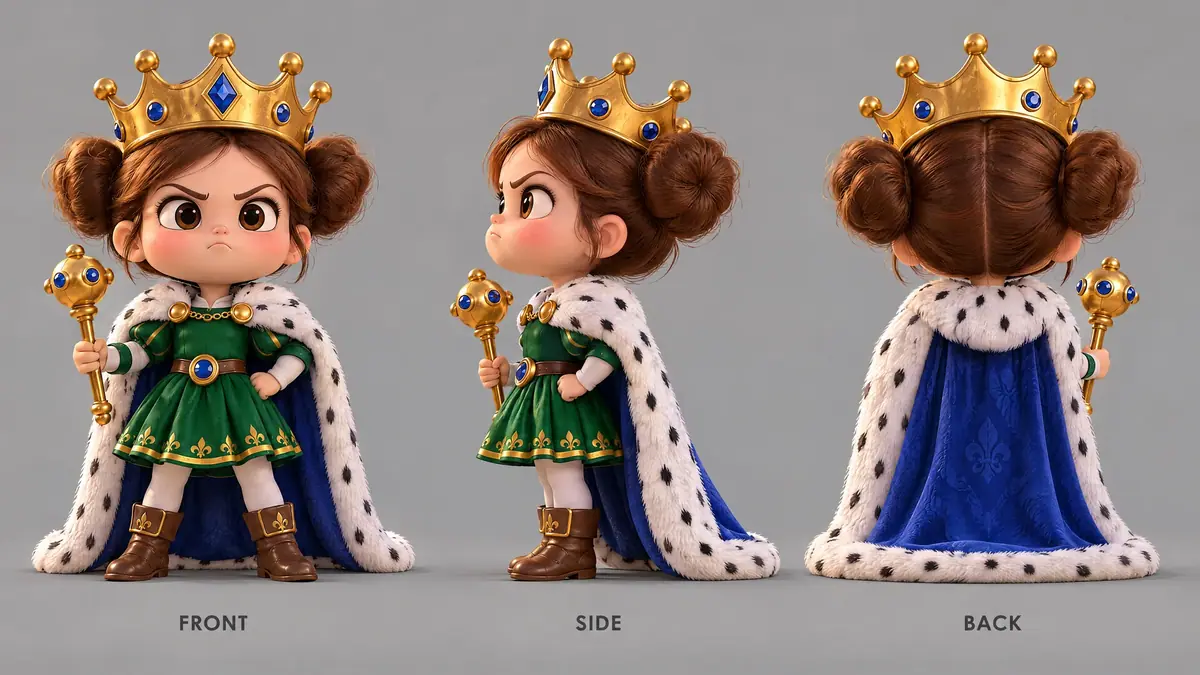
Open True 4-Pose, click Select from Library under Character Reference and pick Queen Pip. Check the cost on Generate, then click it for front, right, back and left views.
Open the workflow behind the App
Click the workflow button at the top right of the App: three nodes, Character Reference, Turnaround Prompt and 4-Pose Turnaround Generator on FLUX 2. It's run-only: Duplicate Workflow for a copy you can change, or Run.
Build your own workflow
Workflows › Workflows, Project tab, Create: a Text node and an Image Generator come already wired. Add nodes with +, connect them dot to dot and click Run.
Keep your work in collections
The folder icon in the top bar lists your collections, with New Collection and Add Asset. From an image page, Collections › Add to collections files it.
Share an image
On the image page, open the menu next to #: Copy Link gives a link to this exact image, Copy Asset ID its ID. The arrow transfers a copy to another project.
Ask Genie
Open Genie (the blue button, or Cmd+K), attach Queen Pip with the paperclip and ask in plain words. Genie opens the playground, writes the prompt, adds her as the reference, picks a model and generates.
PromptMake a royal guard to stand next to Queen Pip, in the same 3D style.Find the rest under More
More holds Explore, the API page for your own code, the Scenario MCP page for AI assistants such as Claude, and the Knowledge Base.