About this lesson
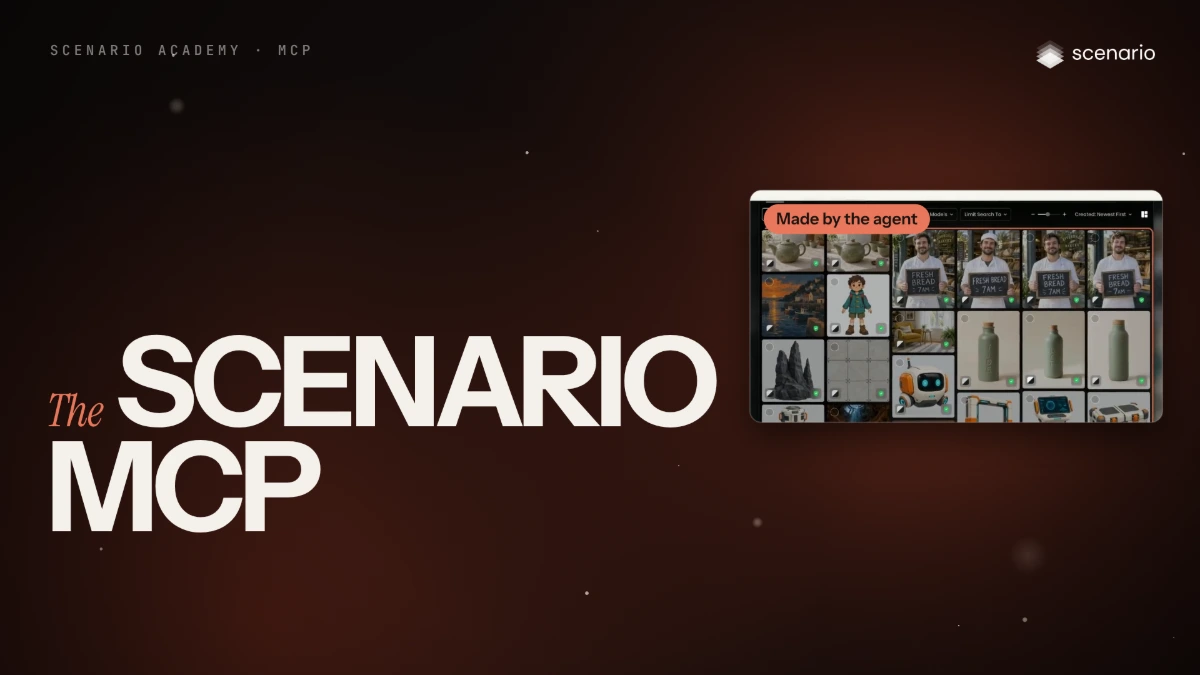
The Scenario MCP connects your own AI assistant to Scenario, so the assistant can pick a model, run it and bring the result back into the chat. This lesson shows what that looks like in Claude, adds a skill that turns one sentence into a 3D lantern you can open in Blender, then walks through the connection itself, step by step, and the same setup for Claude Code, Cursor, VS Code, Codex and other clients. The models and settings in this lesson are as of November 2026.
See moreSee less
- The Scenario MCP lets your own AI agent run Scenario models, workflows and assets from a plain-language request, billed in the same credits as the web app.
- Add https://mcp.scenario.com/mcp to your AI client, sign in once in the browser, and confirm with a free request.
- Add Scenario's open-source skills so the agent follows tested procedures, and use the API instead for fixed, unattended code.
Step by step with an agent, through the Scenario MCP (5 steps)Hide the steps
Add the Scenario MCP to your assistant
Add https://mcp.scenario.com/mcp as a custom connector (in Claude, Customize › Connectors › Add › Add custom connector), or with your client's command from the Other assistants table, such as
claude mcp add --transport http --scope user scenario https://mcp.scenario.com/mcpin Claude Code.Sign in once
Click Connect, log in to Scenario and click Authorize. OAuth needs no key; never paste a key or secret into the chat.
Check with a free question
A working connection answers from a tool call with your team and project. If it answers from memory or asks for a key, see Common problems.
PromptCan you see my Scenario project Brand Studio?Ask for a first picture
Say "Using Scenario" and name the project. Ask for the quote before any batch or video.
PromptUsing Scenario, make a picture of a red fox curled up in the snow, in my project Brand Studio.Add a skill and let it do a whole job
Upload a skill in Customize › Skills, or in a code tool run
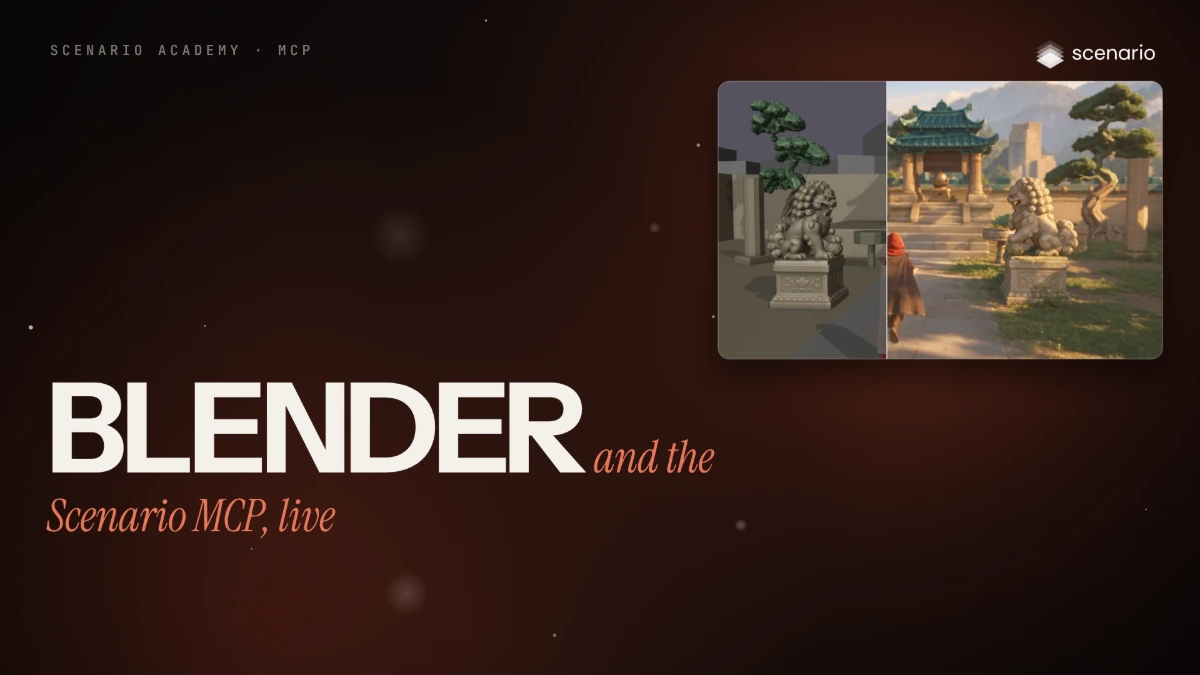
npx skills add scenario-labs/skills --skill scenarioand restart the agent. Then name the skill in the request; the 3D skill makes a concept first, then the 3D model.PromptUse the Scenario 3D skill: make a fantasy lantern as a 3D model I can use in Blender, in my project Brand Studio.
Step by step in the web app (9 steps)Hide the steps
Ask your assistant for a picture
With Scenario connected, open a new chat and start with "Using Scenario" and the project name. The assistant picks a model, runs it and shows the image with asset_display, with a View in Scenario link.
PromptUsing Scenario, make a picture of a red fox curled up in the snow, in my project Brand Studio.Understand what a skill adds
A skill is a folder with a SKILL.md file: a name, when to use it, then the procedure. The scenario-3d skill makes a concept image first, then runs image-to-3D.
Add the skill in Claude
In claude.ai, Customize › Skills › Add › Upload skill, choose the .zip or .md file, check the Preview and click Upload.
Let the skill do a whole job
In a new chat, name the skill in the request. Download the model as a .glb, then in Blender File › Import › glTF 2.0 (.glb).
PromptUse the Scenario 3D skill: make a fantasy lantern as a 3D model I can use in Blender, in my project Brand Studio.Copy the address from mcp.scenario.com
On mcp.scenario.com › Installation, keep OAuth selected, pick your assistant's tab (here Claude.ai) and click Copy next to https://mcp.scenario.com/mcp.
Add a custom connector in Claude
Customize › Connectors › Add › Add custom connector: name it Scenario, paste the address as the server URL and click Continue. Keep Sign in now and Register automatically as detected, leave Request headers empty, and click Add.
Connect and authorize
Click Connect, then Authorize on the Scenario page. Under Tool permissions, allow the read-only tools if approvals slow you down.
Find more skills
Get more skills from github.com/scenario-labs/skills (the skills folder, with dcc for Blender, Maya and ZBrush) or from the Skill button of any Exploration on scenario.com/explorations.
Check with a free question
Ask something that needs a Scenario tool but generates nothing. A working connection answers from a tool call, such as Listed Scenario teams, with your project and its team.
PromptCan you see my Scenario project Brand Studio?